Pages

Friday, December 30, 2011

Goodbye 2011!

FairyFace Designs: Mini Quilts 2011
2011 was the year of quilting for me. And a good year it was. I had so much fun this last year with this blog - it really took off for me in January and not only did I learn to quilt, but I discovered a huge circle of crafty, blogging friends out there. 2011 was the year I realised that I did, contrary to my very long held belief, have a creative bone in my body - more than 1, it turned out. The year I realised that online friends could be just as important as real life ones. And where I realised that, through your writing voice, you could be who you wanted to be and really be yourself because you are among friends.

FairyFace Designs: 2011 Quilts
2011 was not easy in some ways - but I don't like putting too much personal info out there for privacy reasons, so I'm not going to bore you with the details. But quilting and writing proved a welcome relief and an outlet for me from the stress. The comments I received brightened many a day. The fun and the wittiness of some of you continues to crack me up and I love the banter :-) Winning the odd giveaway, seeing my stuff featured elsewhere, having people make a quilt to a tute I wrote - all brilliant!


And now 2012 is almost upon us!! I'm still thinking about my goals - have you decided on yours? Is there anything you would like to see on FairyFace Designs in 2012? More tutes? More quilts? Another quiltalong? More giveaways? Featuring other bloggers/projects? Linky parties? Anything else? Any suggestions gratefully received!

I will be doing a mid-winter update on the Winter Stitching in the next couple of weeks so if you are taking part, start getting your posts ready for the linky!

I also have an exciting project starting in January for followers who love to ready sewing blogs but are new to sewing or haven't touched their sewing machines since their school days...watch for more information coming next week!

In the meantime I will leave you with some of my favourite makes from 2011. Happy New Year everyone! I hope 2012 brings everything you hope for.

FairyFace Designs: Fave Small Projects 2011

Wednesday, December 28, 2011

My fantasy FQ Bundle

When I saw the fun going on over at Quokka Quilts, I just couldn't resist joining in! I really enjoyed putting together this FQ bundle from all the fab fabrics over at the Fat Quarter Shop. The colour palette is inspired by some of the goodies I made for my secret partner for Cindy's Goodie Swap earlier this year. Eva looked for grey, plum and aqua and it was totally out of my comfort zone in terms of what I normally work with. I was also somewhat limited in the grey and plum colours in my stash. But I really enjoyed putting it together so when I saw this challenge I decided to revisit that concept and put together a fantasy bundle based on it - the sort of fabrics I would have loved to have had at hand.

My FQS Blogger Bundle

I was intending to do this later in the week when I got home from my parents, but couldn't wait till then! So here is the result of a couple of hours of hogging the PC and being unsociable this evening...sorry, family! I think it works well - its much more grown up than  my normal choices!! I'm loving the cool tones and while the palette is limited, I tried to concentrate on the values and the prints and make it really interesting with those elements.


The fabrics are:

1. Robot Factory Teal Circuit Board
2. Bazaar Style Night Moroccan Streets
3. Gray Garden Pindot
4. Outfoxed Purple Triangle Toss
5. Orchid Gray Gray Sweet Posie
6. Flora Turquoise Lattice
7. Going Coastal Gray Sea Kelp
8. Flora Turquoise Garden Damask
9. Heirloom Amethyst Empire Weave
10. Terrain Foliage Seapod
11. Oval Elements Juicy Grape
12. Juicy Blossoms Grey Hyacinth Borders
13. Kona Aqua
14. Kona Coal
15. Kona Plum

I'm linking this up to the Quokka Quilts post. Lots of fun - you should definitely check it out, particularly as there is a great prize on offer to the winner!

I Spy a Square Quilt

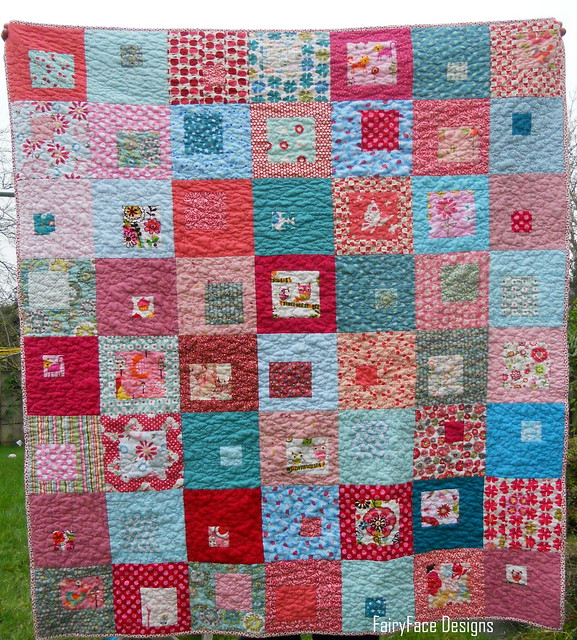
Here it is, my very last quilt of 2011! This is for a gorgeous little baby girl, our friends' daughter, which her mum asked to make a number of months ago. It was a bit difficult to get decent photos in the dark midwinter light but I did my best!

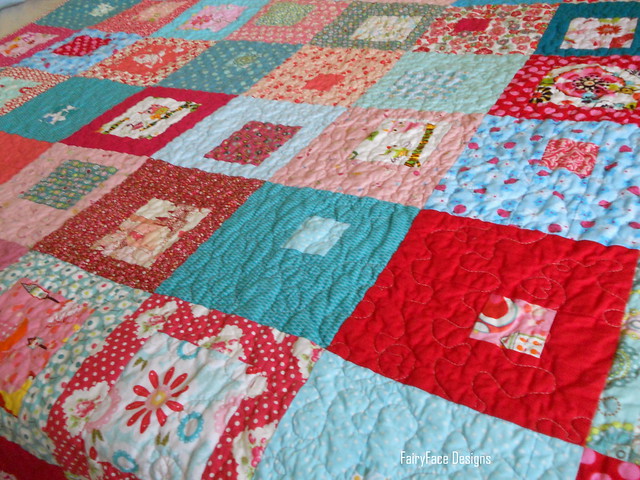
I Spy A Square finished quilt

This was the sort of project I love - lots of scope to develop an idea and colours and I decided on a red, pink and aqua colour scheme as it has been my favourite all year! I also have lots of fabric in these colours in my stash so it was a natural choice.

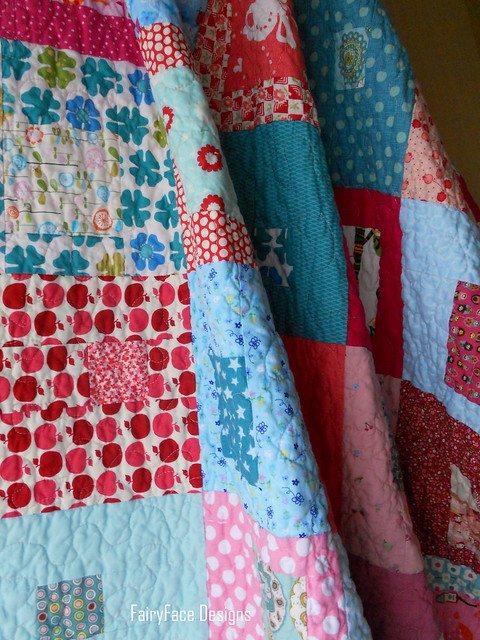
I Spy a Square Quilt hanging

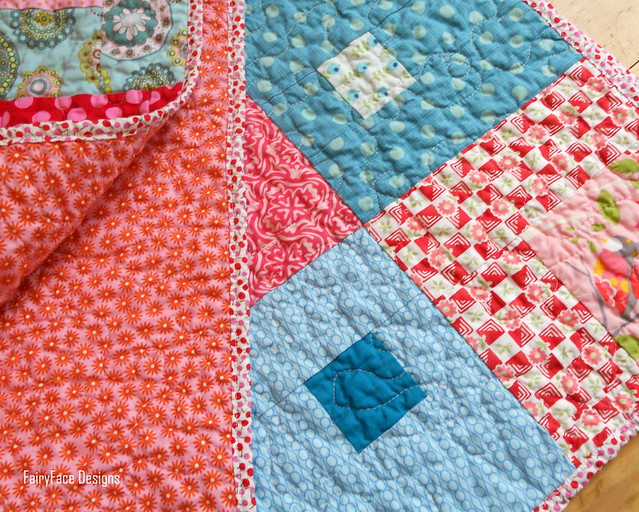
I went with a "square within a square" type design (although one of the internal "squares" is a rectangle!) and it allowed me to use some teeny tiny precious fabric scraps I had been saving. Better again, a lot of the internal squares work as I Spy type squares as I fussy cut most of them, so there is lots of interest there for little E. I know that other quilts I have done with similar prints have been a real hit with my friends' babies and they love picking out the birds and animals, so hopefully E will too.

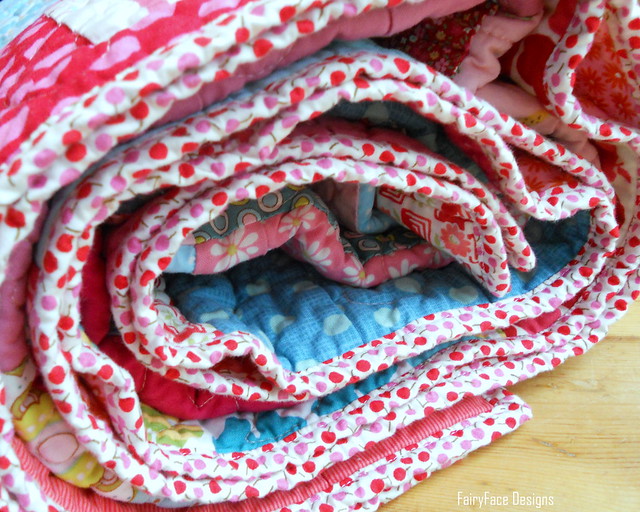
I Spy a Square Quilt rolled up


I found this a slow project to work on, for some reason it just did not come together as easily as most of my quilts do. I took a long time to piece the blocks and do the layout and also ran into some probs with my backing fabric, requiring me to take it off and redo. I won't bore you with the details, but a lot of unpicking was involved! But alls well that ends well and I think it was worth the time and effort.

I Spy a Square Quilt folded


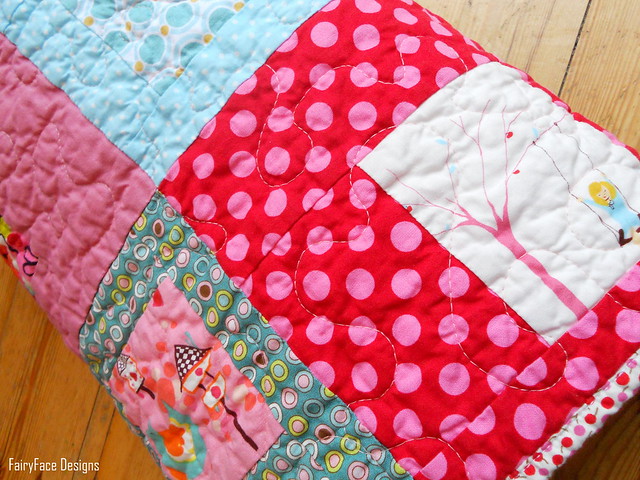
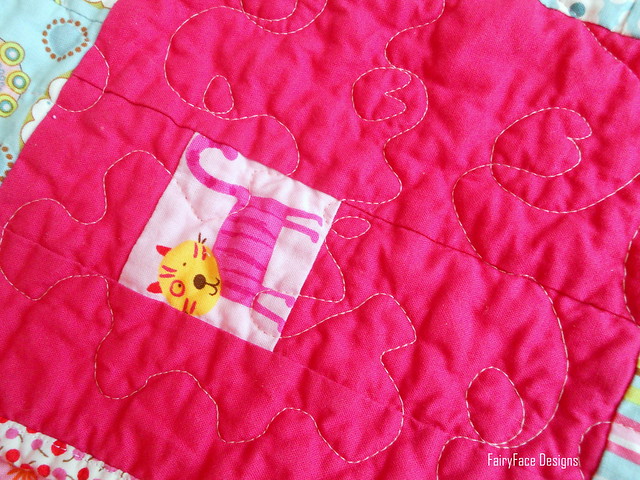
I quilted it using a meandering stipple, but added loops and little hearts randomly throughout. I was really pleased with my little hearts  - it took a little practice to get used to doing them, but I just love the effect! I got the idea from Jessica's Double Wedding ring quilt and I'll definitely be experimenting with other little motifs for future projects.

I Spy a Square Quilt quilting detail

The (second!) backing is a Jenean Morrison print from the California Dreamin' range.

I Spy a Square Quilt folded with backing


And the binding is a cotton poplin with tiny pink and red apples - I've used this before as binding and the fact that its much lighter weight than quilting cotton makes it perfect for binding.

I Spy a Square Quilt binding

The finished size is approx 64" x 56" and sized for a toddler type bed, or to layer up over covers on a big girl bed. It's been washed and dried and is all ready to give to my friend who I will be meeting over the holiday period!

I Spy a Square Quilt on bed

Quilt Stats:
Name: I Spy a Square quilt
Size: 64" x 56" approx
Fabric: Various Kona solids plus prints from my stash including the following lines- Bliss, It's Hoot, Just Wing It, Willow Wren, Ta Dot, All Star II, Penny Lane, Sherbet Pips, On a Whim 2 and more!
Quilting: Quilted by me on my home machine with a meandering stipple with loops and hearts
Batting: Warm and White
Pattern: My own design

Thursday, December 22, 2011

Some small Christmas finishes

It being Christmas week, my parents came to stay overnight last night, which meant no sewing for me! Well, no sewing on the machine. I did, however, manage to stitch away on some small projects I've been meaning to finish for ages while chatting to my mum and watching reruns of Pride and Prejudice (the classic BBC version, I enjoyed it SO much!) and got all the handstitching done. An hour this morning and I had the rest sorted. And here they are!

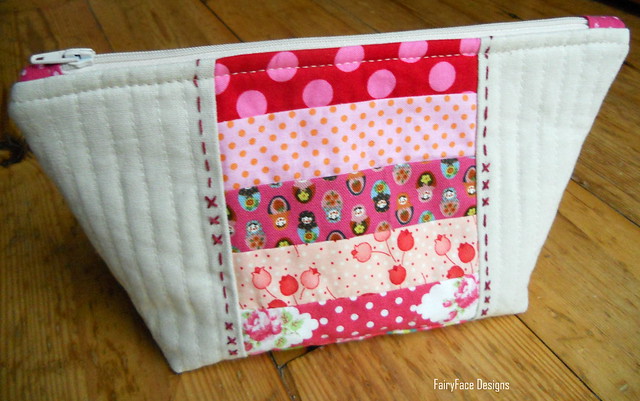
22 Dec pouch for Catherine


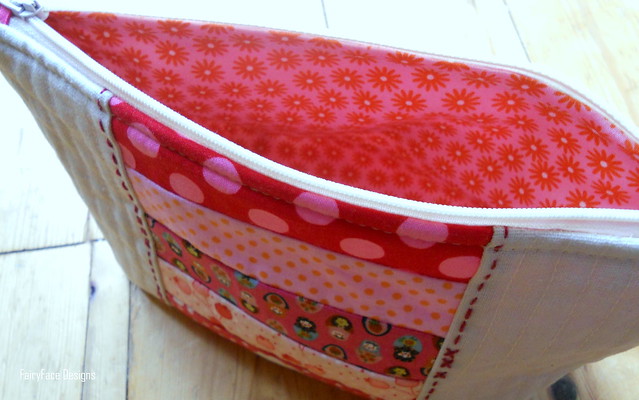
First up, I made a lovely zippy pouch using Kat's tutorial for my childminder for Christmas. I needed a small extra to go along with her main gift, and after picking up a nice lip gloss during the week, I thought maybe a little make up bag would be nice to go with it. I loved this tutorial and its a very good size for a makeup bag. Instead of using interfacing on the outer layer, I used thin cotton batting and quilted in the linen/cotton fabric in straight lines. Then I added some handquilting on either side of the patchwork panel in the front. I really like how it looks and hope she likes it too.

22 Dec pouch lining


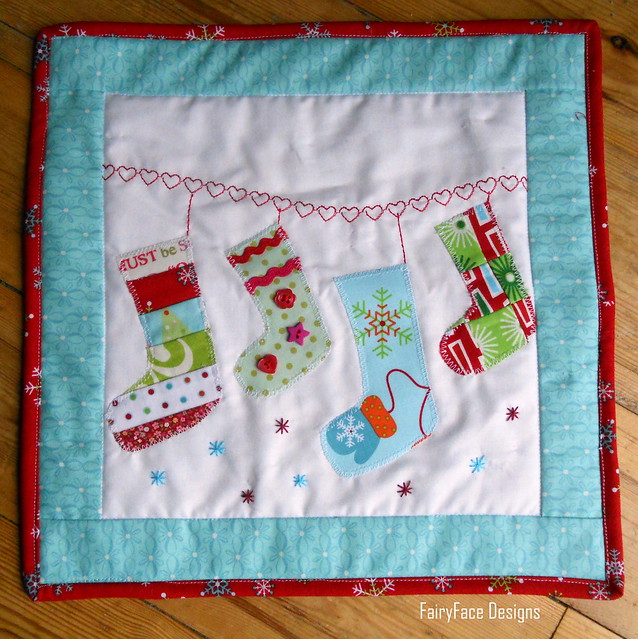
I also added some handquilted stars to my Christmas stockings block which I did for the quiltalong some time back and I quilted and bound it. I'm not sure whether to hang this little mini on the wall or use as a table centre, I suppose I could do either. I did not do a good job on machine-finishing my binding, I used the wrong colour thread and it is not remotely straight. If I have the energy I may unpick and just handsew it again in front of the tv tonight, but I think that's highly unlikely and I'm not sure my kids will notice the stitch quality ;-)

22 Dec stockings mini


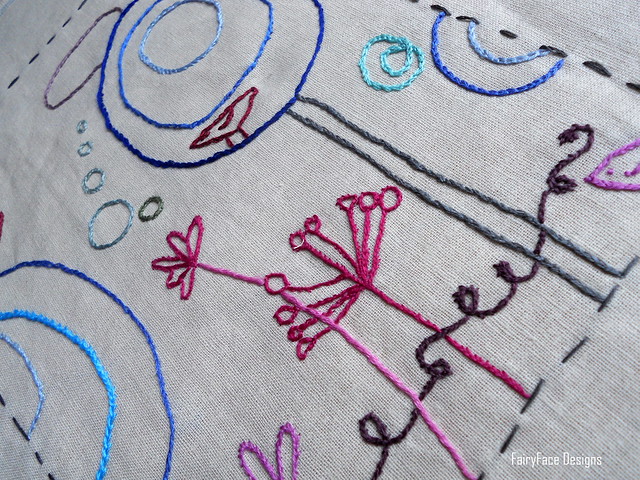
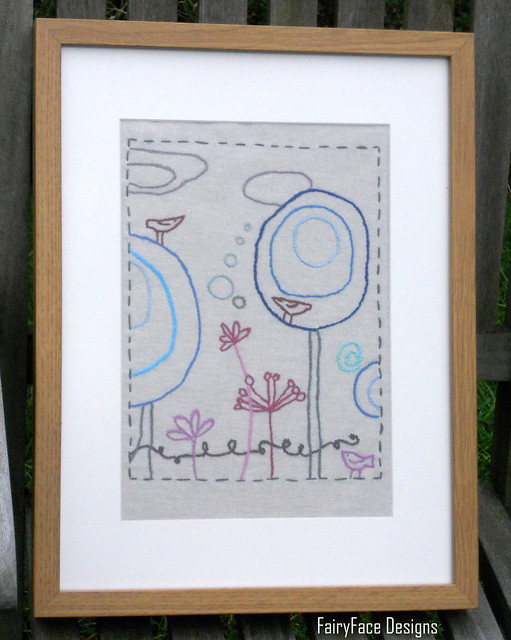
Lastly, I FINALLY finished this Happy Garden embroidery piece which I've been working on for months now, a tiny bit at a time. It's actually not slow work at all, I just keep putting it down and not picking up again for 6-8 weeks. But I'm thrilled now its done - isn't it pretty? The pattern is available here if you're interested.

22 Dec embroidery closeup


I found this frame in Ikea about 3 months ago and bought it specifically for this and I'm really happy with how it works with the embroidery, its got a nice natural feel. Now I need to decide where to hang it on the wall :-)

22 Dec embroidery framed


Hope you're having a lovely time getting ready for the big day. I think I'm going to sign off now for Christmas. My tonsillitis is back today with a vengence only 2 days after finishing my antibiotic course from last week :-( So I want to rest and try and get better. Hopefully this lot of antib's will do the trick!

I will be back next week with another quilt finish, my last of 2011 and I'll be checking my mails and working on stuff behind the scenes, but no more blog posts from me till after the big day and most likely I will not be doing any much blog reading either. Aside from the getting better business, I really want to focus on the kids and preparations between now and Sunday.

So I hope you all have a wonderful Christmas season and that Santa brings everything you have wished for!

Sarah xx

Wednesday, December 21, 2011

Merry Quiltmas!

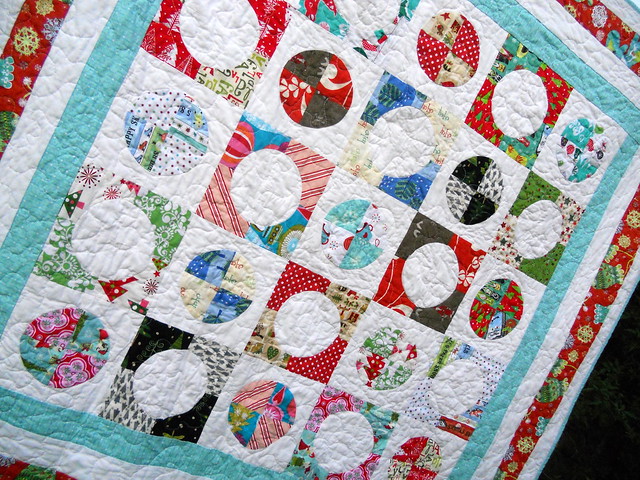
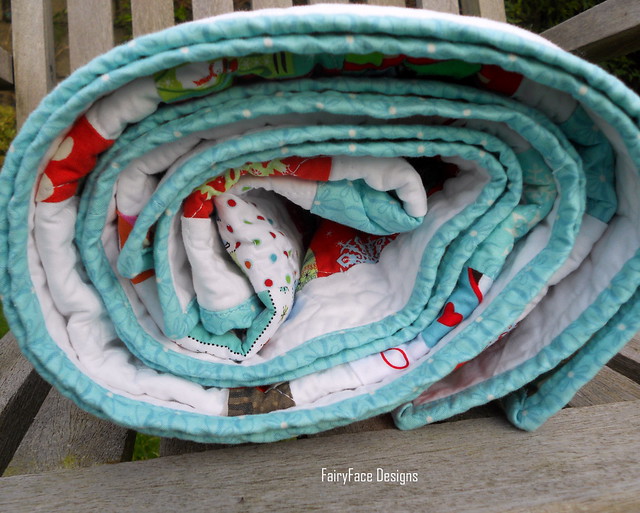
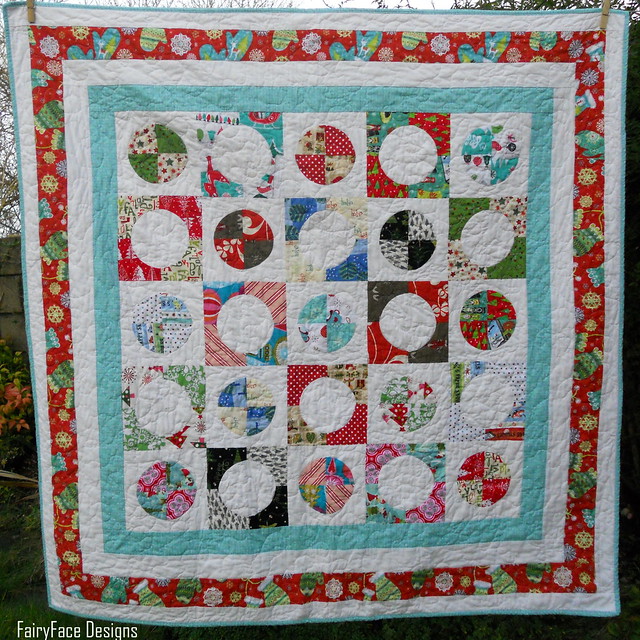
Ta Dah! My Christmas quilt is done!

Christmas quilt closeup


This one is for snuggling under watching DVDs with the kids during the holiday season. It also adds nicely to our decorations in our living room.

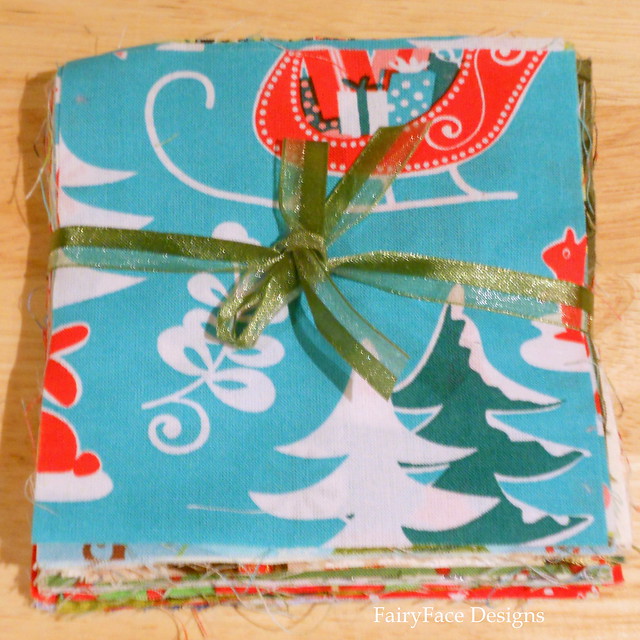
I made this quilt with the modern Christmas charms from Emily's swap a few weeks back. I added some white solid and cut the pieces using my Drunkard's path die.

DSCN3818


After having some difficulty piecing them, I asked for advice and got tonnes of comments pointing me in the directions of great tutes, so thank you everyone, I really appreciated all your help.


I can't thank Leanne enough though - when she saw my cry for help, she went off and recorded a video tute and posted it on her blog - how fab was that? It made my day :-) And, better still, her method of piecing the drunkard's path is super quick, super easy and requires no pinning. After a few trial ones, I flew through them, piecing perfectly every time! Alas, I was a bit silly when pressing ironing the pieced squares and managed to distort more than a few by ironing rather than pressing. Still, I don't think they turned out too badly at all!

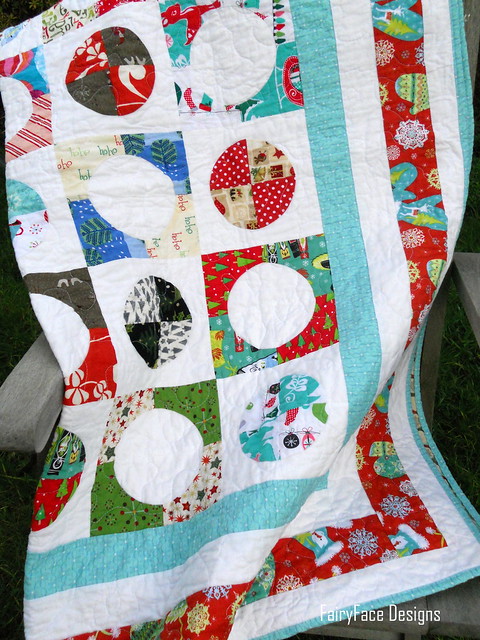
Christmas quilt on chair

The centre block was quite small when I was done, so I added some borders to bring it up to 50" x 50" - a nice size for the sofa and not too big!

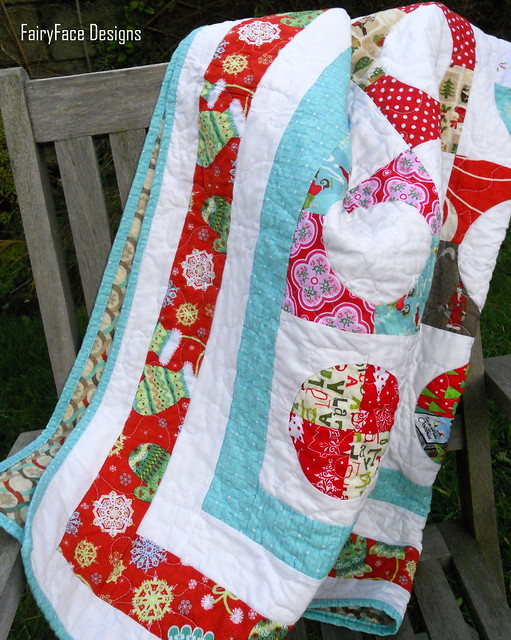
It's backed with some Joel Dewberry Deer Valley, and I bound it with the same blue as one of the borders which I think works really well.

Christmas quilt draped on chair


I did a large scale stipple on this quilt and it was a pleasure to quilt something of a manageable size after a few big quilts.

Christmas quilt binding


Washed and dried, it is ready just in time, with my little lady finished up Montessori today for the holidays, and my little man finishing school tomorrow.

Christmas quilt finished

Monday, December 19, 2011

It's not nice to gloat......

but I'm going to do it anyway! After all, it would be a crying shame to pass up the opportunity with winnings like these!


The postman must be wondering what is up at my house this last week (I usually get parcel deliveries to work). Every day it seems like another package drops through the postbox, each nicer than the next. Some are presents for the festive season but 2 of them were all just for me!

First up, this:


It arrived from the USA in double quick time after I won AnneMarie's fantastic giveaway and I have been leafing through the manual while waiting impatiently for the post-Christmas sales when I am (finally) getting a new laptop and can get started using it. I'm slightly afraid that trying to load it onto my (hubbie's) dinosaur laptop might cause the whole thing to collapse spectacularly, given that these days editing photos is a long drawn out process!

Then, I got home from shopping this afternoon (did I mention I'm on my holidays? No, I know I didn't ;-) Woohoo, I felt like a real lady of leisure shopping in the city on a Monday morning and enjoying a cappucino and the newspaper. All the better because, due to school still being on, I did not have to issue a constant stream of instructions about behaviour, manners and sitting still to my kids. Nice and super relaxing!) to find this:


Yes, believe it. A FQ bundle of Echo, my winnings from Celebrate Color.

I am not normally into yellows or oranges but I really love the warm shades in this bundle, particularly that mustardy yellow down the bottom of the pic! These came from Marmalade Fabrics, who sponsored the prizes and because a couple of the FQs were unavailable, Tammy replaced them with some great Kona solids.

However, as I might have mentioned, I bought a small FQ bundle of cool toned Echo prints from The Intrepid Thread in the Black Friday sale and I actually have one of the missing prints! But, just to make that collection complete, if anyone has a spare FQ of the Moira in Deep Indigo (the large flower type print) and wants to swap for something I have a couple of I would be more than happy to! I have 2 of everything in the pic below with the exception of the 3rd print from the left.


So that's my festive cheer for today. I have one quilt basted and partially quilted and another almost ready to baste. I have more Christmas shopping to do in the morning, plus some horrible mundane jobs to do like cleaning the oven in prep for the turkey. But I might, just might, sneak in some sewing time if I can make it in and out of the local shopping mall in double quick time so wish me luck!

Saturday, December 17, 2011

Giveaway winner...calling Ohio......

A huge big thank you to everyone who entered my giveaway for Sew Mama Sew! giveaway day. Wow, I had 983 entries, which kind of blew me away! I couldn't possibly respond to the comments but I did read every single one of them and it was so much fund to see where you are all going to spend the holidays. I love how the blogging community is spread around the world, I had entries from so many different countries.

Thank you too to all my new followers! I hope that you come back and visit me often - please just join in the chat :-) To all my "old" followers - yes, I know you're not old, bad choice of words, lol!! - thank you for all the lovely comments.

Ok, so, on to the main event, the winner. Big drum roll please.......

Mr. Random drew:

Who is:


Congratulations Sangeetha, I will be in touch with you to get your address and will send these off to Ohio next week.


I know quite a few people were interested in the tutorial for the phone cozies - it is now up and you'll find it here.

That's all for today folks. Hope you're having fun getting ready for Christmas. Did I mention that I am finished up work till 5th January? Yipee!! I will (hopefully, all going well) have a couple of posts with finishes up before the big day but if you don't get back to visit me before then I hope you have a wonderful Christmas xx

Thursday, December 15, 2011

Last minute gift idea: Phone Cozy Tutorial


Are you in need of some last minute quick, easy and fun Christmas gifts? Something you can make from your scrap basket with a minimum of fuss? Something useful, as well as pretty? Here's your answer - my phone/gadget cozy tutorial!

These little cozies are perfect for a phone or a camera - I'm sure there's lots of other uses you could think of for them too! The featured cozy fits an iPhone perfectly, including a protective cover/skin.  So, let's get to it!


Requirements:

Scraps of fabric in solid colour, feature fabric prints and lining fabric. 2 batting scraps (approx 5 x 7" each). Medium size covered or decorative button.

Cutting List:


(The measurements given are for the featured cozy. Measurements for other variations are given at the end.)

From your solid fabric cut the following:

Strip A - 1.5" x 4" - cut 3
Strip B - 2" x 4" - cut 2
Strip C - 1.25" x 3.5" - cut 2
Button loop strip - 6" x 2". (If your cover button is quite big, you might want to add another inch to the length).
 
From your print scraps, cut as follows:
Back:- Cut a variety of pieces for the back strips. They should be 1.5" high and can be a variety of widths from 1" to 2" - I varied mine to add interest. You need enough so that when pieced they make 2 strips that are 4" in length. Equally you could cut 2 single strips from a feature fabric - they should be 1.5" x 4" each.
Front:- Cut 2 pieces that are 2.25" x 1.5" (D) and 2 pieces that are 1.75" x 1.5" (E).

From your lining fabric, cut 2 pieces measuring 6" x 4" and 1 strip for the handle strap measuring 9" x 2".

Making the front and back:

Use a 1/4" seam throughout.

Firstly, take the small pieces you cut for your back strips, and piece together 2 strips using a quarter inch seam. Press the seams open, and trim both back to 1.5" x 4". 

Next, take the print fabric pieces for the front panel. Piece the 2 (E) pieces together along the long edge, and the 2 (D) pieces together along the long edge. Press seams, and then piece them together, with the (E) pieces on top. You should now have the following:


Now you're ready to piece the front and back.

Front:

Take the 2 strips C and piece to the sides of the 4 patch front panel. Press your seams towards the print fabric. Then piece a strip B to the top, and a strip A to the bottom. Press those seams to the print fabric also. This will help the print fabrics to pop off the solid even more, once you have quilted it.

For the back, start at the top and piece together your strips as follows:

Strip A
1st print fabric strip
Strip A
2nd print fabric strip
Strip B

Press your seams carefully to the print fabric on all seams.

Your front and back should now look like this, and are ready to be quilted.


Place on top of your batting strips and quilt in the solid fabric as you wish, then trim each piece to 6" x 4". I quilted in straight lines 1/4" apart like this:


Make Button Loop and Handle Strap:

First, make the handle strap. Take the 9" strip you cut from the lining fabric and fold in the middle lengthwise, wrong sides together. Press the fold. Next, open out the fold, and fold both raw edges inwards on either side, so that they meet in the middle, along the crease you just pressed:


These should now be folded back over each other along the original fold line, and press again. You should then top stitch along both edges, approx 1/8" in to secure.


Next, do exactly the same with the solid fabric strip you cut for the button loop. Once it is done, you need to create the loop. First, curve the strip around as follows:


Then, keeping the edges as close to each other as possible, press the little triangle this forms down:


Lastly, sew a line across, following the top stitch line, to secure the loop:


You're ready now to sew the cozy together!

Assembling the cozy:

Take the back piece, the button loop and one of the lining pieces and prepare to sew across the top edge. First, place the button loop in the centre - it should be 1.5" in from both edges. Make sure the back of the button loop is facing up, as in the picture below:


Then, place your lining piece on top of this so that the right sides are together and pin the button loop in place through all the layers. I have let the loop ends extend past the top edge so you can see in the photo more easily, but you should line them up with the edges when you are making.


Sew along the top edge using a 1/4" seam. When you get over the button loop strips, reverse and sew back and forward over them again to strengthen the seam here, then continue to the end.  Using a small, sharp embroidery scissors, very carefully trim the batting in the seam to reduce the bulk. Be careful not to cut your fabric or your stitches. You can also trim back any little bit of the loop ends that extend over the edge.

Take your front piece and your other lining piece and place right sides together and sew along the top edge. Trim front batting as above.

Now its time to sew these two pieces together to assemble your cozy. You will be matching the linings and the front and back of the cozy right sides together, lining up your raw edges and the seams you have already sewn.

First, place the handle strap and pin in place. I put it on the right side of the front piece, about 3/4" down from the top seam as shown below. The strap will need to be inside the 2 pieces when sewing your seam, so make sure to place it carefully in the middle and not stray out to the edges so as not to get caught in any of the edge seams.


 Next, place the front and back pieces right sides together, and the lining pieces right sides together and pin around all the edges. Make sure your top seams are matched carefully.


Again using a 1/4" seam, start sewing along the bottom edge of the lining, about 1" in from the corner. Make sure to backstitch to secure. Sew all the way around the edges of the cozy, including reversing back and forward over the handle strap a few times to strengthen it. Finish up approx 1" in from the opposite corner of the bottom edge of the lining. This should leave you a gap of about 2" along the bottom of the lining for turning the cozy right side out.

As with the top seam, trim the batting in the side and bottom seams back very carefully


 Lastly, cut off the corners taking care not to cut your stitches, and then pull the right side of the cozy out through the gap in the lining.


Push your corners out carefully using an old knitting needle or a point turner.  Lastly, you need to sew up the gap in your lining. Fold the seam allowance inside and press together. Then you can either hand stitch the gap closed, or, because it won't be seen, you could also edge stitch it closed as I did:


Push your lining back into the cozy and give it all a little press to neaten it up. The last thing you need to do is add a button for the closure. I think cover buttons really work on this cozy and would highly recommend that you cover one using a coordinating scrap. If you need a tute on doing this, you will find one here. You could also use a pretty decorative button. All you need to do is hand stitch it on in the middle of the front - you want it placed so that the bottom of the button is just sitting along the seam joining the print fabric panel to the top solid piece.


 And now all that's left is to decide who you are going to give it to :-)


And don't forget that little handle - perfect to hang on your bag so you can always find your phone!


I have run up a few of these cozies trying to get the tute just right and get decent photos for you in the last week, in slightly different styles and sizes.

Variations:

The Letters Cozy: 


The Letters Cozy is made using a natural coloured linen/cotton fabric and instead of doing the tiny piecing for the feature fabric panel and strips, I cut them from one piece of fabric each.

Measurements as follows:

Front panel - cut 1 measuring 3.5" x 2.5"
Back strips - cut 2 measuring 4" x 1.5"

All other measurements are the same.

The Rainbow Cozy:


The Rainbow Cozy is a slightly smaller size, suitable for a narrower phone.

Measurements as follows:


The width of strips A and B is 3.5" instead of 4".
Strip C measures 1" x 3.5"
The print fabric strips on the back are also 3.5" wide instead of 4"

Lining pieces measure 6" x 3.5" each.

All other measurements the same.


Aren't they pretty? I hope you had fun making this cozy.

If you have any questions on the tute, please let me know in a comment or pop me an email to fairyfacedesigns@gmail.com. I would love to see any you do make - so please upload them in my Flickr group