
Fabric Covered Button – A Tutorial by PatchworkDelights
First things first, I would like to thank Sarah for arranging this tutorial swap! Thanks Sarah x! You will find Sarah’s tutorial running concurrently on my blog here on making your own bunting, so why not go and check it out?
Fabric covered buttons are very straightforward to make and very little is required to make them. You can make small to very large buttons with plain backs or with wire backs (for sewing onto garments). You can make push pins, fridge magnets, bookmarks, the imagination is the limit!
Let’s get down to business shall we?
Getting started
Button covering kit. – you can get them in your local habedashery shop or online.
Fabric, scraps are perfect for this project.

What’s Next?
Well now you can start making buttons!
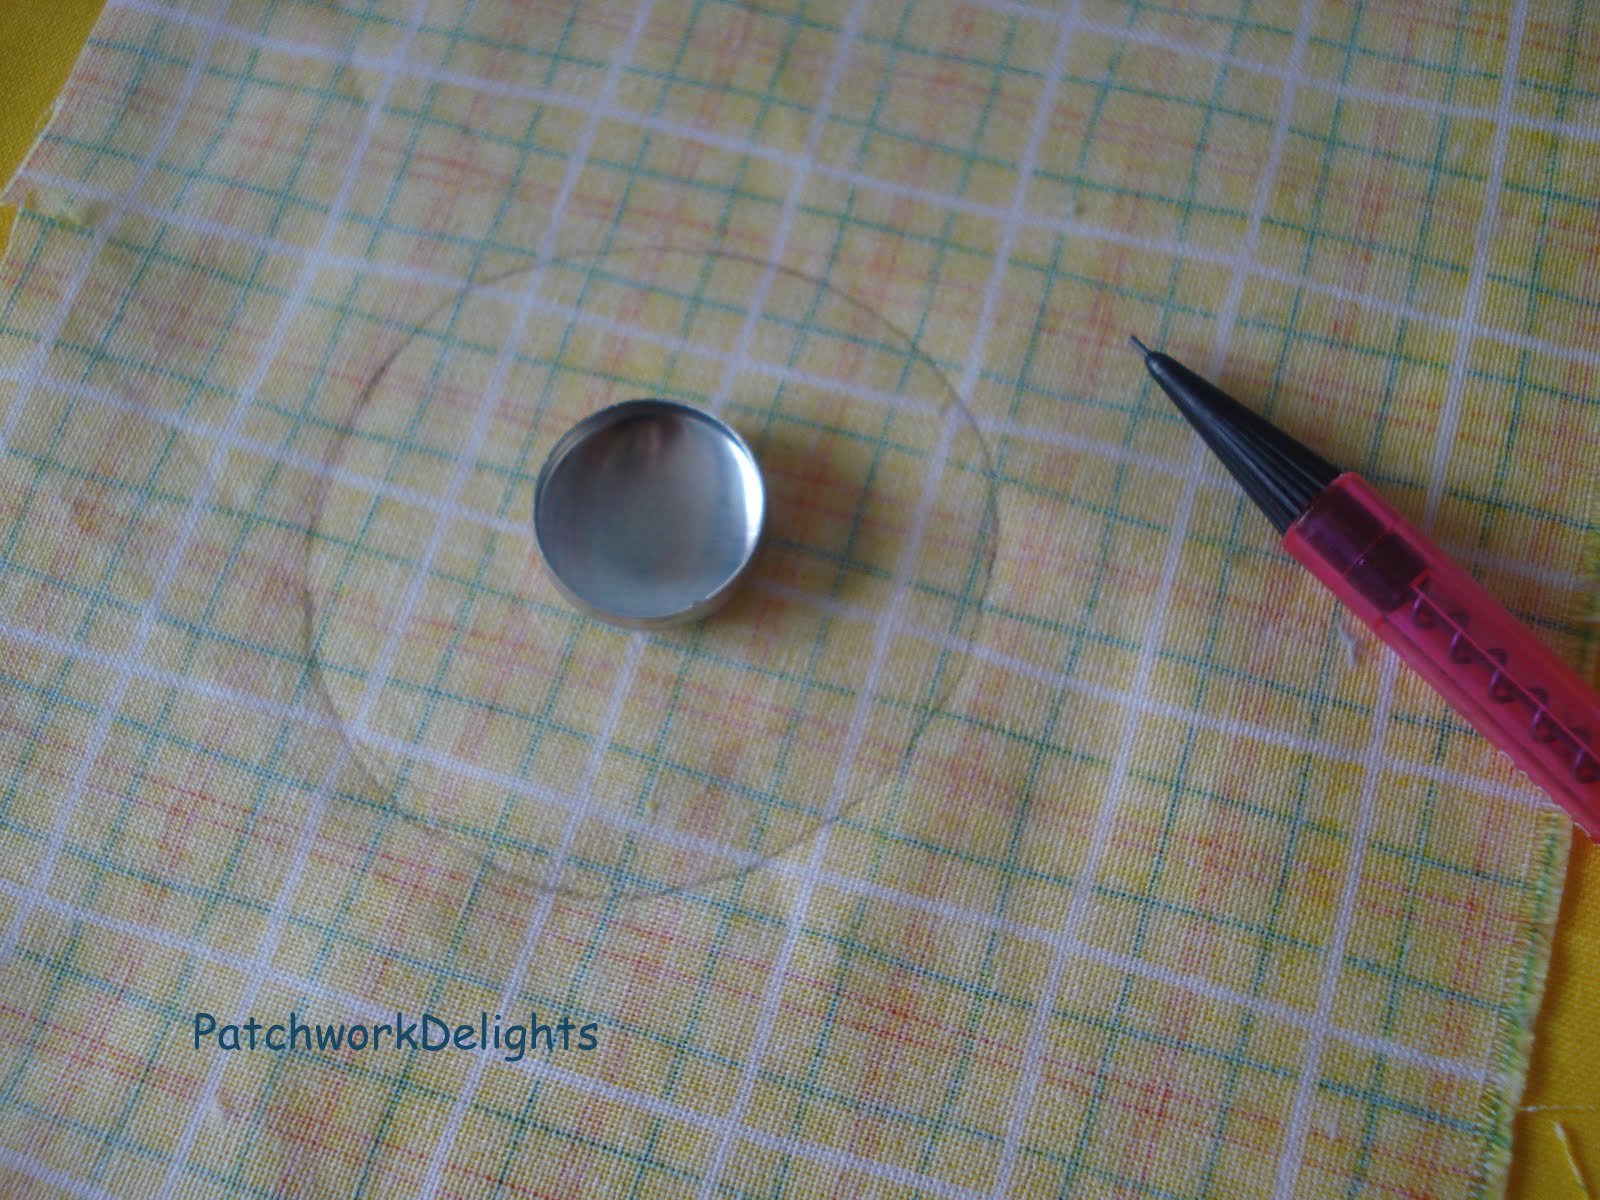
Get your scrap of fabric (now at this point when you buy a kit they include a measuring template type of thing, you can cut this out and perhaps put it on cardboard and use this to measure out your circle of fabric). I made my own for my larger buttons.
Get your fabric and cut out a circle.
Get the white part of your kit and place the circular piece of fabric (right side facing down) on top of the white thingy.
Then place the button top face down on top of the fabric. You will notice I trimmed mine slightly I was judging with my eye.

Push the button down into the fabric with your finger and of course this will push down into the white part of the tool kit.
This is the tiny bit fiddly part but nonetheless straightforward part. Tuck the fabric into the well of the button until it is all neatly tucked in.

Place the button back on top of this.

Get the blue little cap and place it on the button back and press firmly.

Now ideally you don’t want to pack in loads of fabric into this well but if you find the fabric is slightly on the thicker side then I sometimes use a hammer and with one tap get the button back in firmly and flatly, but this is only the odd time.
Now simply pop out your gorgeous button!

Finished!

My 8 yr old has made loads of my buttons so if he can do it..it’s so simple it’s child’s play and what’s more great fun!

You can choose animal prints, different toning colours, different sizes of buttons, you can embroider them or you can bead them!
I hope you try them, they are great fun and very simple to make!
Any questions don’t hesitate to contact me at patchworkdelights@gmail.com
Thanks again Sarah for arranging this tutorial swap!
5 comments:
Thank you for the tutorial and the inspiration. I used to make these, but have not in years. I am going to give them a try again.
I am going to look for that kit. When I made them before, I had to curl the fabric onto little claws on the inside of the button top and it was painful to say the least! So thank you for the heads up on the button kit!
Awesome! I'm bookmarking this for sure.
Woo hoo, Fi! What a great tutorial! Thanks for sharing it, Sarah :)
You can find these at Walmart for under $2 a kit. At least where I live. Great tute!
Post a Comment