I have been trying to concentrate on small and easy projects in the last few weeks, seeing as my energy to sew is a little thin on the ground - the sort of projects that are not too taxing and are fun to make. In the last week, I managed 2 ( a major achievement, although it mighn't seem like one!) little projects in full, and finished off another small project too (more about that later this week) So here are the first two - both made in less than an hour each, but which made me smile.
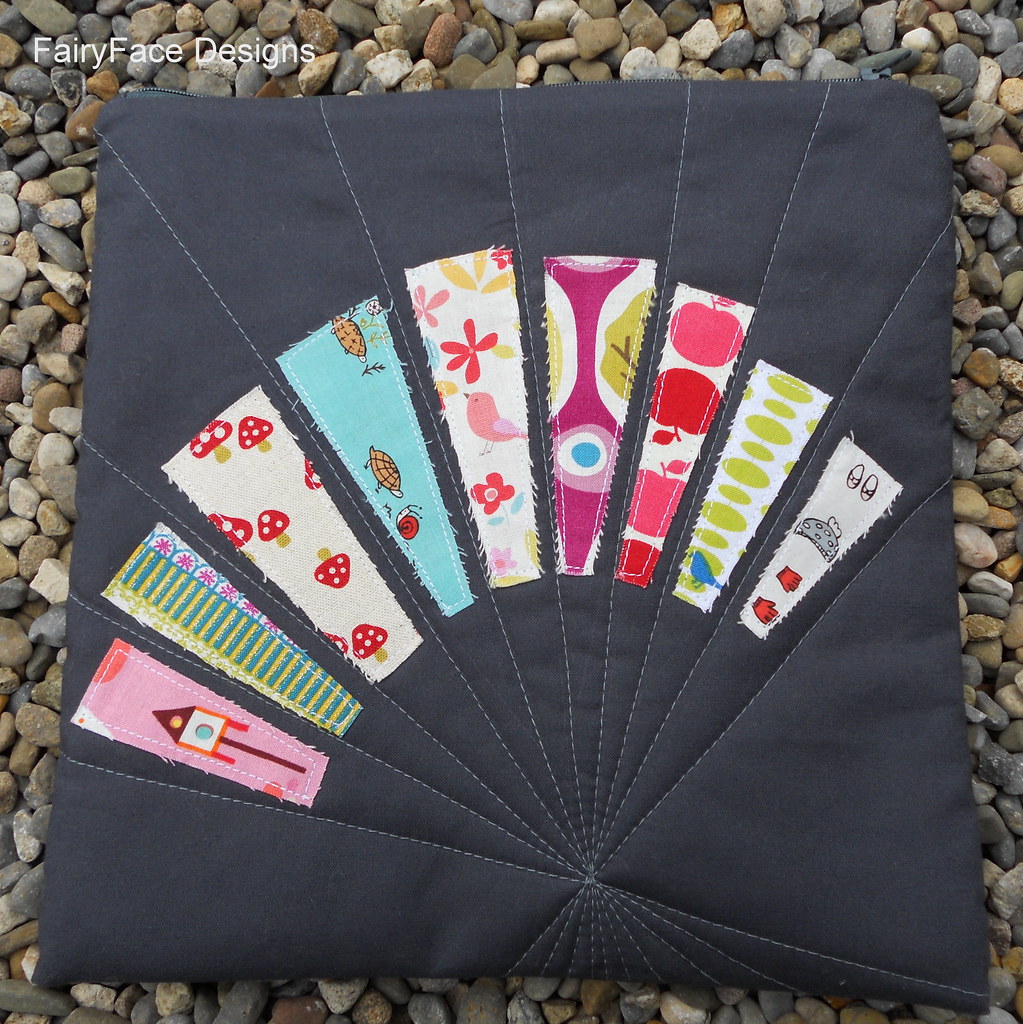
First up - I needed a small extra to go with my pouch for the PLP5 swap. After dithering a bit about what to do (I seem to spend a lot of time dithering at the moment - which project to do, which fabric to use - its very frustrating and very unlike me! I think its because my sewing mojo is half asleep at the moment.) I decided to make a fabric basket using
Ayumi's tutorial, as I have one that
Kirsten made me in a swap last year and I use it all the time and love it. Even if my partner might have some already, they are something you will always have use for in my opinion!
I wanted something whimsical and I found a couple of leftover charms from the Japanese charm swap I did last year that I was saving for the right project. I fussy cut some 2" squares out of them and they worked exactly as I hoped they would.
I was pretty happy with the basket, so my package is now on the way to its destination.
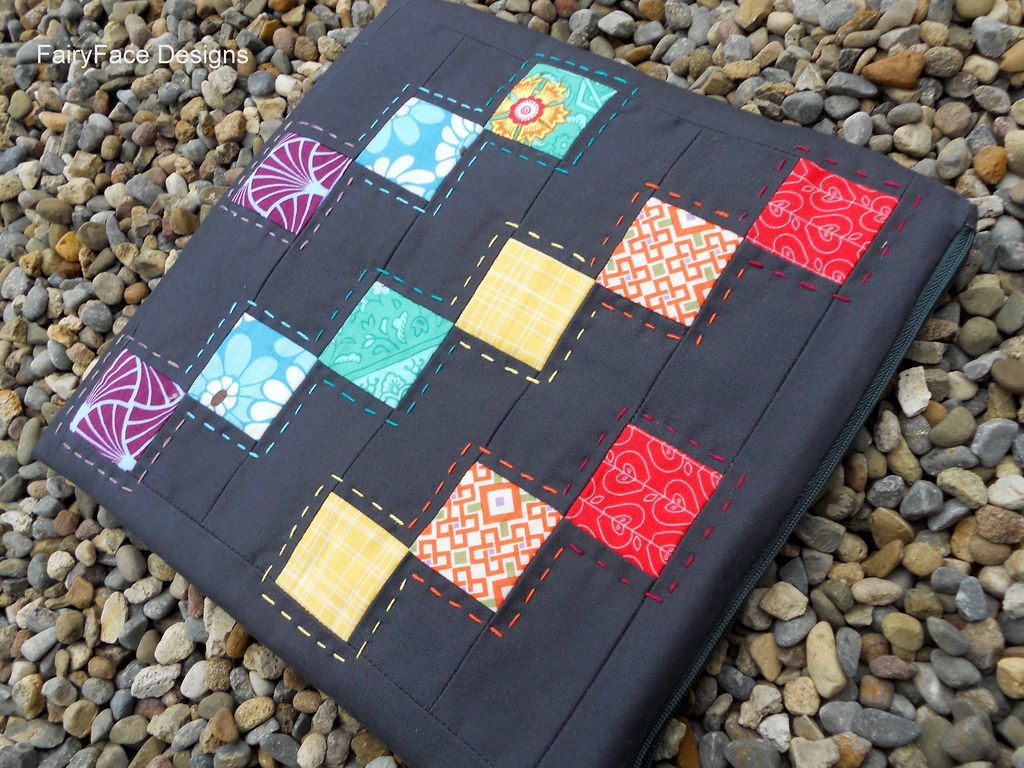
I also got my fab package all the way from Australia - from the lovely Gina
- Happy Go Lizzie on Flickr. I was so thrilled with this pouch. Gina included the jewel tones I said I was loving right now and lots of hand stitching - I just love it and the extras - look at that cute mini pouch and the pincushion! Thanks so much Gina :-)
I also made a bit of an impulse Kindle buy over the weekend -
figuring that if I couldn't sew, then I might as well get back reading
again. Reading used to be my fave hobby until it took a back seat to
sewing, and its pretty achieveable in bed and on the sofa! Of course,
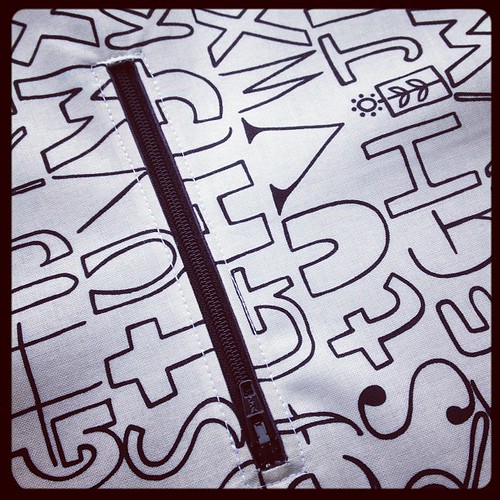
having bought it I needed a cover. I found a
good tutorial by Whipstitch
and loved the design.
This literally took about 40 minutes to run up - it was super simple. I could have taken a little more care if I wasn't in such a hurry to get it done before the new series of Downton Abbey started last night (wasn't it fab?) I actually didn't dither over the fabric for this one, believe it or not. The typewriter fabric kind of fell out of my fabric box and I knew instantly it was perfect! When I was halfway through making it, I brought in the Kindle to check for size and had a moment of serendipity when I realised that the screensaver had turned to the typewriter keys - so I just knew it was going to turn out perfectly.
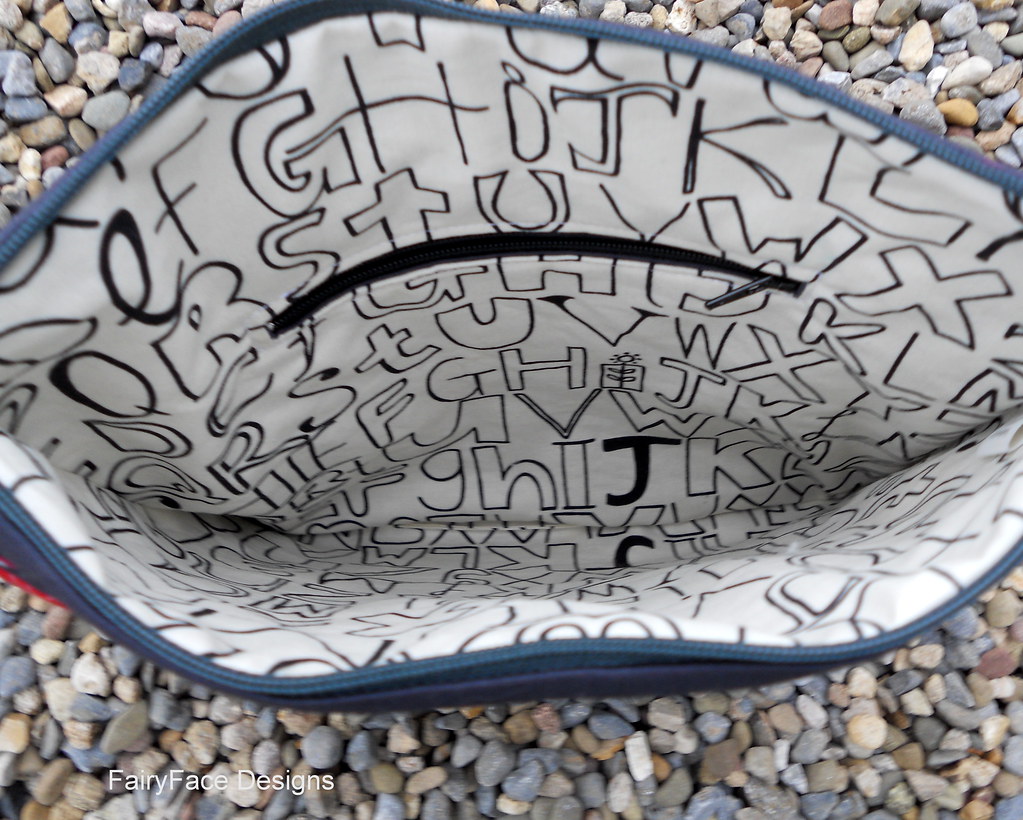
What I love about this design is that there is room to hold the Kindle for reading.......and there is also an internal pocket to keep it safe inside when you're not using it, giving an extra layer of paddig to the screen.
I really had fun with this one, but I also am looking forward to making a few other covers just for variety. I have lots of ideas on this one so you might see a few more covers in the coming weeks.