Friday, February 28, 2014

February Scrappy Finishes {Put Your Scraps to Work Challenge 2014}

So, did you have a good February? Did you make any progress in reducing your scrap basket and stash?

Mine was good :-) I probably worked more from my stash than my scrap basket but that's good too.

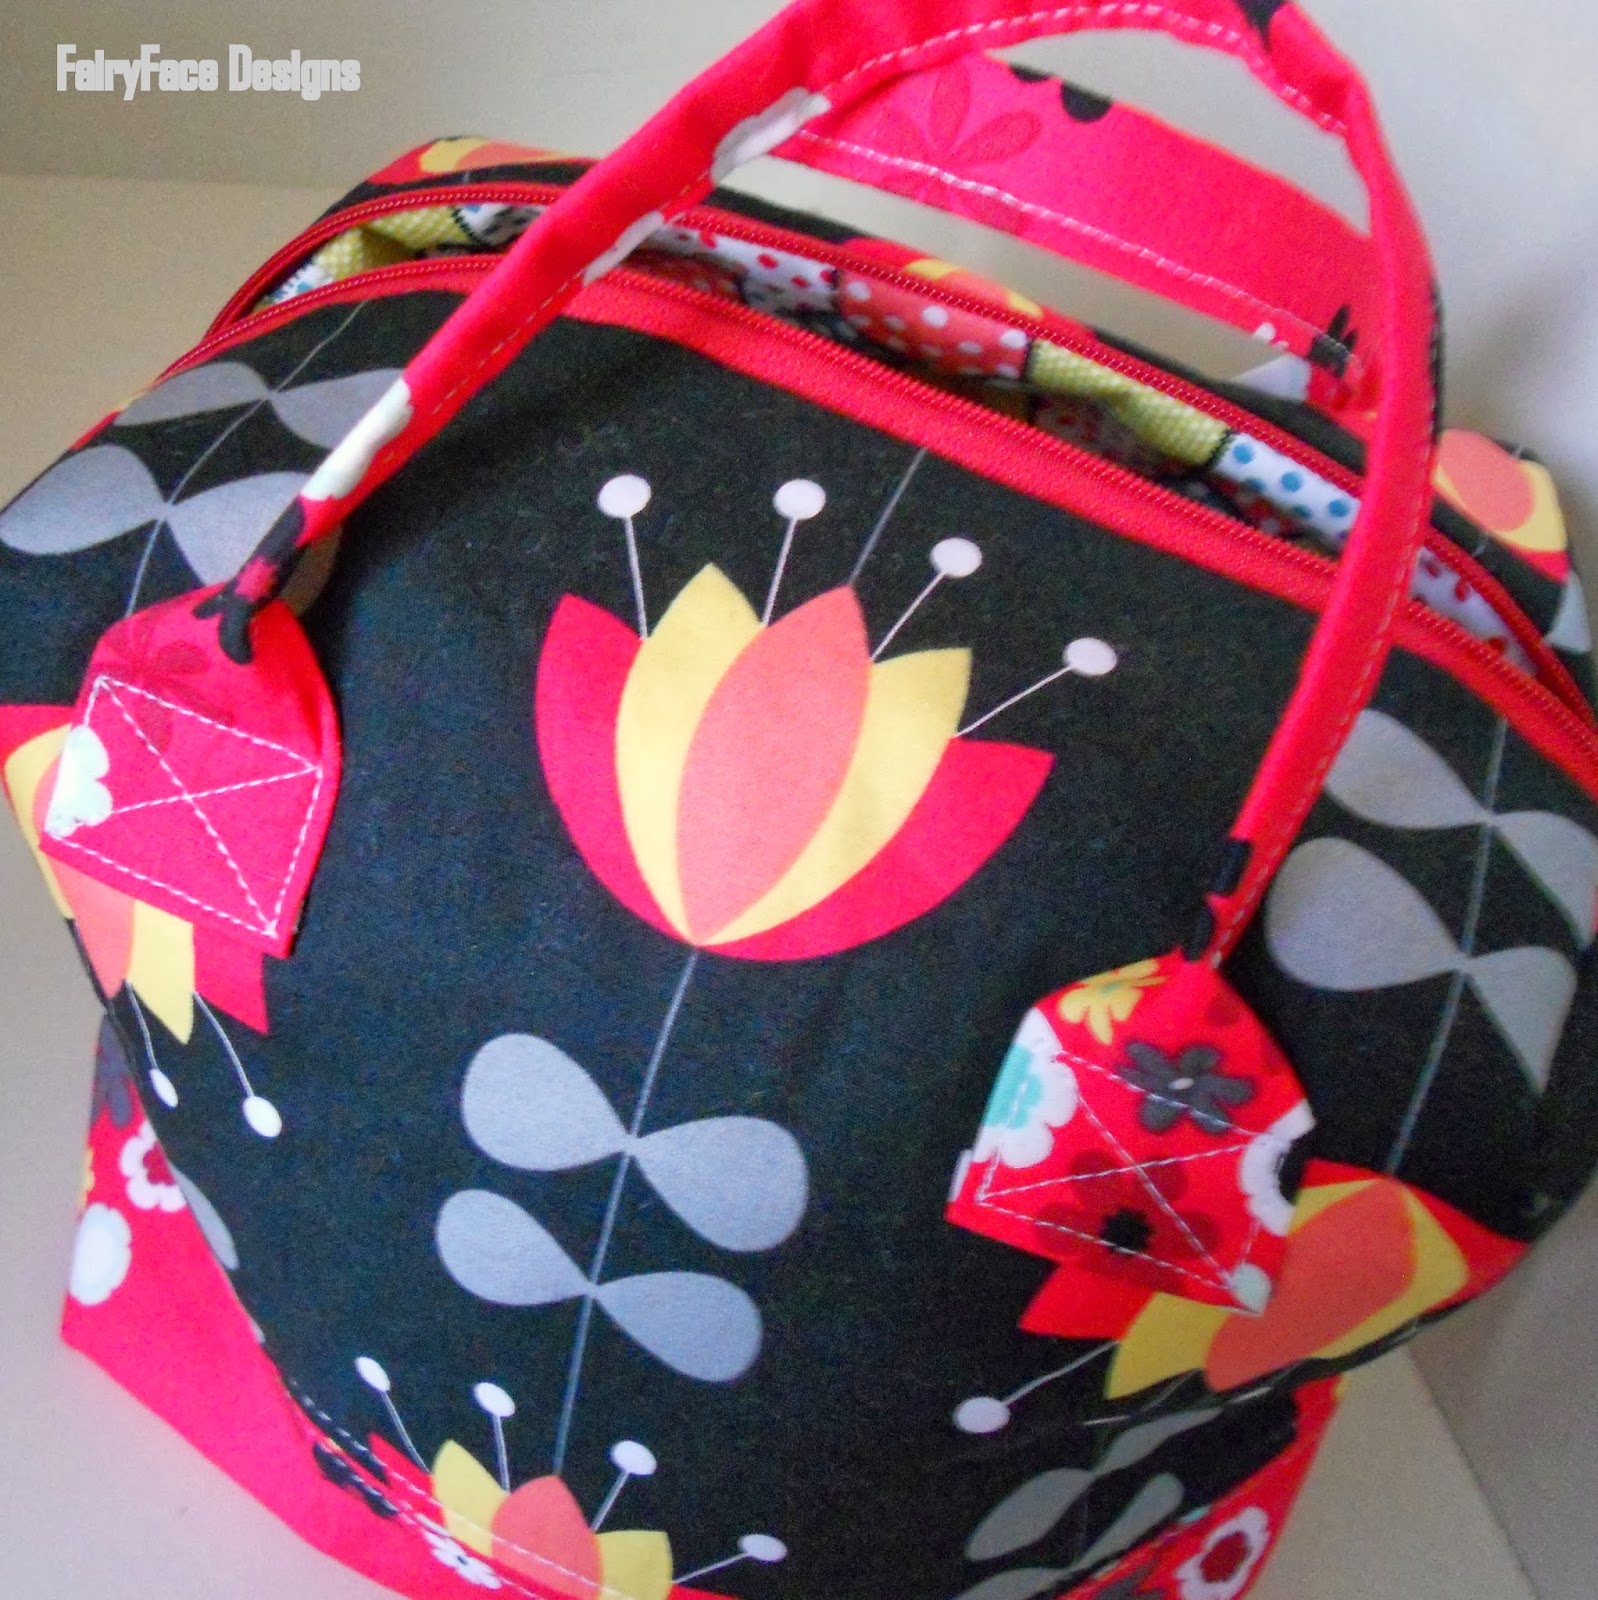
My properly scrappy finish was this lovely little Kindle cover for a friend of mine. I used the Whipstitch tutorial for the dimensions on this one as I'm pretty sure that the model my friend has is the same one, and I just changed up a couple of minor construction aspects to suit what I wanted to do - like the quilting and the closure.


My friend loved the scrappy look of the fabric basket I made last month, and the matchstick quilting on it so I went with a similar style here. I kept the front cover colours relatively cool and make this little birdhouse the main focus. The quilting shows up nicely - I used my absolute favourite Aurifil thread which is 2600, a light, silvery grey colour. It works great with so many fabrics and I love how it looks here.


I used a covered button and some ric rac for the closure and think it finishes it off nicely.

On the other side of the panel for the cover, I used some brighter colours - just to switch it up a bit. Love how bright and cheery this is, and there are some of my favourite prints in there.


For the interior fabric, I used a Lotta Jansdotter Echo print. This cover fits my Kindle very snugly, and mine is slightly larger than my friend's, so I hope it will be a good fit. 

 
 I can't wait to see what you've been working on! Link up below :-)


Thursday, February 27, 2014

An old favourite (Across the Sea nostalgia, anyone?)

Last week I was off with the hubbie and kids for mid term break, and in the course of not having to get up before 6:30am, lazing around the house in the mornings and generally taking it easy and having fun, I appear to have found my "sewjo". My brother in law had asked me to make a couple of quilts for him to gift to good friends who had babies recently and when I was trying to figure out what to make for one of them, I was hit by a genius idea.


I got cutting, then I got chain piecing. Almost overnight, I had a quilt top and before I knew it I had a quilt. An Across the Sea quilt. Swoon, swoon, swoon.

I was surprised at the wave of nostalgia I got in comments on Instagram about this one - I think it was a lot of people's first quiltalong, or even their first quilt. I had a bit of a trip down memory lane myself.


This is such a quick and easy block to make, and so striking too. It allows the fabrics to shine, which I always love, and I had lots of lovely FQs in my stash to use for this quilt. Like the retro flowers one, it just came together effortlessly in terms of fabric selection - I always think that's a giveaway as to when you are in possession of your sewjo - when it's absent, fabric selection seems like such a massive hurdle to get over and nothing flows.


I really am happy at how the two amber coloured prints worked with the rest of the colours, they just keep it fresh and vibrant.

I backed this one in some red flannel I had in my stash and I absolutely LOVE it as backing. It's snuggly and soft and the quilting shows up so nicely on it too. I will absolutely be investing in flannel again for backing, its wonderful. It did have a LOT of shrinkage though - I was glad I prewashed, which was more for the red colour than the perceived shrinkage.


 The binding is a fabric from Marmalade which marries the front and back nicely with the pinks and red. I did a stipple quilt on this one using white Aurifil thread.


And all rolled up in squishy perfection!


 All ready to go off to its new home :-)


If you want to make an Across the Sea quilt, Jennifer and I did a quiltalong for it a few years ago, you can find all the pattern posts here. I'll be linking this up to Finish It Up Friday at Crazy Mom Quilts, and don't forget to come back here tomorrow to link up your February scrappy projects in the Put Your Scraps to Work challenge.

Saturday, February 22, 2014

A Flowery Finish

I love little pram quilts. They are so sweet and pretty and so practical. My last two babies were winter babies and I got so much use out of little quilts and blankets when we were out and about, I loved having something pretty to put on their prams/car seats/buggies, particularly if it was a little quirky or different.

So when I get the chance to make a pram quilt, I love it. A friend of one of my best friends had a new baby girl before Christmas, and I happily agreed to make a little quilt for her for my friend to gift her. This sweet little retro flowers quilt is the result.


I used 3 Bonnie and Camille prints - 2 from the Scrumptious line, and one from Ruby. The soft pink is an Aneela Hoey print. They all play so nicely together. This was one of those quilts where there was no fretting about fabrics, no fabric auditioning. I made the blue Ruby block first. The next morning when I woke up, I knew exactly what fabrics I wanted to use to work with it. I just love when a quilt top just comes together for you, almost as if you had it in your head all along just waiting to come out.

This was a lovely little block to make and came together quite quickly - possibly because I'm now totally comfortable with curved piecing thanks to Leanne's fabulous tute. I never thought, after my first miserable attempt at curves back in December 2011, I would ever say this about curves, but I really enjoyed sewing those blocks and they came out pretty close to perfect! I used my Accuquilt Go! Baby to cut the curved block pieces using the drunkard's path die - I really love it for those tricky pieces. I'd never attempt blocks like this, or hexies, without it.


I had a soft pink ditsy flower print in my stash for a long long time that I used for the back - its a very soft lightweight cotton, not dissimilar to a lawn, and its beautifully soft as a backing. I quilted it with Aurifil 50wt white thread - I flew through the quilting as its so small, and when I washed it, the shrinkage was just about perfectly giving it a lovely crinkly texture.


The binding is a cotton poplin in a heart print - colour wise its a pink toned red and works nicely with the rest of the colours.


This little quilt measures 30" x 36" and has gone to it's new home where I believe it was very happily received and I hope it gets lots and lots of use.

Wednesday, February 19, 2014

Medallion-ing Along in scrappy style

Being on annual leave is great. It's been a really productive week here in my house and I have piles of things to show you over the course of the week.

For now, I'm going to stick to Medallions.  Posting my inspiration mosaic last week worked exactly as inspiration mosaics are supposed to work. I was, really, truly inspired. I loved every single one of those blocks (as I should, I spent ages whittling down my list), but the ones that really caught my imagination used curved piecing - the butterfly and retro flowers block. I did a bit more browsing around online trying to figure out block construction for them, then took out the Accuquilt Go! Baby and got cutting. First I tried the butterfly block - inspired by this tute by Megan of Canoe Ridge Creations. I needed to change up the measurements a bit for my block but it worked beautifully. The first one I made used yellow scraps - nice, but a bit insipid for a central block. So then I tried a pink version using all pink scraps. Bingo. I added a white border to bring it up to the recommended size (15.5")


I fell head over heels for it and my path was set. (I also then tried a retro flowers block which worked fabulously too - but I made that into a different quilt) Next I neeed to add the borders. The QAL offer a few different options for how blocks and borders work. Because mine is not set on point, I needed to add a couple of borders. Firstly, I added a lovely Tanya Whelan paisley print. Then I pondered what to go for on the 2nd border. I originally thought about triangles but then decided on HSTs. I've done a similar border in my Made to Measure quilt top (she who is still unfinished 8 months later, shame, shame) and love how those triangles appear to whirl around the central block, bringing so much movement to the quilt.  I used a low volume grey print for the background, and I cut some more scrappy squares to halve for HSTs. This brought the quilt top up to 24.5"


If you're following me on Instagram you'll know I've already done another couple of borders which soften out the brights a little bit but I want to keep track with the QAL linkys here on the blog so I'll post that the next day. I need to start the next pieced border tomorrow - I'm thinking triangles for this one (I have loads of pretty ones leftover from the triangle quilt, it would make really good use of them) and for the cornerstones, economy blocks sized down slightly. What do you think? Any other suggestions? For now, I'm going to sit back with a mid-week-it's-allowed-because-I'm-on-annual-leave-this-week glass of wine, and admire what I've done so far.

Monday, February 17, 2014

Pyramid Quilt..1st quilt finish of 2014

I find it slightly hard to believe that we are half way through February and this is my first quilt finish of the year. I finished this on Saturday and dashed out between the downpours today to get some picture. Happily, finishing it appears to have kick started my sewjo and I finished another quilt yesterday which I will be showing off tomorrow.

I called this beauty Pyramid. I love, love, love it. It is everything I hoped it would be.


 Love those rows of triangles although they nearly broke my heart. As you know, I had some doubts about using the low volume triangles and breaking up the pattern but now that its all done, it really truly works as I hoped and draws the eye through the quilt and make the brights pop beautifully.


This is, to a degree, an I Spy quilt. I fussy cut loads and loads of the triangles and there is so much there for a little girl to look at.


For the back, I had a lovely Zoology print in my stash - unfortunately not enough for the whole back, but a little bit of pink brought it up to size. I was hoarding this for the right project, and this was definitely it.


 Love the pink and grey and those pretty giraffes and elephants.


I originally planned to quilt this in a pattern of multiple loops in the white/grey triangles, and tried it on the first few rows. But it really didn't work for me and I didn't like how it looked. So instead I went with a loopy stipple quilting pattern and this worked much better. I used a pure white Aurifil 50wt thread and its sunk into the quilt beautifully with the slight shrinkage after washing.


Perfect texture, I think. Rachel's little pals agree.


I put out a question on Instagram and Facebook last week, asking for opinions on binding options. I was really surprised by the number of replies I got, and it was really interesting to read people's opinions. A big part of me wanted to use the grey fabric binding, but when I put it against the quilt by itself, it didn't work like I thought it would and kind of sucked the life out of the bright prints. So I used the pink, and although as I said at the weekend, I felt it was a bit obvious, it's really grown on me and I feel it was the right choice.


So little miss Rachel finally has her own proper quilt for her room. This is not really a baby quilt - its more of a little girl's quilt and will grow with her, coming in at 72" x 48". I hope she gets lots of use out of it.


Wednesday, February 12, 2014

Starting a new Medallion QAL......

Sewing and quilting do not bring out the logical in me. Nor, I suspect, in most of you either! Despite the fact that my Made to Measure medallion quilt top is still shaming me, hanging unfinished (but only 4 cornerstone blocks away from completeness) in my sewing corner, I still absolutely feel the need to start another. It's all Cindy's fault, obviously, kicking off a Medallion QAL over on the Modern Quilters of Ireland blog. If you want to join in, please do. You don't need to be a member, or even Irish, the more the merrier!!

I'm pretty intrigued by this QAL - we are going to be following Melanie's instructions to construct our own medallion design - so it's exciting and challenging and a little bit of a mystery. I have no plan yet. All I know is that I am making my Medallion a baby size one, as I have a few baby girl quilts to make.

I've been trying to pin down what pattern to use for my central block. I'm still not sure - but this is my inspiration.


Medallion QAL Centre Block Inspiration

Lots of prettiness in here, right? While I love some of the really complex ones, I'm not sure an unsuspecting baby girl needs to be the subject of my experiments with paper piecing. But you never know, maybe I'll be brave! I'm drawn to stars, but I've made lots of stars. So maybe I'll try something different. The retro flowers are calling to me too - I've seen this block set on point somewhere and like it a lot.

Anyways.....I'll mull it over for a few more days before deciding. In the meantime, here's my pretty little fabric pull - perfect for a little lady don't you think?


If you want to join in, please do. The first linky ends tonight (inspiration posts) or feel free to join in at the next linky if you want.

Wednesday, February 5, 2014

Back to being a bag lady

It's a long, long time since I made a bag. Too long. I forgot how much fun they are, and how challenging the fact that they are 3-dimensional can be.


A couple of weeks ago, I was catching up on my blog reading and came across Heidi's tutorial for the Ellie travel case. It was one of those tutes that just jumped out at me - super cute and I felt like I just HAD to try it.

So on Saturday, I had a moment where I actually had nothing to do - the house was tidy, everyone was fed - those moments come along very rarely these days. (Well, honestly, the basics were done. There was, obviously, plenty I could have been doing, if I was the sort of person who didn't avoid housework like the plague.) So I jumped at the chance and decided to make something quick and fun - and this was the obvious project. There were no fabric choices to be made - as soon as I thought of the bag, I knew I wanted to use the black Nordika print FQ I'd been hoarding for a special project, and I knew I wanted the pink for contrast.


So I grabbed my stuff, got cutting, interfacing and sewing and in a few hours, hey presto I had a bag!

It's small, but beautiful.  I love how the Nordika plays together. The top pic is the front..the back is equally nice, the fabric is just placed slightly differently.


I used some leftover hexie print poplin for the lining which works great in it.


The long zipper makes this a very practical little bag to pack stuff in and out of. My zip ends definitely need a bit of work. I haven't done a zip insertion in so long, its a little bit on the messy side, but no one will be looking at it anyways.


I'd definitely recommend trying this, the tute is great and its a lovely make. Thanks Heidi for the inspiration - I had the most sewing fun in ages making this!