Monday, April 30, 2012

Retail Therapy

No sewing to show you today. I am busy busy behind the scenes finishing some projects that I can't show you. But, seeing as I am in a pretty good mood tonight, I thought you might appreciate a little eye candy! So I'm going to show you some of my retail therapy results that arrived in the last week or so! 


First up was this gorgeous bundle of fat quarters and half yards from Julie at The Intrepid Thread. There is lots of goodness in this one, some FMF, some Apple of My Eye, some Sunny Happy Skies and lots more. I am itching to cut into this fabric and I think I'm going to have to make a quilt with some of it sooner rather than later.

The week after I ordered this, there was a big sale at The Intrepid Thread and despite the fact I had a package on the way, I couldn't resist the opportunity to stock up on yardage for quilt backs and I bought 9 yards, the max Julie could cram in an international envelope. I love both these prints. The grey is for the back of my Ruby quilt, and the Navajo tile will work perfectly on 2 different quilts I am thinking of it for. Perfect (and cheap too!)


When I saw Hadley's post about the new Fat Quarterly book, I got a little carried away. I ordered it about 5 minutes after reading her blog, and I threw in another book for good measure! I was visiting Fi a couple of weeks ago, and oohing and aahing at her projects when she pulled out this book. A flick through it and I was sold. So now I have both in my hands and looking forward to reading them tonight when the kiddies are in bed. There are really great projects in each - I love books that have ideas that are a new twist on traditional blocks, or make a simple block idea really interesting through tweaking the design and these both hit the mark for me. I can see myself diving into more than a few projects from them. In fact, I have my eye on one of them for some of that FMF in the picture up there!


The last thing that arrived just this evening was my new quilt labels. Alas, no photo to show you right now, but I am really pleased with them. They are little folded labels to stitch into the binding, and once I have a quilt done with them in I will take a little picture. Its the first time I will have my own labels, I am super delighted!

Saturday, April 28, 2012

Little Apples Stained Quilt top

It's been a little bit of a mad week here in Cork. We were away at a good friend's wedding for a couple of days, and when I got back this afternoon, I really wanted to get some pictures to show you my progress on the Stained QAL.


I did the last few sashing and border seams, and then pressed my top, anxious to get out into the lovely sunshine, but just as I got done, the sun disappeared..I was not impressed. Doubly so because just as I got my pics uploaded here and the post almost written, the sun came out again. But anyways, I have a few pictures to show you.

You will know I struggled with a bit of a dilemma about what colour sashing to use on this one, as there were so many white prints, and I was afraid that a grey or black would be too dark. Miss Hadley gave me a good push in the right direction when she suggested yellow, but even after making some blocks I wasn't convinced. Mostly because yellow is not my favourite colour.


But...but....thank you, oh wise one! You were so right. The yellow works perfectly, picking up the little yellow details in the other fabrics, and now that the quilt top is done, I am really thrilled with how bright and happy it is. I used a buttery, almost golden yellow dotty cotton for the sashing. It is probably most correctly called a poplin and the lighter weight compared to my quilting cottons did cause a few little hiccups for me. There are more than a couple of wonky seams in there, but I think it adds to the character. For me, it definitely hits the bill for a baby girl's quilt that is not at all pink or girlie. The fabric I used in this is Aneela Hoey's Little Apples collection, which I bought a Fat Eighth bundle of. The whimsical prints are just perfect. I debated leaving out the olive green, because I wasn't totally in love with the shade, but Sarah reckoned it would balance the quilt colours to leave it in, and I decided I would take our QAL mama's advice. You see, this is why I love quiltalongs - you get lots of opinions to help you decide on the best course of action, and you get ideas you never would have thought of yourself.


I love the stained glass effect, and am looking forward to basting and quilting this one. I just need to decide on a backing fabric!

Thursday, April 26, 2012

{Sew} Get Started: Quilted Table Runner Tutorial


Today I am totally thrilled to welcome my wonderful bloggy friend Susan who is guest posting with a great tutorial for a quilted table runner, using the really useful "Quilt as you Go" technique. I have "known" Susan for quite a while now, and she is one of my very favourite bloggers. She makes gorgeous quilty projects, in addition to being the sort of cook I aspire to be. As well as sharing her quilts and her cooking and baking, she is also very funny and always real. If you haven't visited her before, you definitely need to pop over to Canadian Abroad and say hi to her.

Susan is doing the Stained QAL too (although she's a bit further along than me!) and I just love how her quilt top looks, so bright and cheerful!


This tutorial is part of the {Sew} Get Started: Beginner Sewing Tutorials series. To go to the master page with a full list of tutorials and links to past tutes, please click on the link.

FairyFace Designs

So, Susan, it's over to you!

A huge thank you to Sarah for inviting me over to Ireland to do a tutorial. I always wanted to visit the south and see Cork. Probably because I heard it was a huge foodie place long before I found out that Sarah was here too. Quilting and eating - two of my passions!

My tutorial takes you through the steps to create a quilt-as-you-go table runner. It is a very simple design and once you have got the basics you will see that it would be very easy to incorporate some pieced strips, or vary the width of the fabric strips I have listed here. It is an easy design to adapt and make your own.

Fabric requirements -

You will need 17 strips of fabric measuring 3" x 14".
A piece of backing fabric that is width of fabric (presuming that the fabric is 44" wide) x 14".
One piece of wadding that is the same size as the backing fabric.


Layer the backing fabric and the wadding, removing any creases in either, and fold in half lengthwise to find the halfway point and use a pin to mark that point before laying flat again.


Work out how you wish to have the layout of your fabric strips in your runner.


Then remove the centre strip and place to one side. Form two piles of strips, one for each side of the runner, working from the inside strips out as you stack them so that the top strip in the pile is the fabric just to the side of the centre strip.


Time to start sewing. Take your centre fabric strip and pin it to the centre of your wadding/backing using the pin you placed to mark the centre point as a guide. Remember to remove the needle that marked the centre on the wadding before you pin the fabric strip and start sewing.


Before sewing, use your quilting ruler to ensure that you have the fabric square on to the runner.


Sew down both sides of the fabric strip to secure it to the runner. For this first strip you want to use approximately a 1/8" seam. This seam will be hidden once you have attached the adjoining strips.


Place one pile of fabric strips within easy reach of you and the sewing machine. Place the other pile well away so that you do not get confused and take fabric from the wrong pile. All the strips for one side of the runner will be attached before starting on the other side.

Taking the top piece of fabric from your stack place it on top of the centre strip, right sides together, edges of the fabric aligned.


Sew down one side of the strips with a 1/4" seam...


... and press the seam open.


You will want to repeat this process now until all the strips for one side are attached. Always align the edges of the fabric before you pin and sew. It is worthwhile to keep the end of the runner you are not using rolled up or pinned so that you do not inadvertently sew a strip on the wrong side. Do not worry if the ends of your strips are not perfectly aligned. These will be trimmed after the strips are all attached and this is not a problem.


When the final strip for one side is attached, secure it to the wadding/backing with an approximately 1/8" seam. This seam will be hidden once the binding is attached.


When you have completed one side of the runner, take your second stack of strips and repeat the process for the other side.

The backing of your runner will have quilt lines like this.


It is now time to trim and square up your runner. Using your quilting grid ruler as a guide, remove the excess wadding and backing fabric from either end of the quilt. Using your inner seam as a guide, trim at 2.75".


Fold your runner in half lengthwise. Align your two trimmed ends as precisely as you can. Using your ruler, set it along the edge, using the runner ends and the fold in the centre to make sure you are as square as possible. Trim the sides so that all discrepancies in strip ends are removed. I took off about 1/2" from either side of my runner.


Your runner is now ready for binding. You will require approximately 120" of binding to finish your runner. Binding has already been covered in other tutorials so I will just refer you to here for those instructions.

My finished runner measures 42" x 13". Now that it is completed I think I might do some embroidery in the linen strips that I used. Give it a more summery look maybe.


I hope you enjoyed the tutorial and another thank you to Sarah for having me as a guest.

Thanks Susan, I love this tute! If you make a table runner using this tute, please add to the Flickr group. And don't forget to pop back next week for Sara's post on Garment Making basics.

Sunday, April 22, 2012

Winter Stitching Wrap Up

Ok peeps, here it is, the grand finale of the Winter Stitching List. Woohoo! I hope you are pleased? You should be! I  After all, the whole point of the Big List is to celebrate what we do get done, rather than beating ourselves up for the elusive projects that we didn't. So, will I kick it all off and give you my report? To be perfectly honest, some of these projects seem like I did them SO long ago - so much has happened in the last few months!

FairyFace Designs


1. Finish the quilt for my friend A's baby girl E. Done!

2. Quilt for my son D.  Not done. To be honest, I have gone through a few different design plans for this and I am procrastinating. But I made a decision on it last week so I am ready to start it - my next project. Fabric is pulled and ready.


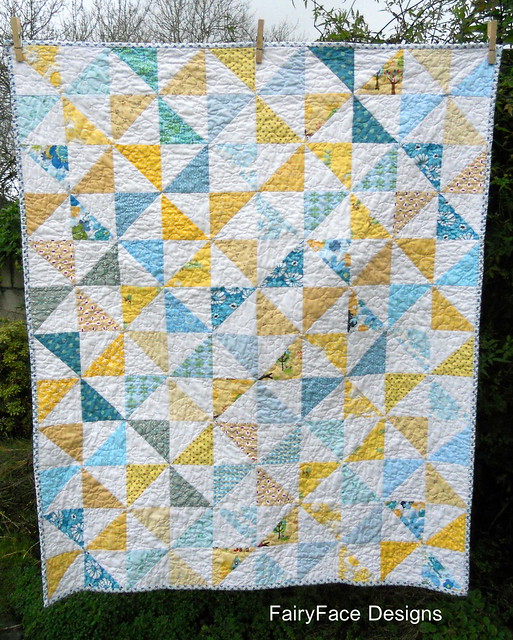
3. Yellow and white baby quilt. Done - it morphed into my Fresh Pinwheels quilt and was a finish I was really pleased with!


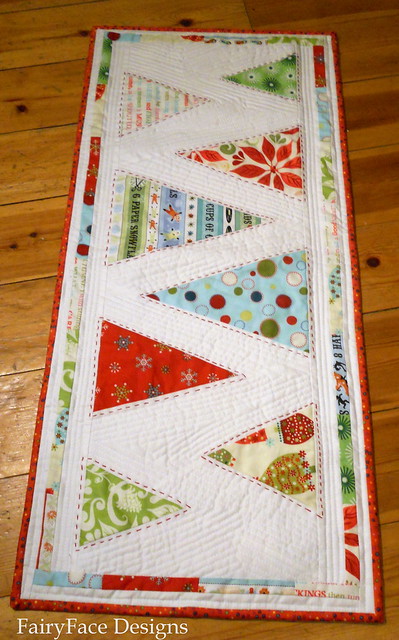
4. Christmas Table Runner Swap. Done!


5. Finish my Skittles quilt. Done and in everyday use by the kids and me. Possibly my favourite quilt ever. I am still in love with the handquilting!


6. Finish my Tumbling Blocks baby quilt and sell it! Not yet....


7. Take part in the 2nd round of the Solids Swap. Done and my lovely partner Katie seemed very happy!


8. Make a quilt for my lovely hubbie who insisted I put that in my list! Nope....he is still waiting...

9. Finish the curtains for our bedroom. Not finished, but there is some progress!


10. Make a quilt using the Ruby layer cake I just bought to go on the 2nd sofa in the living room. Quilt top is done using Oh, Fransson!'s crazy 9 patch lattice pattern and is awaiting basting and quilting. On the back burner due to some other projects but I am looking forward to finishing it.


11. Finish the cardi I am knitting for myself - I am 3/4 way there with this one :-)


15. Write some tutorials for my blog!  Yes! Lots!


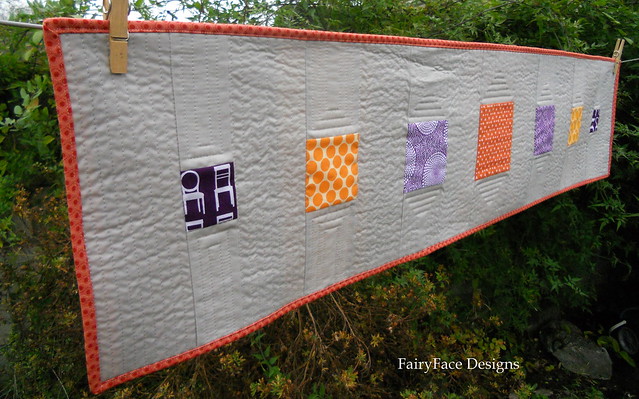
17. Make an engagement gift for my good friend R  - Yes :-) Another table runner!

Stepping Stones Table Runner full view1

18. Quilt for another friend A in the New Year.  Still not ready for this one yet
 
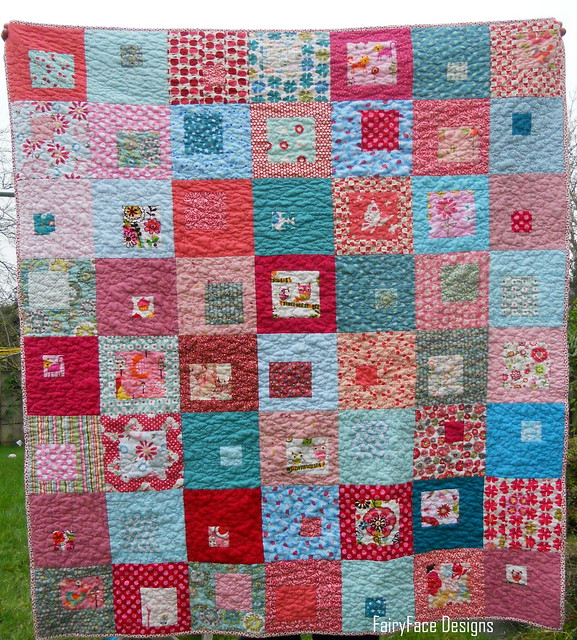
19. Make a quilt using my Little Apples FE bundle - I have my quilt top nearly assembled in Sarah's Stained QAL so happy with progress here!


21. Keep up with Sew Bee Blissful and figure out what I want to do for my month as Queen Bee in February. Done! Still waiting for some of my February blocks but now I have a recipient in mind for this quilt.


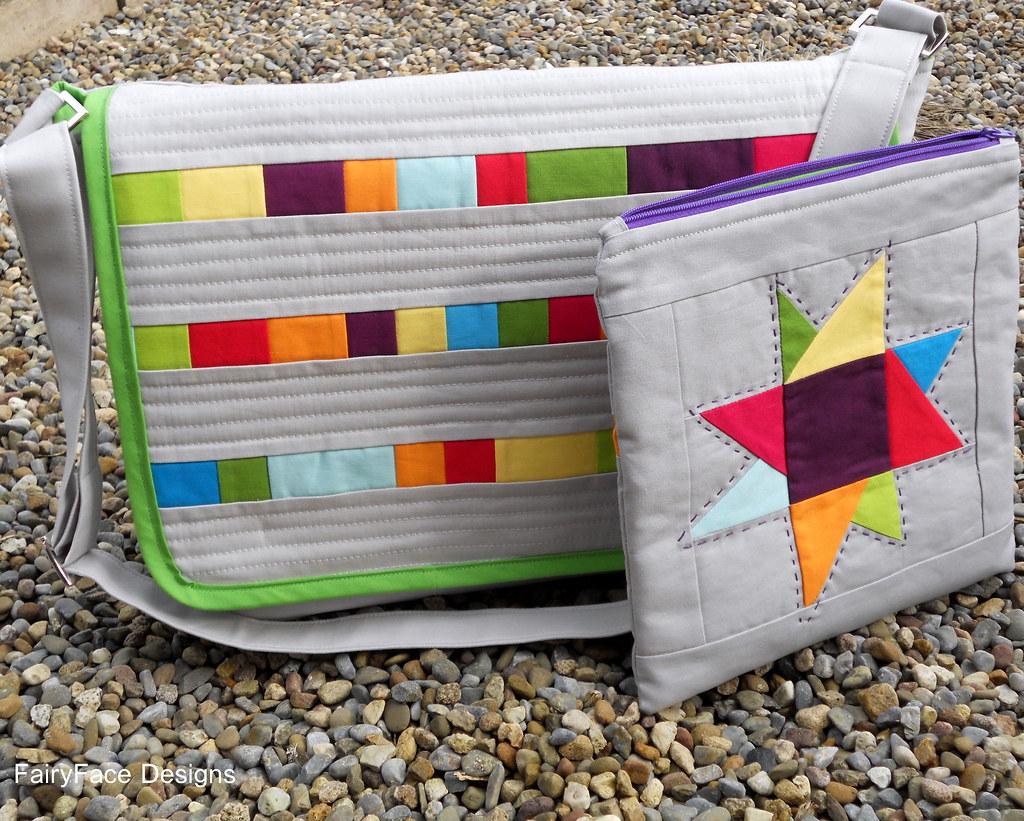
22. Make some long overdue handbags for some friends. Not done alas..

23. My {Sew} Get Started tutorials series. I am really pleased with how my tutorials series is going and want to sincerely thank everyone who has contributed a tutorial - you are all so great!

FairyFace Designs

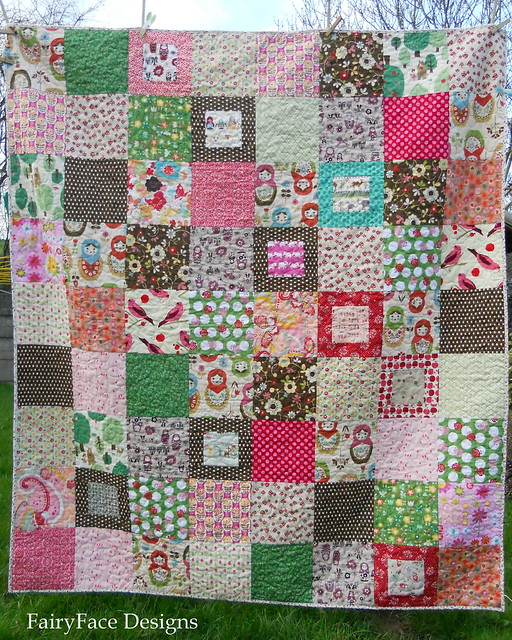
24.  The Matryoshka Quilt - Done!


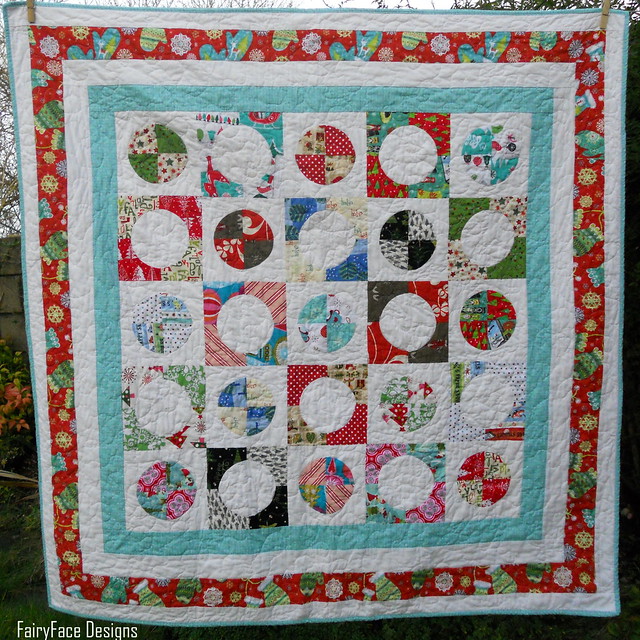
24. The (spur of the moment!) Christmas quilt:


25.  Mouthy Stitches zippy pouch: Done and happily received by Diane.


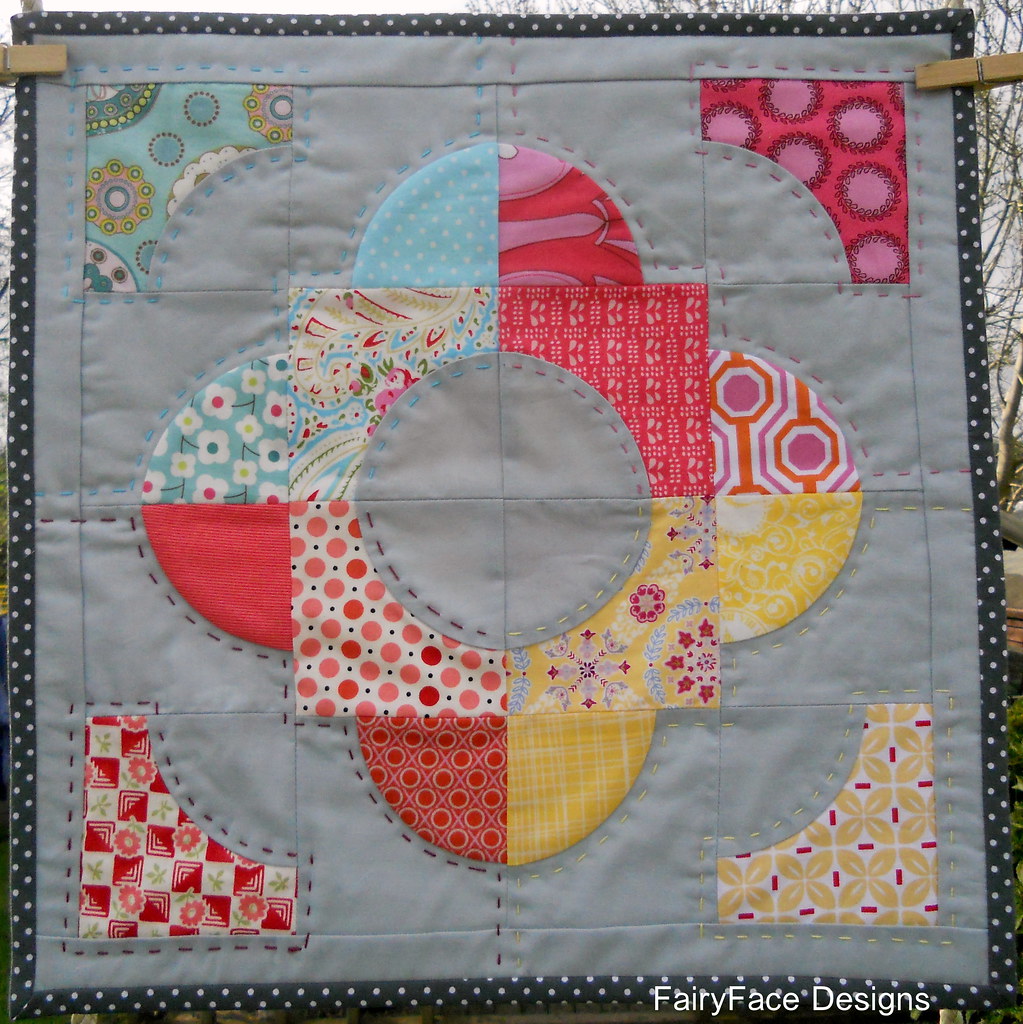
26. Modern Mini Challenge: I whipped up a quick mini as part of Jennifer's fabulous Modern Mini challenge.


27. I took part in round 12 of the Doll Quilt swap and had a lot of fun making this little Drunkard's path quilt for Marilyn


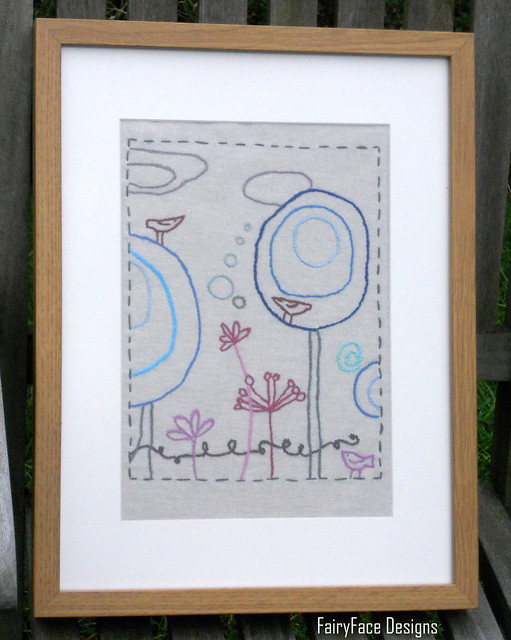
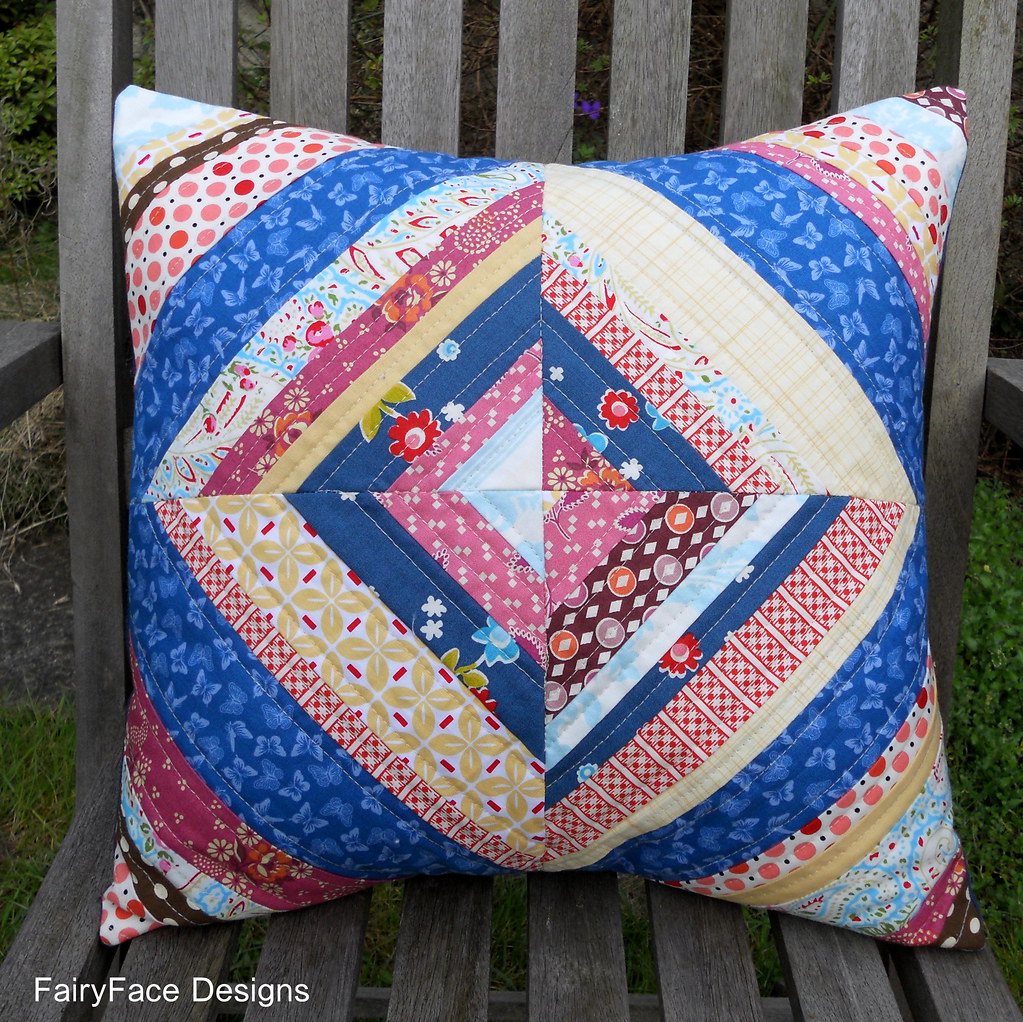
28.  Some small project finishes for myself and for gifts!


29. Modern Quilt Guild Ireland launch...Cindy and I are still having fun with this!

Modern Quilt Guild of Ireland

30.  Pay If Forward...not done, oh well, I still have another 6 months for this!

I can't wait to see what you have done! The linky will be open for a couple of weeks (up to Monday 7th May) for your updates, so go write up your post and then come back and link up. I will do a draw for a surprise little prize for anyone who links up, once they have participated in either the initial linky, or the mid-winter check in.


So, get linking!