Sunday, October 27, 2013

Pinwheels Pram Quilt

AmysCreativeSide

Despite the fact that I managed to miss the wonderful Bloggers Quilt Festival for the last couple of rounds, being in that fog of late pregnancy and new baby sleeplessness, I am happy to be linking up to the Fall 2013 festival! If you're visiting for the first time, welcome to my little blog. Please do come back and visit me again! Without futher ado, read on to find out more about my little pram/baby quilt.


Our friends had a new baby boy a few weeks ago. Of course, you know what that translates to in my sewing-obsessed head: they needed a quilt for their new little boy. I'd put it on the long finger for a little while but when my hubby arranged to go and visit them this weekend, I decided I needed to get sewing pretty quickly this week.

I used Lindsay's method for making my HST blocks - its really quick and easy, with minimal cutting. You cut 2 large squares to yield 8 HST blocks. Her pattern cut to 18", but I had cut into some of the FQs I was using, so I cut mine to 12.5", which yielded me 8 x 5.5" HST blocks. I LOVE this method of making HSTs, and will definitely be using it again.


 I used a cream solid against each of the 6 fabrics I picked, I think the softness of it works well. The fabrics are a mix of different designers & lines that I put together myself with a little help from my Instagram friends :-) The navy, blue and orange were are so fresh for a little boy (I think) - it's nice to go for a colour palette that's not too traditional. The large dotty print was the inspiration print for this combo.

The backing is an IKEA kids fabric which Fiona gave me a good while ago. I love how cheery and boyish it is on the back, you could easily use this as a double sided quilt.


The last time I was in IKEA I couldn't find the bolts of kids fabric in their kids department which bothered me a bit, as I love them for backings and they are such great value too. Have they discontinued those little fabric bolts does anyone know?

I quilted it in a free motion stipple using my favourite Aurifil 50wt thread in white and it came out of the wash gloriously crinkly and soft. I pin basted this quilt too, and I am definitely going back to the pins for basting. I loved not having the sticky edges from the basting spray. 


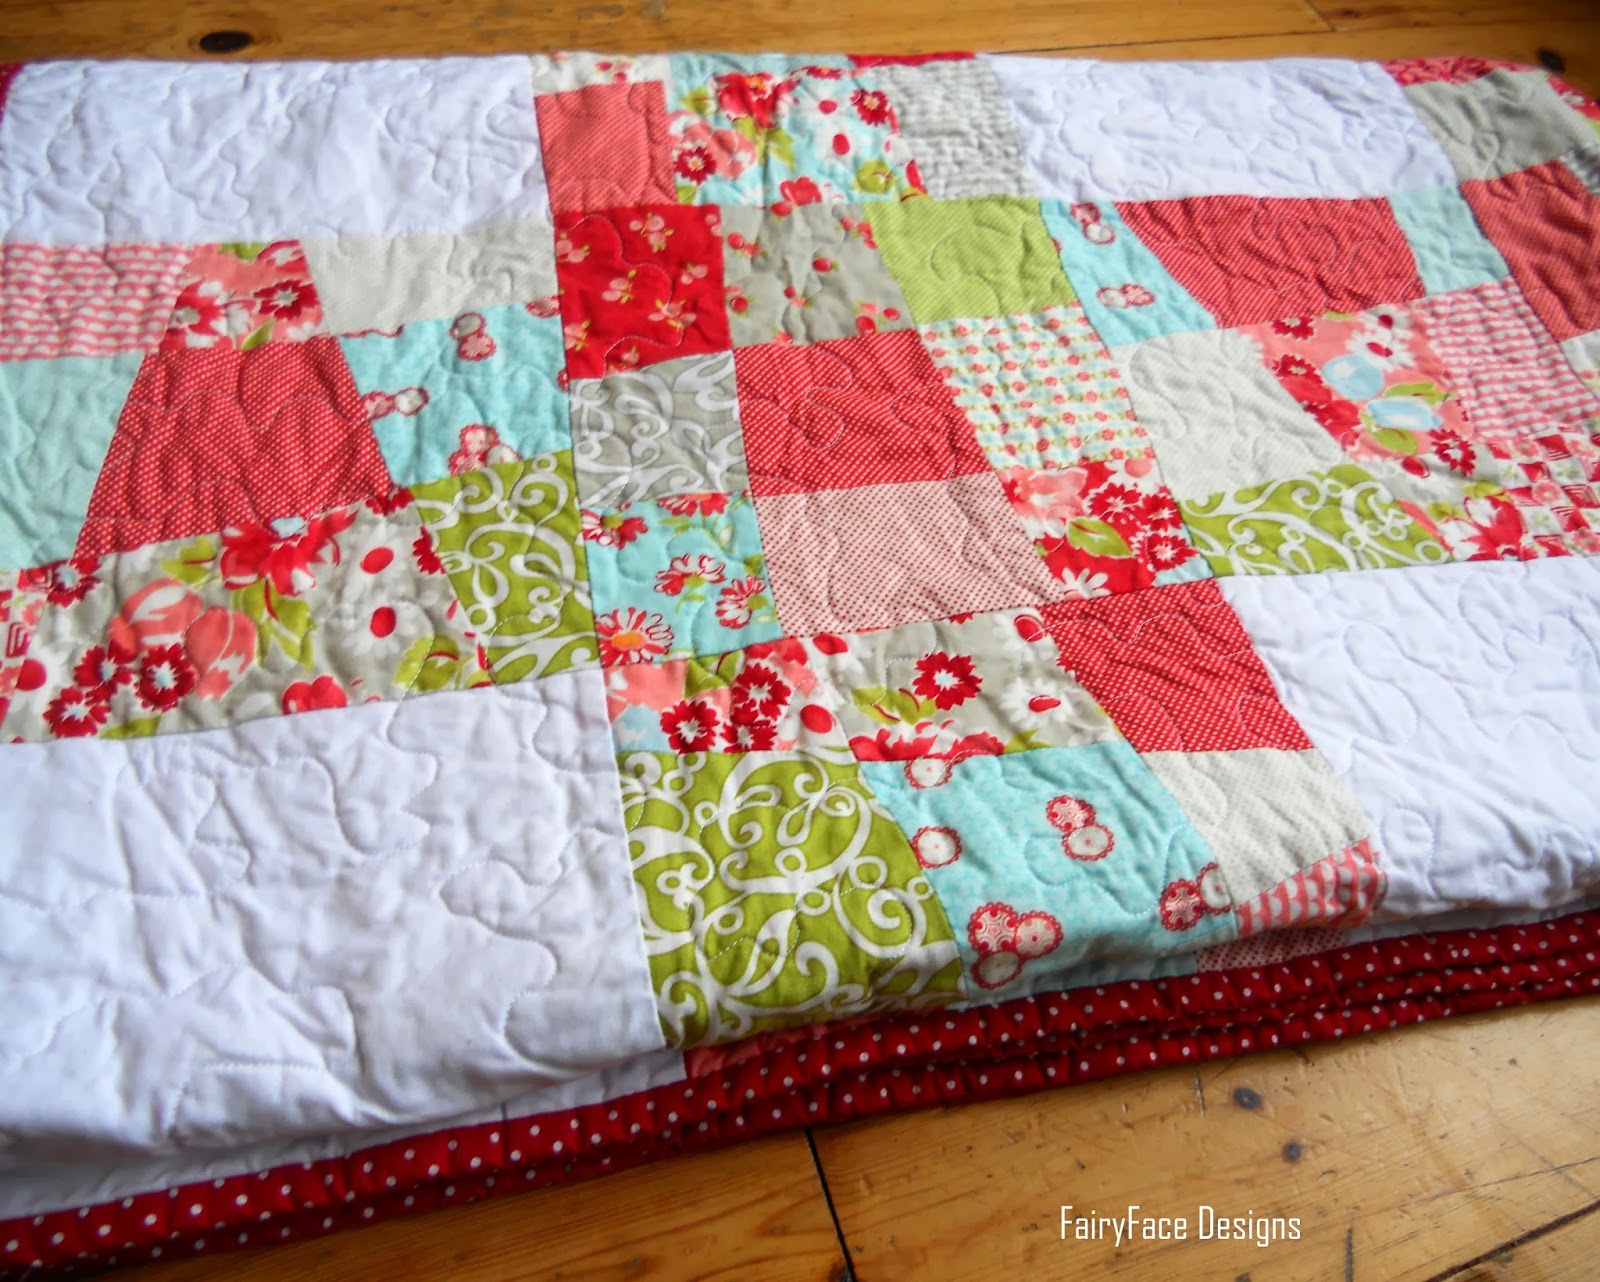
The binding is a navy dotty poplin. This is a very little quilt - only 30" x 40", so really it is pram or crib size. I have a quilt about this size for my baby girl, and I use it all the time on her car seat, and now that she's bigger, its a perfect size to put her sitting on when she's down on the floor. I hope that baby Tadhg gets lots of use out of it and that his mum and dad like it :-)


Monday, October 21, 2013

A Ruby Quilt Finish & a Catch Up!

It's been a while since I posted; life has been a bit chaotic around here in the last month, and I have not been well for the last couple of weeks after a horrible allergic reaction to some medication which landed me in A&E, and left me very shaky. I have managed a small bit of sewing, but apart from snapping pictures of what I was working on and posting them on Instagram, I haven't been able to manage to find the time to blog, or even to read my friends' blogs - something which I'm hoping to rectify tonight with a big catch up! You'll know that I really have not been myself when I tell you that I finished this Ruby quilt on the 2nd October - 3 weeks ago, and am only sharing it with you here today. I think that might be some kind of record for me - normally I am out taking photos of a finished quilt as soon as it comes out of the dryer.

So here she is, though, and I think she was worth the wait - my Ruby quilt! 


I really, really love her and she is getting lots of use. I've made so many quilts for other people this year, its nice to keep one for myself. I used the Crazy Nine Patch Lattice tutorial from Oh, Fransson! for this one, sizing it up to a nice generous lap size of 56" x 72". It uses a Ruby layer cake, plus 3 extra squares I took from my Bliss scraps, plus Klona white. The blocks are 8" finished.

The colours are a bit dull in the top picture, thanks to a very grey Irish October, but you get a better idea of the vibrancy of the fabric in the next one.


I didn't manage to get a good picture of the back as both times I tried, it started lashing rain as soon as I got the quilt hung. This is the best I could get:


The back is a print from Aneela Hoey's Walk in the Woods line, and I really love how it works so well with the front of the quilt. I had 2 blocks left over, so I pieced them into the back. I rarely make a pieced back but I'm so glad I made the effort here, the 2 blocks look so nice pieced into the grey.


 It's quilted with a meandering stipple. After the previous quilt I made, which was extremely difficult to quilt with problems with skipped stitches etc, I was dreading quilting this one. But this was as easy and fun as the previous one was difficult. I flew through it and was done before I knew it. I pin basted this, as I wondered if my basting glue was one of the issues I had the last time - it had got a bit old and not as sticky, so I had to use bigger quantities - and I have to say I loved not having all that sticky glue on the edges etc. I think I'm going back to pin basting now.


As I said, this quilt is getting lots of use and is permanently in residence on our sofa. I might be guilty of hogging it myself quite a bit!

I'll catch up on Wednesday on other projects I have in progress at the moment. I'm back to work after maternity leave on Thursday. Eeek. I've been gone for a whole year, as I was out sick on bed rest for the last 3 months of my pregnancy, so it will be a big shock to the system to have to go to work again - I hope I manage to fit in some sewing before collapsing into bed in the evenings. Wish me luck!


Friday, September 27, 2013

Pretty Little Pincushions

We're almost at the end of the Scrappy Pincushion Swap run by the Modern Quilt Guild of Ireland. And it has been fabulous fun! This was a smallish swap, with 19 participants, but it has been so much fun watching the pincushions pop up in the Flickr group.


The Modern Quilt Guild of Ireland

My partner's information told me that she liked tiny paper piecing, hexagons, and loved combinations of different types of fabrics.

I started here, with some of my half inch hexies:

Hexie flower pincushion, partner?

And when I had them pieced, I mulled over where to go next with it for a little while. Then, I got a little parcel of scraps in the post from Fiona, in return for some hexies I am cutting for her, and it included lots of linens. Perfect timing. I basted some more linen hexies in low volume neutrals, and pieced them around my little colourful flower. I added some hand stitching with perle cotton, and cut back to a hexagon shape.

Hexie Pincushion

I decided that the pincushion would look even nicer as a 3 dimensional piece, so I added sides, using the technique I used for this pincushion a few months ago. It's a little tricky, but gives a lovely finish. Some linen on the back, and I was done! It's all posted off now, and I hope my partner loves it.

Pincushion back

Then, during the week, I got a fabulous parcel from Aideen. She made me a gorgeous pincushion, with pinks and aquas, paper piecing and hand stitching. Perfect :-) I'd never seen this type of piecing before - its called pineapple piecing. Isn't it amazing?

My FAB swapsies!

Needless to say, the chocolate is long gone and I will have lots of fun with those scraps. Thanks so much Aideen!

All in all, I think this was a great swap. I think everyone participating got to know some new people, myself included, and its great that our little community of modern quilters is expanding slowly but surely. It was my first time being Swap Mama in a swap, and while a little nerve wracking at times (I won't fully relax until everyone has received their pincushions!) it was also lots of fun.

I love swaps, I love how they challenge you creatively and push you to try new things when you are working to someone else's tastes. Anyone for a Christmas swap?

Linking up to Finish It Up Friday over at Crazy Mom Quilts.

Sunday, September 22, 2013

Back to School Sewing

I hope you're all having a lovely weekend!


Today you'll find me over at Ellison Lane where I'm sharing a tutorial for a cute little pencil pouch as part of Jennifer's Back to School series.


So please pop over and have a look!

Friday, September 20, 2013

Liberty Cushion Finish!

So pleased to be able to share a lovely Liberty finish with you today!
 

I've posted my progress on this a couple of times, so I'm not going to repeat myself again here! You can find the details in this post if you're interested in how I made it.


Suffice to say it was made with gorgeous Liberty lawn charms, which Ali of Very Berry Fabrics kindly sent me to play with, pieced by machine and handquilted with perle cotton.


I finished it off by adding piping, my first time trying this technique. I'll be very honest - although it looks fine in the photos, I didn't find it easy, and its not entirely perfect, but overall it looks ok and I am pretty happy with how it turned out. Plus I learned a lot, and I'd love to try it again - I think I'd make a much better job of it 2nd time round.  I decided not to push the boat out too far, and used a simple envelope back with some Hope Valley which worked perfectly with the front.


I really love this cushion and seeing as I need some fresh cushions on my sofa, it will sit there very happily. I want to say a big thank you to Ali of Very Berry Fabrics for sending me the fabrics to try. The Liberty lawn is just beautiful fabric to work with - so soft and dreamy. Ali specialises in selling Liberty fabrics to quilters - she sells beautiful little bundles of Liberty lawn charm squares, scrap packs, die cut hexies etc for really great prices - the sort of money that you'd spend on a few takeaway coffees each week.  My new plan is to start buying a few packs every few weeks and gradually build up enough of a stash to make a quilt. If Liberty has been on your list of fabrics to try, you absolutely should pop over to her shop and say hi - I promise you you'll be sucked in!! You'll also find her on Facebook where it's well worth following her, as she often posts extra special offers there before they hit her shop :-)

Linking up with Finish It Up Friday at Crazy Mom Quilts.


Thursday, September 19, 2013

Welcome Sew Fresh Fabrics!

I'm so pleased to be able to introduce you to a new sponsor here on FairyFace Designs, Sew Fresh Fabrics.


Sew Fresh Fabrics has been around since 2009 and is one of the very first online fabric stores that I bought my fabric from when I started sewing. Besides all the beautiful fabrics, I was constantly amazed by how quickly Peg's packages arrived in Ireland - she would post on a Saturday or Sunday, and I would have it in my hand that Thursday - 4 working days, amazingly fast!


Peg stocks beautiful designer fabrics, a huge selection of organic fabrics, and some fabulous Japanese prints. One of my favourite things about her shop is that she also puts together Kona solid bundles to coordinate with fabric collections. Her latest arrival is Tula Pink's Acacia:


And she has 3 gorgeous bundles of solids to complement it - taking all the guesswork out of choosing the right solids!

Kona FQ Bundle Inspired by Blueberry Colorway of Acacia by Tula Pink

Kona FQ Bundle Inspired by Canyon Colorway of Acacia by Tula Pink

Kona FQ Bundle Inspired by Sky Colorway of Acacia by Tula Pink


Peg has a superb selection of solids in the shop and also had a fantastic section for basics, dots and blenders. But most importantly, she is super lovely to deal with and more than happy to help with order queries.

So pop over and have a look at her shop - or her Etsy shop which is still there also. And make sure to sign up for her newsletter because you don't want to miss out on her regular sales and coupon codes or you'll be kicking yourself!

Friday, September 13, 2013

A Parade of Elephants - my Stamp It Up Swap pouch finish!!


A few weeks ago I signed up for Nicky's Stamp It Up swap. I was, to be honest, pretty apprehensive about my stamp-carving abilities and how it was all going to work out, but willing to give it a try. In the back of my mind, my plan was if the stamp carving all went terribly wrong was to buy a stamp, rather than disappoint my partner.

I ordered my supplies, raided the local pound shop for rubbers (at 27c each, they were not a huge investment of money!) The supplies duly arrived and I looked at them fearfully for a few days until I finally worked up the courage to give it a shot.


Luckily though, the stamp carving turned out to be a LOT more fun that I imagined it would be. I had a look at some of the tutorials recommended and gave it a whirl. I played around with lots of different ideas - some turned out terribly, some worked ok and could be developed a bit more. It became pretty addictive actually. (Despite stabbing my finger pretty badly with the scalpel in the process.)

My creation

But I was still looking for an idea, and rummaging around in my fabric stash I came across an elephant print and decided to try it.  I managed to replicate the shape reasonably well on the rubber. My first effort was too small, and didn't have the sort of clarity I wanted.

Parade of elephants

So I tried out a bigger carving, which I was much happier with. And then I realised my big and small elephants could work as a parade of mum and baby elephants for real cuteness factor.


Elephant parade 2nd version!


I was pretty sure my partner would be happy with that, but I tried another idea, just in case. The elephants won out in the end though. I was really happy with these leaves though and think I might try and work them into a design of some type when I only have myself to please.

Leaf stamp


The process of carving stamps is definitely fun and worth a shot. Fabric stamping is something I'm new to but I will be continuing and I think I'll buy a little set of letters as they would be so useful to have.


Once I had my idea in place, I stamped it on some Essex linen, and used some of my new Koi fabric to set off the purple and pinks. I back it with fusible fleece and added some hand quilting and beading for the eyes. Then all I needed to do was add the lining and zip and sew it up into a zip pouch.


And its all ready to send off to my partner, in perfect time for the mailing window. I hope she likes it because I certainly had fun making it!


Linking up to Finish it Up Friday over at Crazy Mom Quilts.