Showing posts with label cushion. Show all posts

Friday, September 20, 2013

Liberty Cushion Finish!

So pleased to be able to share a lovely Liberty finish with you today!
 

I've posted my progress on this a couple of times, so I'm not going to repeat myself again here! You can find the details in this post if you're interested in how I made it.


Suffice to say it was made with gorgeous Liberty lawn charms, which Ali of Very Berry Fabrics kindly sent me to play with, pieced by machine and handquilted with perle cotton.


I finished it off by adding piping, my first time trying this technique. I'll be very honest - although it looks fine in the photos, I didn't find it easy, and its not entirely perfect, but overall it looks ok and I am pretty happy with how it turned out. Plus I learned a lot, and I'd love to try it again - I think I'd make a much better job of it 2nd time round.  I decided not to push the boat out too far, and used a simple envelope back with some Hope Valley which worked perfectly with the front.


I really love this cushion and seeing as I need some fresh cushions on my sofa, it will sit there very happily. I want to say a big thank you to Ali of Very Berry Fabrics for sending me the fabrics to try. The Liberty lawn is just beautiful fabric to work with - so soft and dreamy. Ali specialises in selling Liberty fabrics to quilters - she sells beautiful little bundles of Liberty lawn charm squares, scrap packs, die cut hexies etc for really great prices - the sort of money that you'd spend on a few takeaway coffees each week.  My new plan is to start buying a few packs every few weeks and gradually build up enough of a stash to make a quilt. If Liberty has been on your list of fabrics to try, you absolutely should pop over to her shop and say hi - I promise you you'll be sucked in!! You'll also find her on Facebook where it's well worth following her, as she often posts extra special offers there before they hit her shop :-)

Linking up with Finish It Up Friday at Crazy Mom Quilts.


Monday, August 1, 2011

Chunky ZigZag Pillow Tutorial

My Bliss pillow/cushion campaign continues this week with another pretty one to add to my sofa!

Here it is, in all its chunky zig-zaggy lovelieness:

I made this in super fast time using my Accuquilt GO! Baby to cut the pieces. When it arrived earlier in the week, I couldn't wait to try it out, having seen it and coveted it so much on blogs lately. And it didn't disappoint!

I got 3 dies - the Diamond, the Drunkards Path and the Hexagons - all shapes that can be a little bit tricky to cut accurately in the more traditional way and certainly very time consuming. I just loved how quickly I could turn out the pieces on the GO! Baby and had all the diamonds cut for this pillow in probably about 10 minutes, including trimming my scrap pieces for the die. I found it very efficient and the only issue I encountered was threads occasionally getting caught in the corners of the die, which a sharp pair of nail scissors beside me solved with a minimum of fuss! As someone who struggles with cutting the more "complex" shapes accurately, I am totally thrilled with the GO! Baby and can certainly see myself using it quite a bit. It's pretty compact too which is important for me as I have no dedicated sewing space and it needs to fit into my very limited shelving with the rest of my sewing things.

Want to make this pillow? Here's the super easy tutorial!


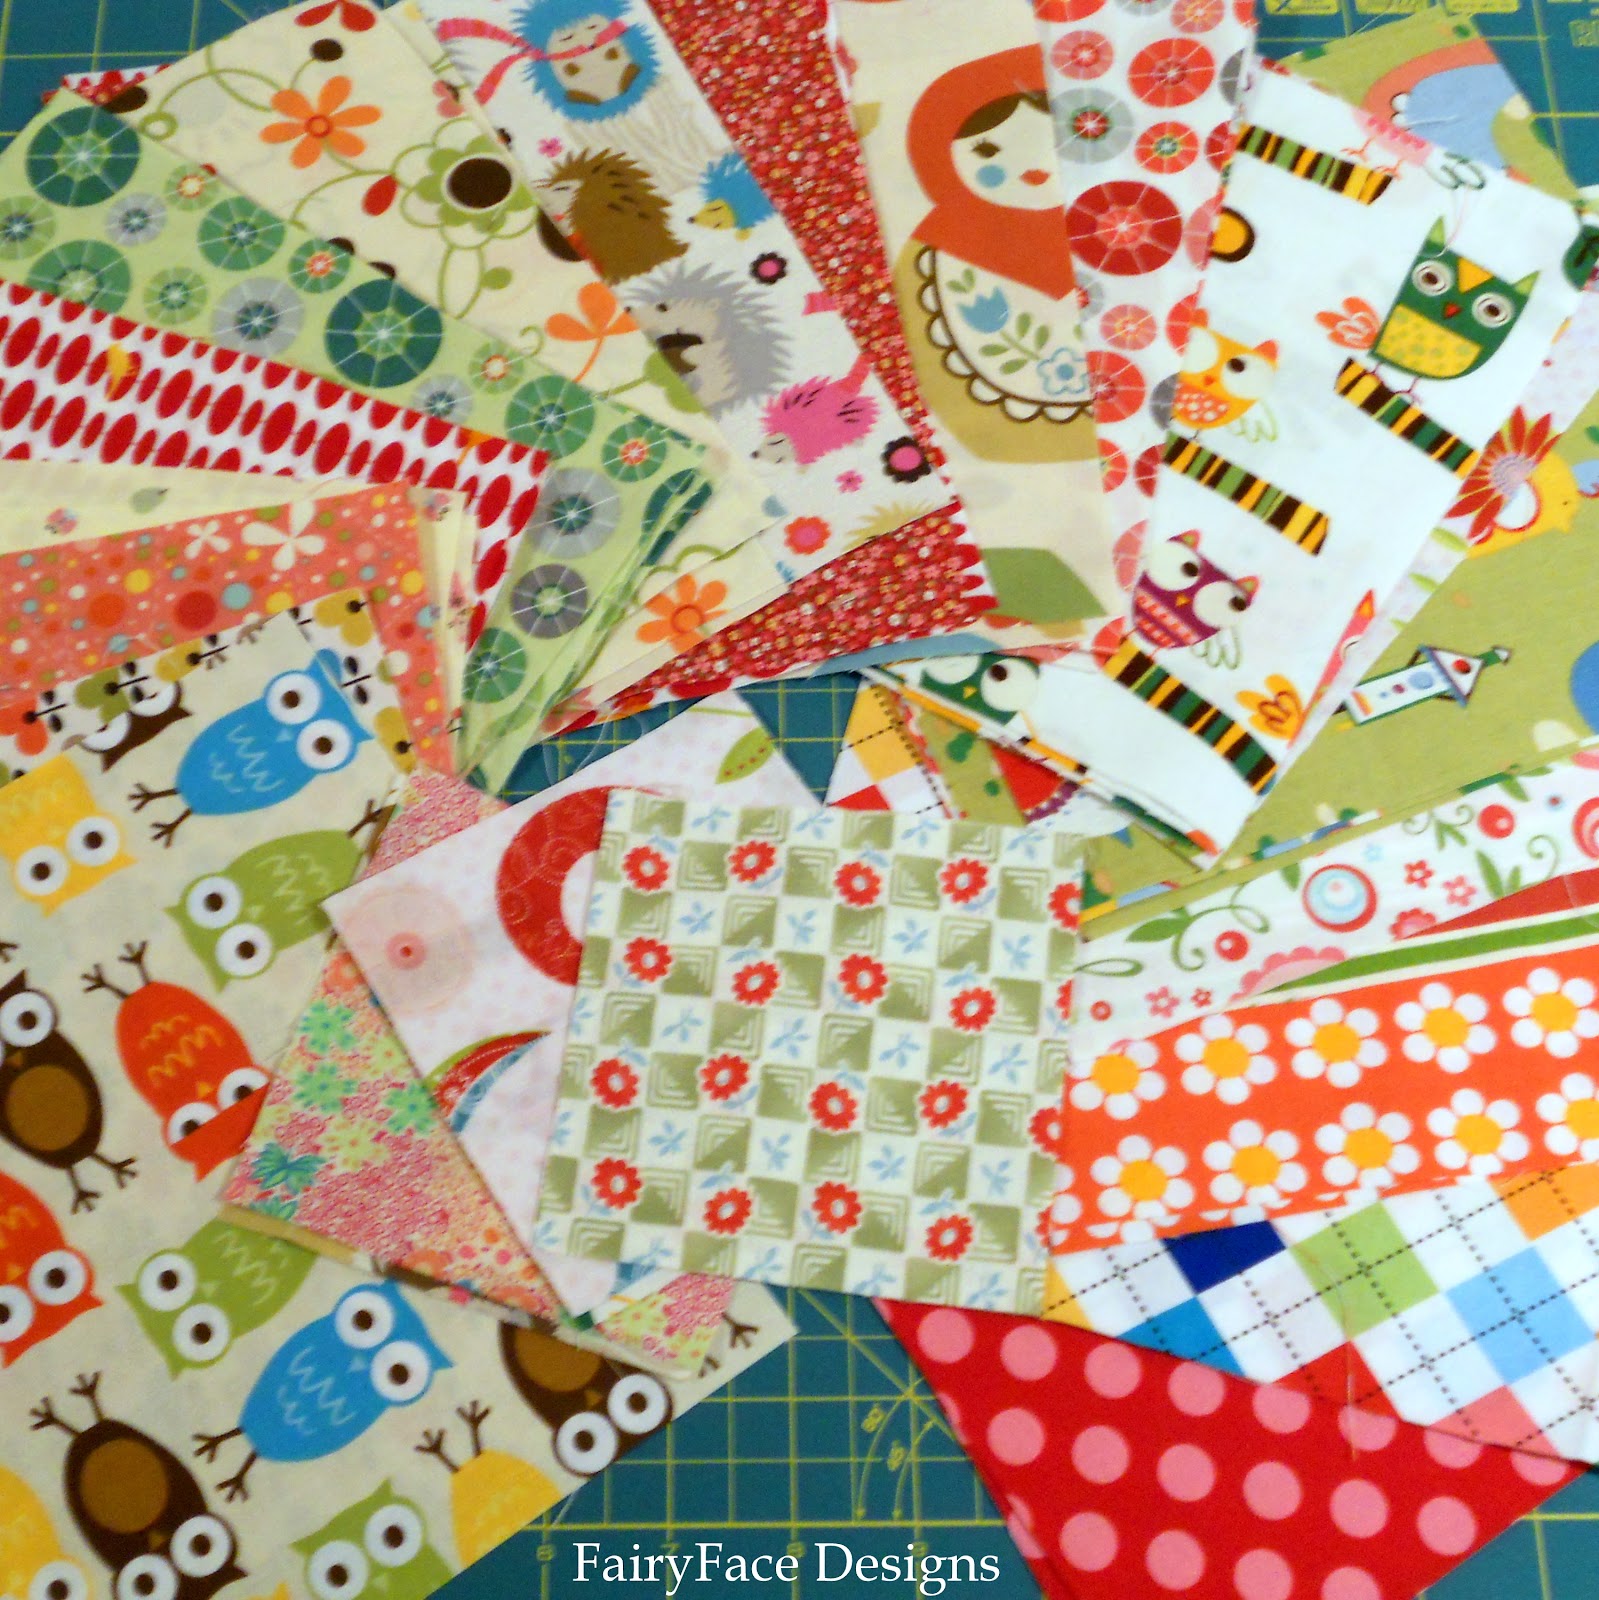
I used the 4 x 4" diamonds die for my GO! Baby which cuts 2 diamonds in each layer of fabric. You can do up to 6 layers at a time through it which makes for super fast cutting - 12 diamonds at a time in this case once I had my Bliss scraps prepped. I soon had lots and lots of lovely diamonds, precisely cut. See how perfect they look!


Next, I played around with the layout until I was happy with it - the fun part! I used a cream solid to contrast my zig zaggy Bliss rows. It's helpful to take a quick snap with your camera or phone so that you can refer back to it if you get pieces mixed up as you sew. Or if you have pre-school helpers standing by to "assist"!


Then, make a little stack of the diamond pieces for each vertical column in the order you have laid them out.


Take your 1st stack of diamond pieces and using a small square cutting ruler or measuring tape, and a water soluble pen or pencil, make a tiny mark 1/4" in from your top and bottom edges on the side edge.


Do this on all pieces. This will help you line up your seams correctly. You can, of course, eyeball it if you're confident in what you're doing but if you're a little challenged by spatial stuff like I am, its worth taking the minute required to mark each piece before you sew the column.


Sew your first 2 pieces right side together, matching up your dots and your edges. You will end up with little "dog ears" sticking out on either side.


Sew the remaining pieces in the right order and press your seams on the column to one side (all in the same direction).


Then sew the pieces for each remaining column together and press your seams so that they are going in alternating directions on each column to make sewing your column seams together easier.

Next, sew your columns together in pairs, and join the 3 paired columns to make your pillow top. I trimmed off the top and bottom to make quilting it a little easier.


I then grabbed a batting scrap and quilted the pillow top following the zig zags in the pattern. I quilted 1 line inside the seams for each of the colour zig zags, and then quilted lots of zig zag lines 3/8" apart in the cream solid, to make the colours pop even more.


Trim your pillow top and then sew on the back in whatever style you want - you could do an envelope back if you want to keep it simple. I put a zip in the bottom seam of this one. Put in your pillow form (mine was from a tired old ugly pillow in my playroom which I upcycled), place on your sofa and admire!! This pillow will join my other Bliss pillows and quilt on my living room sofa.


So, of course, you know what's coming up next by now......Keep your eyes peeled for the giveaway post coming soon!

Saturday, July 23, 2011

Bliss pillow progress....

Thanks to the lovely Susan, I doubled my stash of Bliss scraps yesterday...even better, hers were darker colours and slightly larger scale prints than mine and I was thrilled with them!

So, I got straight to it today, pulled up the Sprocket Pillow tutorial and got cutting. Wow, what a great tute, its so straightforward and very easy - and such a nice result! Really pleased with this one. And I feel my colours and prints are much more balanced than the star pillow.


I really like the button detail in this one - and the scarlet Fresh fabric I used to cover it is the very last tiny scrap I had of this fabric - probably one of my favourites in the line.


I used a solid cream for the side, and its backed with some Freebird fabric (as is the other cushion) which I used to bind my Bliss quilt - its a nice complimentary fabric.


I also quilted and finished the scrappy star cushion. Looking at the V shape of the star points, I decided to try to echo it in the quilting, even though the star "V"s were not totally even. But I think it worked and I was pretty happy with how it turned out. The lines are 1/2" apart.


I put a zip in the bottom seam of this cushion and I made a silly mistake at the start and it took ages to sort it out. I had to put the kids out of the kitchen and close the door so that their vocabulary of choice expressions was not increased hundredfold! But it is looking ok at last!


Here they are sitting on my quilt - looking lovely together I think :-) I'll be making at least a couple more to join these on my two living room sofas. One will be zigzags, one will be from this Cluck Cluck Sew tute.... and I'm still thinking about more! If anyone wants to point me in the direction of a great pillow/cushion tute please do!!

Now, not having been online for more than 3 minutes at a time since Wednesday morning, I'm off to catch up on my blog reading!!

I'm linking up to the lovely projects over at:
Fresh Poppy Design

Tuesday, May 24, 2011

WIP Wednesday

Well its been a super busy week round here, how about everyone else? Isn't the Sew, Mama, Sew giveaway just the best? I've had so much fun entering giveaways and discovering new blogs. If you want to enter mine, there's still time, you'll find the post here.

Completed this week:


Last week I was struggling a little with energy and ideas. I had a day off work on Thursday and just grabbed some fabric I liked, took out my notebook and tried to make up one of the ideas I had in it. It worked out great and I ended up putting it in my giveaway! I'm really happy with this little iPhone cozy, I'm definitely going to make more and even write up a little tutorial when I have a few things tweaked.

I had fun with some scrappy pincushions - they always leave me in a good mood!


I also made a pillow (or cushion as we would say here) with some leftover blocks from my Pips quilt:


This was another impulse make and my daugher is delighted with it, she loves the dogs on the fabric. I lightly quilted it on the diagonal lines using a leftover bit of cotton batting, and then backed it with some lovely soft red polar fleece for a really snuggly feel.


In Progress:


Well, I'm really excited to have finished my Pinwheel Pips quilt top. (Sorry the photo is so bad, it was taken in the evening and the light was really poor.) I decided on this layout because I love how it gives an optical illusion and you have to really look to see where the blocks are. I kind of wish I'd maybe had some more fabric to get a better balance of colours (I had half a layer cake) but I like how it turned out. I added the sashing to bring it up to a slightly better size for a child's throw, and really like the girls on the swings fabric I used, I think its my favourite print in this collection. E is very excited about it being nearly done. My lovely hubbie really wants me to quilt it with batting and backing rather than fleece as I was planning (he loves the texture of quilts and wants her first quilt to have that) and I picked up a pink flat sheet in Heatons on sale for only €5 for the backing - result! Maybe, if I'm very lucky and get some time at the weekend, I might just get it finished as I'm planning on light quilting similar to the pillow for this one.

Started:


I got most of the pieces cut for the next quilt I'm making which is a commission for a quilt similar to the one I made for Sophie a couple of months ago. It is a simple pattern of big squares intespersed with some 4 patch blocks. I'm sticking with red and green as the dominant colours but have some different fabrics and prints this time and I'm looking forward to laying these out, I love mixing up the colours and patterns to make the quilt really work.

Well, that's it for this week, its been a good one. Hope you are all enjoying the giveaway and welcome to all my new followers - please jump in and comment so I can get to know you!

I'm linking this up to Freshly Pieced as always, as well as some other great blogs.