Wednesday, January 8, 2014

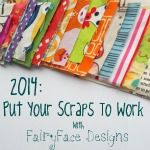
Put Your Scraps to Work 2014: Are you in?

FairyFace Designs


I floated this idea in my 2014 goals post last week, and got loads of people interested. So I'm officially kicking off a scrap-busting challenge for 2014. Yay!

This is a really simple challenge. Here's what you need to do: Make at least 1 project from your scraps each month. Post it on your blog, and add your post to the linky I will post here on the last day of each month. You need to link back to me some way, either using the button above or some other type of link. I know not everyone has a blog - there's also a Flickr group (you'll find it here) where you can post pictures of what you have made, and if you're on Instagram, the hashtag is #putyourscrapstowork2014, so be sure to use that. I will have some spot prizes over the year for people participating (not just on the blog - IG and Flickr peeps too).

I've started a Pinterest board where I have Pinned loads of ideas for what you could make with scraps. I'll keep adding to this as the year goes on. It's here. I didn't worry too much about the Pins being linked to tutorials - some of them are just eye candy/inspiration type Pins. I would really like to make this a communal board because I think it would be great to have one big board that loads of people Pin ideas to - everyone sees different things. But apparently I have quite a lot of Pinterest followers (who knew? I certainly didn't!!) which makes inviting people a bit more difficult so if you'd like to be part of the communal board, please email me (fairyfacedesigns at gmail dot com) with your Pinterest ID and I will (figure out how to) add you.


Ok....so that's kind of it on the detail front. My plan for my scraps is to, as much as possible, make practical stuff that I will use from them. I might make one or 2 decorative mini quilts, but mostly I want to make things that actually work in my house, have a practical value. Obviously, practical does not rule out pretty :-) My plan for this month is to make a cushion for the living room, and some fabric storage baskets (to organise the horrendously large bin of scraps). Actually, the very first task is to finish sorting the scraps. Next month...well, I'll think about that then. I'd love if we could get a good big group working on this together, so please, don't be shy, spread the word!!

So, you in? And whatcha making first?

Sunday, January 5, 2014

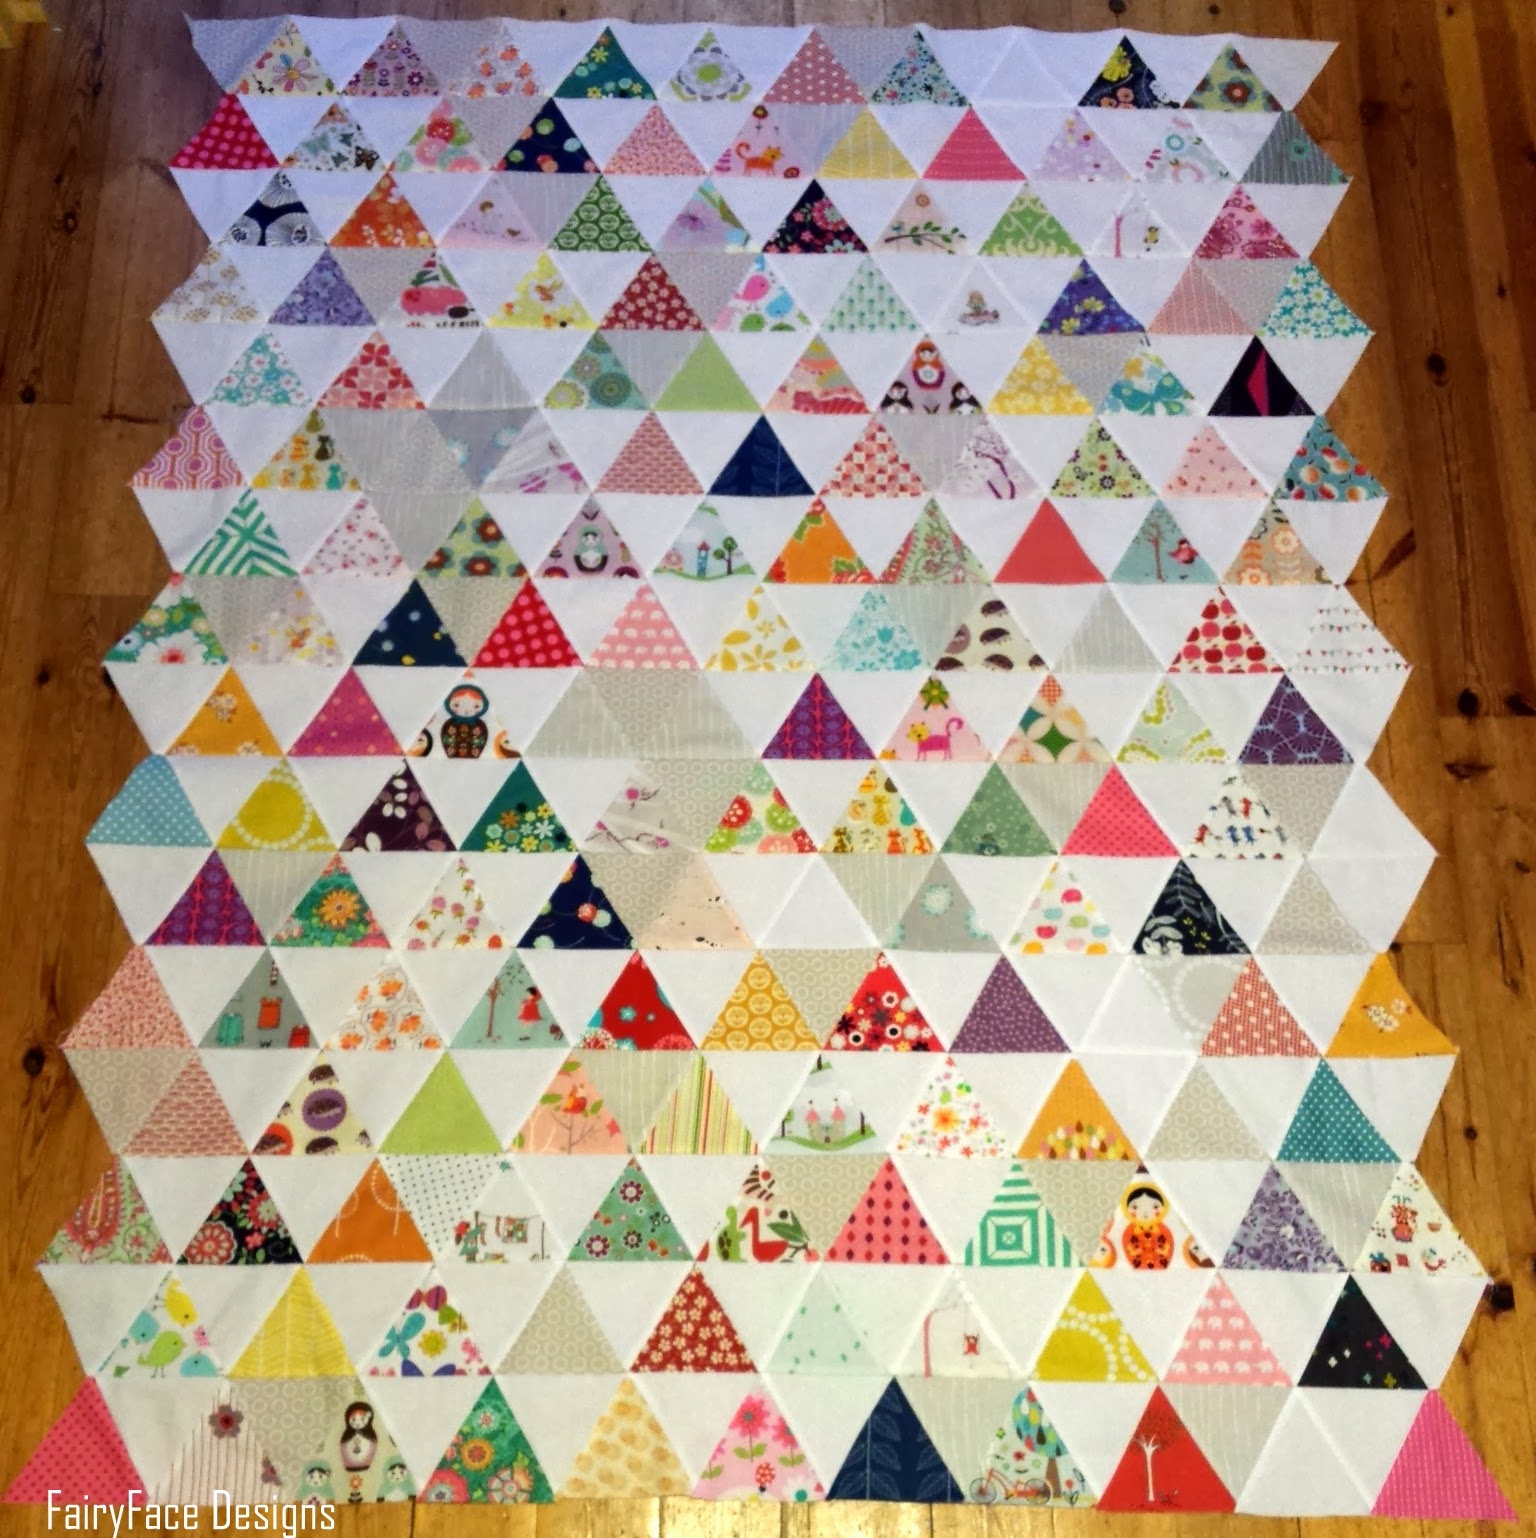
Ode to Triangles....part two

I promise, I will not be grumpy tonight about the triangles. Well, maybe only a teensy, tiny bit. I was encouraged and not a little bit comforted by all the comments I got on my last post; its good to know I'm not the only one who finds triangles a complete PITA.


I set about the piecing on Friday night. All those rows. It seemed to take a long, long time. Then I pressed them. And remembered the trimming...all those little dog ears that needed to be trimmed back. So I did that. I may have muttered a bit about it under my breath and then remembered my decision to embrace the process after the last post, so I stopped muttering and pasted a smile on my face.

Then it was time to piece the rows together, to assemble the quilt top. And I remembered what I really, really dislike about working with triangles. It's so blindingly obvious and in your face that I hadn't even thought about it, stupid as that may sound.


Matching the points.

I made a decision not to freak out about it. Unless they were absolutely apallingly off (half an inch or so out), I wasn't redoing them. That did give me a certain freedom, and I rattled through the assembling at a ferocious rate. Given how un-exacting I was being (I still was pinning, don't get me wrong, but I wasn't being over the top about it), they came out surprisingly well. I think I only had to rip back 2 points in the whole thing; pretty good going. But I'm not going to show you close ups. There's a lot of slightly cut off points in there, as well as slightly off matching. I doubt anyone will notice though once its done.


Then I pressed (and cursed my careless seam matching again when the seams weren't going the way I wanted them to). And then I shook it out, in all its glory and fell utterly and totally in love.


I'm sorry the pictures are not great - the weather here thinks it is in monsoon country apparently so there's no getting outside for nice light. But I think you can see how it works. I really was worried about those grey triangles grouped together, whether that would work or just look stupid. Possibly I should have made a big triangle out of the low volume ones but maybe that would then look too even and regular, I did want it to be random so as to draw the eye through the quilt. The low volume totally breaks up the look of the quilt - I did not want even rows, I wanted something with movement and depth and I think that I've achieved that. The brightness of the print fabrics is not jumping out of this picture, trust me when I say that the colours are absolutely vibrant and bright and beautiful in real life.

I love it. I really, really love it.

Now its time to start thinking about getting this baby finished for the birthday girl on Wednesday. (Not a hope, but sure I'll keep trying.)  I have some Michael Miller Zoology fabric in pink and grey for backing, but only a yard and a half, so I need to size it up a bit as this top measures about 72" x 48". I'm considering chopping up a pink flat sheet I have if I can't find enough fabric in my stash. And I need to think about quilting now. I can't face wrestling with my machine to do straight lines on the diagonal, its being very temperamental at the moment. I was thinking some sort of FMQ - maybe with loopy loops in the white triangles? Suggestions and inspiration most most welcome.

Friday, January 3, 2014

Triangles are really not as much fun......

As they look.

Seriously.

Don't get me wrong, I know they look lovely. They look amazing actually, in my opinion. I love them. And, in the end, they are worth the work.

But, O.M.G., are they a pain from a process perspective. (Warning: this may be a slightly grumpy post. Read at your peril)

If you haven't been on Instagram, the background is that this is a quilt for my little baby girl Rachel who turns 1 next week. I made her a pram quilt, but now she needs a proper cot/bed quilt. I wanted to make something eclectic and lovely, girlie but not too sweet; I wanted something with a little depth and interesting to look at - for me, as well as for her. It absolutely needed to incorporate my favourite prints for little girls. And it needs to be a decent size so it will grow with her. Easy peasy, right? It's *supposed* to be part of her birthday present, but next Wednesday is catching up on me very fast. Still, she won't notice if its a few days late.


This is where I started, lots and lots of triangles. Of course, being for the apple of my eye, I had to fussy cut most of them. This was VERY slow. Plus I always think triangles are wasteful of fabrics as opposed to more regular shapes.  (things that annoy me about triangles, no 1).

Next, I started to lay them out. I got about a quarter of the way on the playroom floor, until I was defeated by toys, glitter, Barbie hair spray, kneeling on tiny little lego pieces and lots more minor irritants.Not to mention serious lack of space in the post-Christmas full-of-my-kids-and-their-multiple-friends-all-day-long playroom.


So I neatly stacked all the rows I'd done, took it upstairs, unstacked them and laid them out (again) on my bed, and then spent a whole afternoon laying out the rest. It took a LONG time. It's not like laying out 12 or 24 blocks. Every. single. little. piece. needs to be laid out. And because I was incorporating low volume triangles in places to break up the look of it and draw the eye through, I needed to lay out all the white/low volume pieces too instead of just assuming they were all white background. (Things that annoy me about triangles no. 2: you need a huge space to lay it out because none of them are pieced. And they are fiddly to handle and work with. And, if you live in my house, there is no space where you can layout a quilt over a period of time. You have to get it done and back up off the surface as quickly as possible. Or people will have to sleep on the floor.). 


So, after laying it all out, I jumped up and down trying to get a couple of quick photos (hence the crap quality of the one above) and immediately started to stack it all back up and pin my rows together. Which left me with this:


It does look like a pretty little pile, doesn't it?  (See, I'm starting to come around now).

But then, I started piecing it. I forgot, until yesterday, how annoyingly easy it is to sew seams in the wrong direction on triangles. (Things that annoy me about triangles no 3). Firstly, I got distracted watching the Sherlock mini-episode on the iPad and matched the wrong seams the whole way through the first row:


Then, once I got piecing properly, as usual, I got mixed up on what way I should have the seams going on a number of rows so I know when I come to assembling them I will be cursing my own stupidity. (Things that annoy me about triangles no 4).


But. but..... Look how lovely those rows are looking. They're just so, well, so pretty. (Things I LOVE about triangles, no 1-100) I can't wait to get assembling.


So, there you go. I'm really hoping I might get the final 3 rows pieced tomorrow morning and then get the quilt top assembled by Sunday evening. I do hope it's going to look nice, even though you lay it all out, you never can tell until its all pieced.

Oh - and I promise not to moan about triangles any more ;-)

Thursday, January 2, 2014

2014.....the year of the stash (busting)


I'm feeling pretty excited about the new year. Usually I find January a bit miserable and dreary - all that depriving myself of food on yet another diet, and the dark mornings and evenings. But this year is different. My baby girl turns 1 next week and the amount of joy she has brought to our house is immeasurable. Maybe that's why I'm so hopeful and full of energy. I've had a year (mostly) at home and have been doing quite a bit of thinking. I've done quite a lot of sewing, but really, not a whole pile of blogging. And the one thing that has really, really suffered is my blog reading - and I feel I've slipped away from loads of my quilting friends, slowly but surely, in the past 18 months. I'm pretty sure that's because I'm not in touch with what you are all doing. And I feel my blog has been lacking in energy in that time too. But (if you're still reading!) I miss you guys! I promise I'll try to do better. I really feel the lack of blog reading in my quilty inspiration, as well as the chat and banter. I don't know what's going on out there! And I've realised that being part of the online quilting comunity is such a huge source of inspiration to me - seeing what other people are working on, getting caught up in quiltalongs etc - its such an essential part of my sewing energy.

So - here's what I want to do this year.


1. Be more energetic. In everything, home, work, family, hobbies. Push myself, but not in a bad way. And develop good eating and exercise habits now that Christmas excess is behind us. I was doing really well with this in the Autumn, before I ran into health issues, so I hope I can pick up where I left off.

2. Blog my progress. I realise I've slipped into blogging mainly finishes, with very few progress posts. Maybe that's why the blog is lacking energy. Is a parade of finishes a bit boring? (I think so!) Progress posts are my favourites, in lots of ways - I love getting opinions as the project unfolds, getting advice, posting the realities of the problems I'm encountering. Need to try harder here.

3. Sew more new projects rather than making the same pattern a couple of times. I did too much of this last year, but mainly by request. This year, I want to challenge myself technically, try something different.

4. Sew more small projects. (Especially a new set of cushion covers for our living room, considering all the current ones on the sofa are beyond hideous at this stage.) Small projects always keep me fresh, keep me interested. And they're great for trying something new technically (see point 3).

5. Sew projects from the books/patterns I bought in the last few years instead of buying more new patterns.


6. Really, really, REALLY work on my FMQ skills. Try new designs. I bought Angela Walters book last year, now I need to use it. I'm tired of doing the same FMQ stipple over and over again. Stop worrying about ruining good projects and go for it. And I need to figure out my machine's issues or get it serviced so I can straight line/cross hatch quilt again.

7. Write some more patterns and tutorials. Yes, they are a lot of work, but they are fun and challenging and so so worth it.


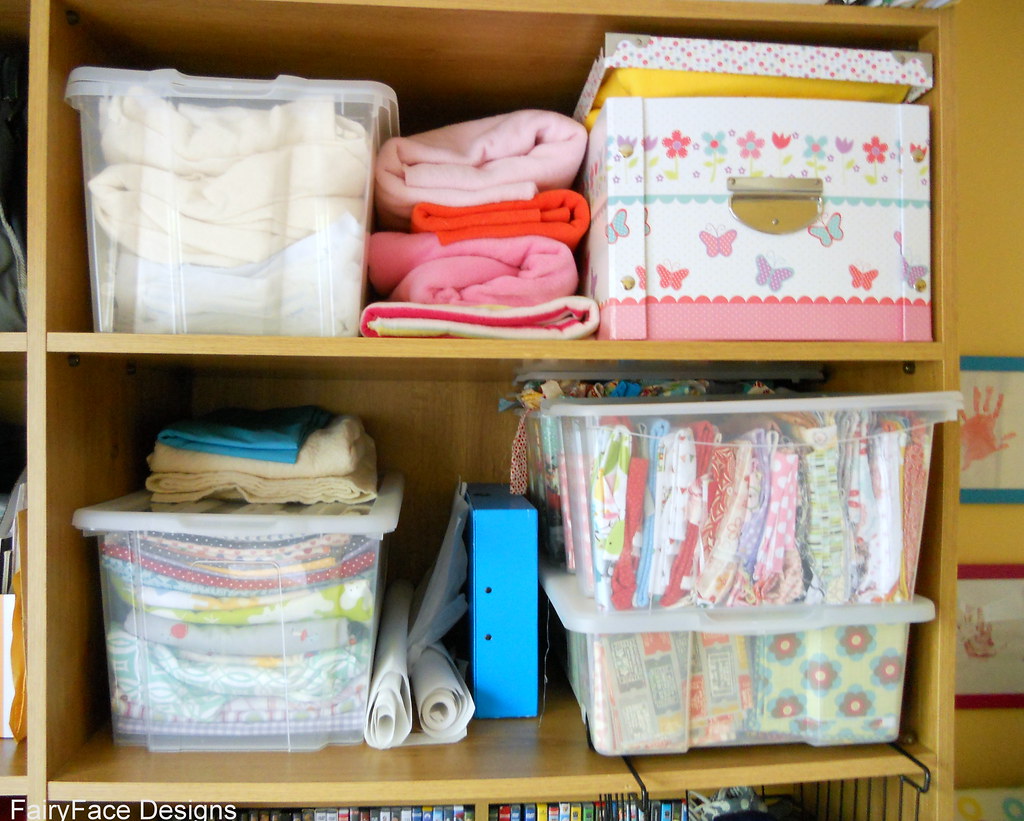
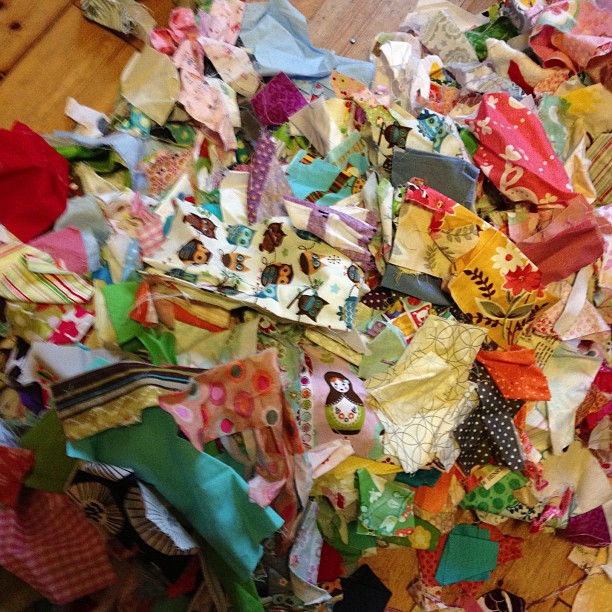
8. Lastly, use up my (gigantic) stash.That's it there. Except, today, it is even bigger and much less tidy. Stop buying fabric just because it's pretty and I "need to have it". Stop buying fabric full stop, except where I need background fabrics, or backing etc. And use my scrap bin. Empty it, preferrably. But even if I don't empty it, make a sizeable dent in it. This was my scrap bin last July. It's grown again since then.

 My name is Sarah and I have a fabric problem  just turned my scrap bin out on the floor to look for something and realised how huge it is (the fabric and the problem!)

Is anyone interested in doing this with me? How about a project a month from your scrap bins? Put those scraps to work. Would you join me, we could do it together. I could put a linky up on the last day of the month for people to post their projects. They can be big or small - whatever you want. Let me know if you're interested!

Thursday, December 26, 2013

Tis the Season...

Happy Christmas everyone! I hope you had a lovely day yesterday, ours could not have been nicer. This is our first Christmas as a family of 5 and having a baby in the house for the big day for the first time in 5 years was wonderful.


We are recovering from the excitement today so I thought I would share with you a little Flipagram video chronicling my crafting this year. I love looking at it - it's great to see what you've achieved in a year!


I'll be back to show you the lovely runner and Christmas decoration I got from Anneliese in our Modern Quilt Guild Ireland swap. And I need to think about what I want to do in 2014. While I made lots in 2013, a lot of it was very straightforward stuff. Nothing wrong with that, but I'd like to try and improve some of my skills next year and make a few projects for our house too.

In the meantime, I hope you have your feet up and are enjoying what it, for our family, always the laziest day of the year.


Saturday, December 14, 2013

Winner, winner!

Thank you all for your entries to my SMS giveaway. I had 688 entries, pretty amazing!!

Without further ado, the winner chosen by Random.org was


As I had 688 entries, I had to go to the 3rd page, entries 401-600


And then go to entry 181, to give me entry no 581. This was:


Congratulations Jamie, I will be in touch!


Wednesday, December 11, 2013

Christmas swapsies....

This last month, I have been Swap Mama for the MQG Ireland's Christmas swap.

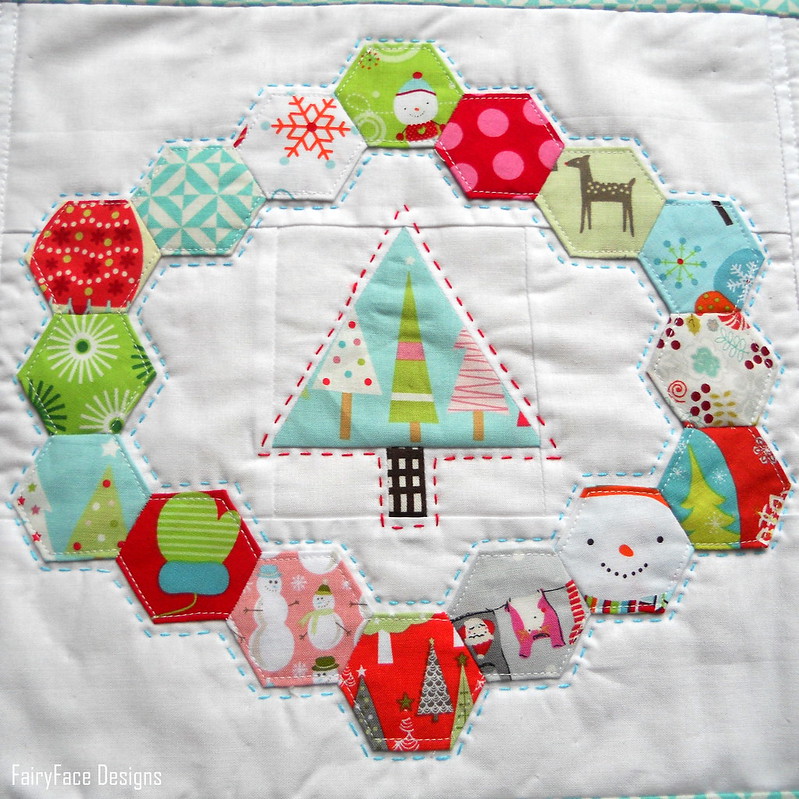
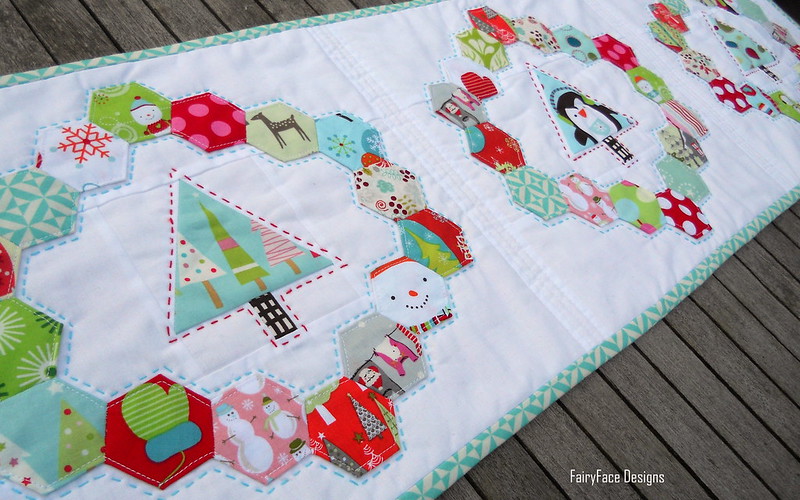
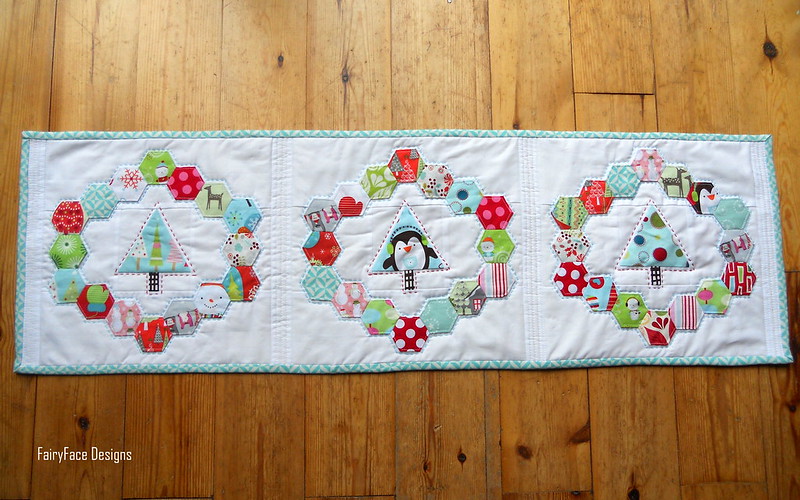
My inspiration for this swap was sadly lacking the first few weeks of the swap window, what with the gallstones attacks and the surgery. But eventually, all the Christmassy spirit around started to make an impact on me, and my mind started turning over ideas. I went for a primarily hand pieced project as I couldn't tolerate much time at the machine. I had the idea of a little hexie Christmas wreath floating around in my head, but it took a while for the idea of a little tree in the centre to tie it together.


I had a little hexie factory going on beside me on the sofa last week. Basting and piecing hexies is a strangely soothing process and I really enjoyed it, even if I did eventually have to admit to myself that it was time for an eye test. Despite working as quickly as I could, it was slow going though.


 Swap posting opened on Monday, but on Monday evening I found myself at my machine, sewing desperately to piece the background blocks and secure the hexie wreaths.


Yesterday, I put the quilt top together. I had decided to use a penguin print for the central tree, as I knew my partner was partial to penguins.


Table runner 4

I also had a small scrap of a Christmas tree fabric left which was perfect for another tree as it contained all the colours I used in the hexies.

Table runner 6

With 2 lovely wintry aqua blue fabrics for the trees, I decided to stick with this theme and used another blue print for the 3rd tree.

Table runner 5


As you can see, I machine pieced the hexies to the blocks. This was partly driven by time constraints, but also to give it a slightly raised effect, and to make sure that they were really secure as runners get so many turns in the washing machine, I didn't want to risk the piecing coming away anywhere.

Table runner 2

I machine quilted 5 lines, 1/4" apart between the blocks and at either end. This dense little quilting block breaks up the runner blocks and I like how it contrasts against the hand quilting and the rest of the negative space which is unquilted. It was then time to embark on another West Wing marathon to get the hand quilting done. I outlined the trees in red perle cotton for contrast, and then outlined both sides of the hexies in a turquoise blue to tie in with the background fabrics for the trees. Honestly, the hand quilting took me most of yesterday afternoon and evening to finish. But it was totally worth it. The combination of the hexies, the hand quilting and the machine quilting gives it a nice, textural feel.

This morning, I bound it and all of a sudden, it was done! I used another aqua blue print for the binding and it gives the whole runner a really fresh, clean, wintry feel.

Table runner 1

I've been posting lots of pictures on Instagram as I worked my way through this project, and getting loads of likes and comments, which was great, as I was worried originally that this simple little design might not work. I can't draw, and didn't have time to mock up a design on EQ7 so I was very much working on instinct here. But happily, the simplicity of the blocks and the pops of pretty Christmas fabric against the frosty Kona white just seem to work together, and the instantaneous feedback from my Instagram buddies really helped boost my confidence about the design.

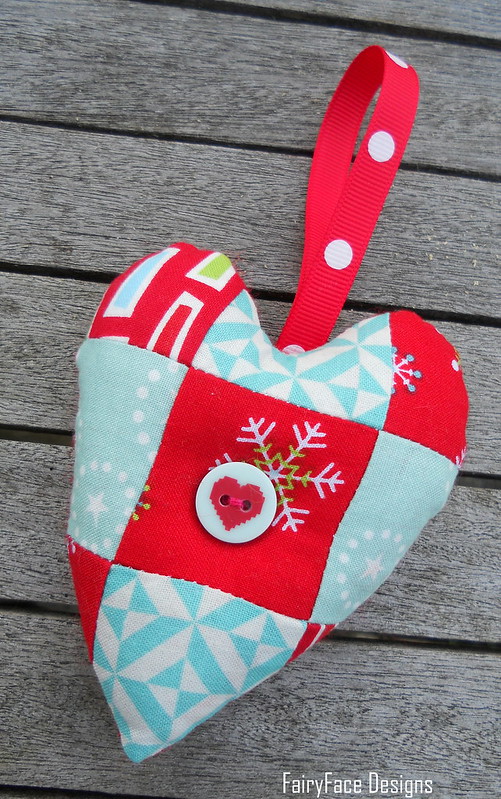
All that remained was to make a little Christmas tree decoration to go with it - a pieced heart backed in felt.


Heart decoration

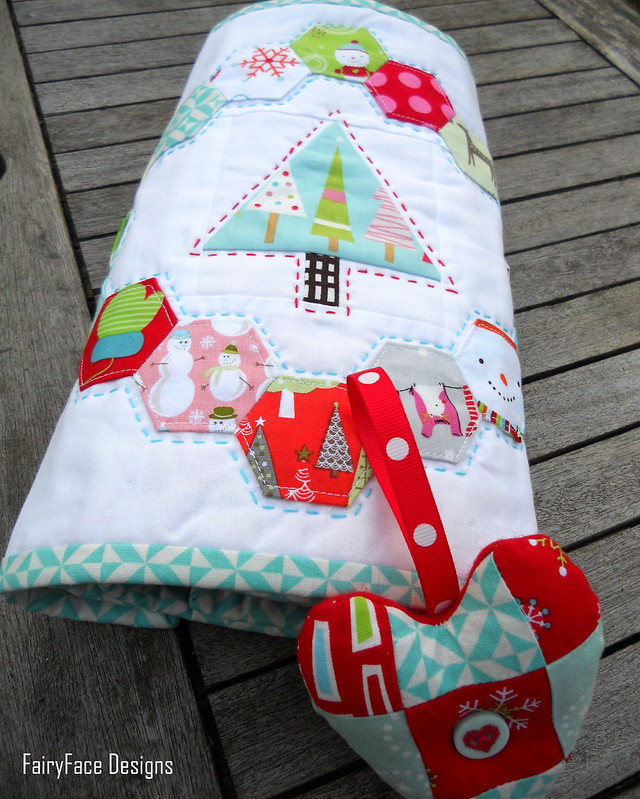
And my package was ready to go!!

Swap package Christmas runner 

Today was the last posting day, and I got to the post office with literally 10 minutes to spare to catch the post - the closest I've ever come to missing a swap deadline! I haven't had a minute to catch up on who else has posted, and what is going on in the group so I must pop over there now and check everyone is doing ok!