Wednesday, February 24, 2016

Big Stitch Swap Round 2 - Sign-ups now open!

Cindy and I are hosting Round 2 of The Big Stitch swap and we would just love if you would join us!  The theme of the swap is that hand stitching of some variety is a significant contribution to the swapped item.  It can be embroidery, hand quilting, cross stitch...what ever you like.


What to make, what to make?  Well, our suggestions would be something along the scale of a doll quilt, tablet cover, embroidery hoop, messenger bag, zippy pouch, notebook cover, cushion/pillow cover or a tote bag.  You get the idea, something that allows enough space to incorporate a stitched motif, or handquilting design. But not too big.  The only guideline is that your hand stitching has to be a significant portion and focal point of the item's design.  


Want to join in?  The swap is open to 50 people including myself and Cindy. It will be hosted on Instagram, so you will need to have a public account there - sadly, we cannot accept quilters with private profiles as we will not be able to see your progress pics etc. If you want to join, hop over and fill out the entry form here.  We will then secretly assign partners.  Know that your partner is not necessarily making an item for you. While you are waiting for your partner assignment,  start thinking about an inspiration mosaic, which you will need to post on Instagram.

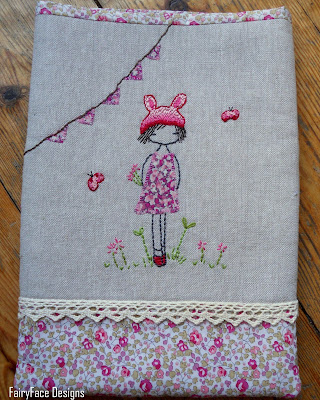
iPad cover made for me in the last Big Stitch Swap by Helen of Indianna Dreams

The swap timeline is as follows:
- Signups open today (24th February) and will close on 1st March or when we reach 50 participants.
- Partner assignments will be distributed by 9th March
- If you haven't already done your inspiration mosaic, you will need to have it posted by 11th March
- Posting dates are from 24th - 28th April, giving you 6 weeks to stalk your partner, make something lovely and parcel it up ready to send off.
- Swap extras are limited to cards/postcards and a small selection of scraps and/or notions (eg. buttons, zippers, beads etc) 


As usual, we ask that everyone actively participate on Instagram by posting inspiration mosaic, commenting on photos and posting WIP pics etc.   If you have any questions before you sign up, please do ask!  Better to ask before you sign up than after...it only makes our lives more difficult to find a substitute if you drop out.We are asking people to indicate what level of sewing skills they have so that we can match people as best as possible to someone of a similar level.

As always, can we ask you to please only sign up if you can commit to the swap deadlines. There is nothing more disappointing in a swap than your partner going awol and not receiving anything after you putting your heart and soul into making your item for someone else.

We do hope you join us!  This will be so very fun!

UPDATE: All 50 places on the swap are now taken!

Monday, February 22, 2016

Another new quilt start...Marcelle Medallion

After a few weeks of very pleasant (if not too easy on the eyesight) hand sewing, I managed to get my Marcelle medallion central star stitched up and completed early last week (I think, I am losing track!). After reading up on quite a few of the quiltalong posts and tutorials from a couple of years ago, I chose to English paper piece this star in order to avoid the dreaded y-seams and keep my points nice and precise. I found the epp trickier than I anticipated; the shapes were bigger than the hexies I usually work with and a little harder to work with, and by the time I came to joining the 4 quarters together, they had been handled quite a lot already from joining all the component pieces, so the paper was slipping out in places where I had been relaxed about securing them in place.


Having said all that, I was really very pleased with how it turned out. The points aren't competely perfect but I don't think that's too noticeable (I hope not!) and its lying relatively flat. I like the 3d effect from using different values in the star points. I decided to put on the first border straight away to stabilise it a little and made a quick decision to use a texty fabric in a ruler print. The comination of this against the dark purple star points and the poor light in the photo makes it look quite a bit darker than it is in reality.  It does feel lighter and brighter in real life, although I think the dark purple print is dominating it more than I anticipated, and making me reconsider my original plan for the colours for the next triangle border. I had intended using a variety of purple and lilac prints, but now I am pondering other colour combos....if you have any ideas, please do share!

I do love the process of making medallions, and am so glad I started this one. It will be my 3rd medallion quilt, I've done a Made to Measure (Sarah Fielke's beautiful pattern), and I did a baby medallion a few years ago as part of the Modern Quilters Ireland medallion-along. Serendiptiously, Modern Quilters Ireland are running a Round Robin Bee, and encouraging members to sew along on medallion quilts if we are not participating in the Bee (which I am not this year), so I am going to sew along with them for part of the Bee at least.

Sunday, February 21, 2016

Octagon Shimmer - a new quilt start

About 10 days ago I was browsing through the blogs I follow when I saw a fabulous baby version of the Octagon Shimmer quilt pattern made by Erica at Kitchen Table Quilting. I really loved it, and I couldn't get it out of my head and a day or two later it was clear to me that I just *had* to make a version myself. I really love that compelling feeling where you just absolutely have to get started on a quilt; to be honest, it has been a long long time since I felt that way about sewing anything.


I immediately got cutting out my pattern pieces and auditioning fabrics. The original pattern has quite a dark colour palette and although initially plum, aqua and grey were floating around in my head as a potential palette, being a favourite combo of mine, when I pulled my fabrics, they just didn't sing to me. I put them aside and started pulling out my pinks and oranges - and then my heart did start to flutter. I added in the aquas I had already pulled and the greys, and I knew it was right.

I started piecing it almost straight away. My sewing time these days is really limited between work, the kids activities and my own swimming - if I get an hour an evening a couple of evenings a week and some time at the weekends I'm doing very well. But, as always when a project catches your imagination, I found myself carving out little windows of time at the machine and this morning found myself with 16 completed half square triangle blocks. I put them down on the floor to have a look and I'm happy with how its coming together. I love that washed out look to it with the contrast between the softness of the low volumes and the saturated prints.


In the pattern, Jennifer Sampou recomends not completing the triangles fully, and auditioning them to figure out what needs to go where, and I can understand why from putting these blocks together. That doesn't suit my style of working terribly well, and ideally I would have a design wall to be able to work off to guide my construction to suit me better but I don't and I think I might need to take her advice for the next few blocks. I don't know how many blocks I'm going to make - I might go to the full size of the pattern but for the moment I'm enjoying making it up as I go along, I will know when I have reached the point that I feel I'm done - hopefully soon (but not too soon!).


In other news, don't forget to pop back tomorrow when signups will be opening for Round 2 of the Big Stitch Swap...


Wednesday, February 17, 2016

A new swap...coming soon!

It's exciting times around here....Cindy and I are going to host another round of the lovely Big Stitch Swap in the next few weeks!


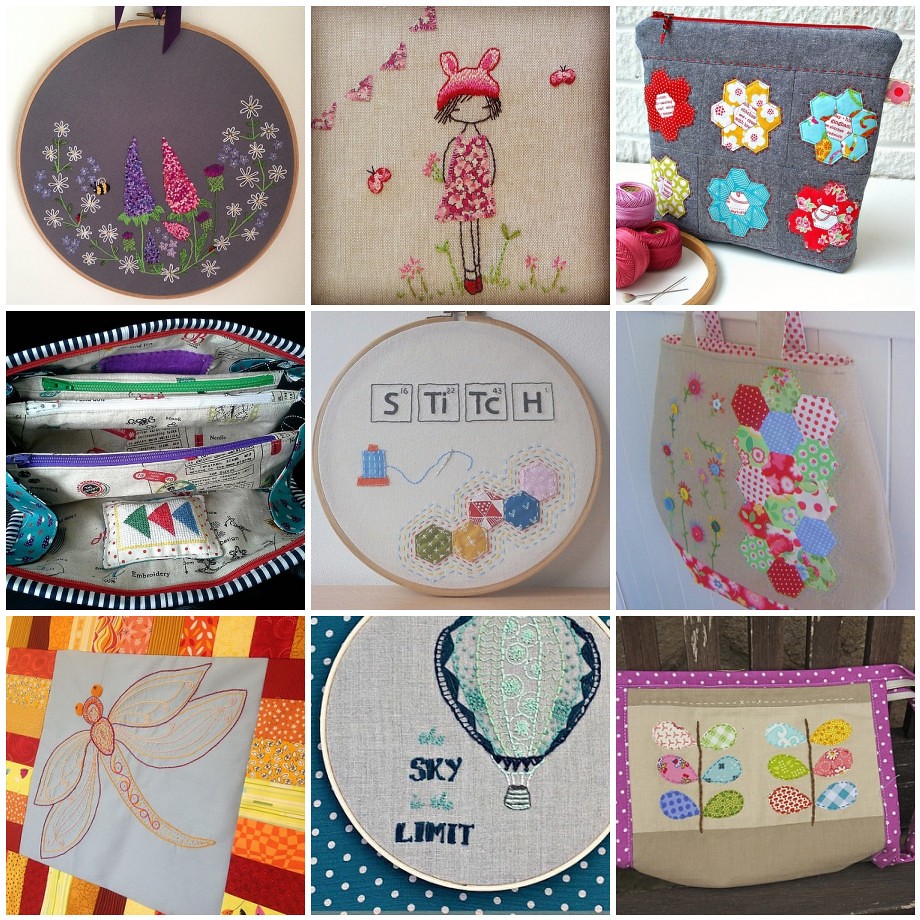
Loads of lovely friends joined us last time around in making small projects which featured hand stitching as a main focal point of the design. These were some of my favourite projects from that swap!

Big Stitch Swap favourites

For this swap, the guideline is again that hand stitching of some variety is a significant contribution to the swapped item.  It can be embroidery, hand quilting, cross stitch...what ever you like. Projects will be along the scale of a iPad cover, Kindle cover, a zippy pouch, a fancy notebook cover or a tote bag.

We'll be posting details early next week so watch out because this will be a small swap with only 50 places...we hope you will join us!

Wednesday, February 10, 2016

A new make-up bag {Scrappy Box Pouch}

I do love a scrappy project and my scrap bins are overflowing. So I was looking for a project that was suitably scrappy.  Lately, I find I need to bring a little make-up in my handbag with me, something I've never really done before. The joys of hitting 40! So I decided I needed to make myself a little makeup bag to bring with me, something suitably pretty and happy and with a little room in it for more than just a lipstick and a compact.


I've had a look at the Triangle Patchwork Box Pouch in Patchwork Please a few times over the last few years and I kept putting off making it because it looked a little fiddly and complicated. Plus it required photocopying the template which is just another barrier in front of me making things. But when I decided I needed some fun projects to get me back sewing again, I couldn't go past this one, it seemed like it was finally time to tackle it and it was a good size for the pouch I was looking for, perfect for a some brushes and a few necessary touch up products.


I'll be honest, it was a tricky little make. The triangle panels required foundation piecing or cutting out loads of tiny off-set triangles. So I opted to foundation piece which I never really get on with, being completely lacking in spatial sense. I ripped a lot making this. All those angles and piecing it back to front were so challenging for me. Some seams were sewn multiple times. But, in the end, it was worth it for the colourful scrappiness that I ended up with.


The rest of the construction was pretty straightforward although I think if you were not used to making pouches, it might have been a little tricky, as the instructions were sparse on some of the steps. Plus the seam allowances did not match with what was specified - I used a quarter inch seam throughout, rather than the 1/2" specified in the pattern. I left the foundation paper inside and applied my fusible fleece and interfacing over it and it made the sides so lovely and structured, and the quilting works so nicely on it.


 I originally cut the lining wrong, and was freaking out at the start of making it, but a bit (more) unpicking my seams and recutting and it fit nicely. Handsewing it in place was quick and easy.


I used some colourful selvedges at the ends of my zippers as I had no twill tape.


I really love how this turned out and how bright and happy it looks. I used lots of my favourite scraps in it, and every time I look at it I smile.  I'm linking up to Scraptastic Tuesday with this one


Scraptastic Tuesday