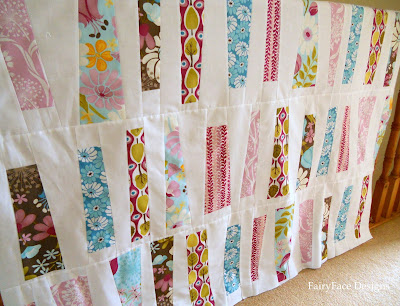
I can't believe we're at the finish line already! I've had so much fun doing this quiltalong and want to thank all you ladies who joined it. The quilts showing up in the Flickr group are really amazing and I love seeing how differently people have interpreted them.
Today we want to touch on how to bind your quilt. Binding is the last step and sometimes it can be a bit hard to get motivated to get it done, but it really finishes off your quilt so its important to think about what fabric you're using and make sure it works with your quilt top and back.
There are LOTS of really great binding tutorials out there and if you haven't bound a quilt before, I'm going to send you over to the Flickr group post on it to check out the links where you'll find lots of info on binding.
I pretty much always use straight grain binding, and I'm fairly sure that I learned how to bind a quilt using Elizabeth Hartman's tutorial. However, check through the other links till you find one that works for you!
I like my binding quite narrow, so I cut my strips 2.25" wide. For the baby size, I just about scraped by with 5 width of fabric strips. I used this pretty red and pink small scale print which I bought specifically for binding quilts as its perfect for that. Its also a lightweight cotton so it works really well.
Join your strips together to give you one long length, then iron wrong sides together along the length of it. I always iron my joining seams open too.
Pin to the edge of the front of your quilt, raw edges together, making provision for your corners. (You'll find detailed instructions on corners in the linked tutes). I usually lay out the binding around the quilt before starting to pin to make sure that none of the seams are too close to a corner, as they would make it too bulky to turn them. Nothing worse than pinning all the way around and getting caught on the last corner and having to repin the entire thing!
Join your ends, then sew all the way around your binding. I use a quarter inch seam. Then, its time to turn your binding over and sew to the back of the quilt. Lots of people like to handsew the binding on the back, and that certainly makes for a consistent and even finish. I handsew small stuff, but I've never handsewn a baby or bigger quilt. (Too lazy!) I always machine sew my binding on and it makes for a quick and durable finish.
Here's how I do it - it might not be the most technically correct way to do it but I like it!
I turn my binding around the edge to the back of the quilt and I adjust the width to make for even sewing, using my presser foot to guide me. See the picture below? Note how the inside edge of the binding lines up with the little metal bit (that marks 1/8") and the outside edge lines up with the edge of the foot.
Now, I'm not suggesting this will automatically work for your foot, I discovered this through trial and error over a number of attempts to machine bind, but I have it kind of perfected now for me and it really works, it gives me a nice even finish on the front too:
If you're interested in machine sewing your binding on, its certainly worth experimenting to find something that works for you. Red Pepper Quilts has a great tute on machine binding too which would probably give you a better finish than mine!
So there you have it, my quilt is done! I'm still waiting for a sunny day (I'll even settle for not totally grey and dreary. Even dry?) to take pictures of it finished!
Be sure to pop over to Jennifer's blog for more info on binding too.
A few things to remember - you need to get your finished quilt up in the Flickr group by Monday 3rd October to be in the running for the Quiltalong giveaway vouchers for Sew Fresh Fabrics! Myself and Jennifer will be picking the winners and announcing mid next week!


