Showing posts with label quilt blocks. Show all posts

Sunday, April 15, 2012

Stained Block-o-rama


First up I want to say thank you to everyone who left me lovely comments on my miserable post last Monday. I felt much better after reading them all! I managed to get that WIP back on track and even though it continued to challenge me (a flawed needle almost ruined my quilting), I got it finished up on Friday and was really pleased with how it turned out. Alas, I can't share but you will see in the future :-) After all that, I was in need of some serious piecing. Don't you love piecing? It's my favourite part of the quilting process. I love the preciseness of it and I love the repetitiveness of it - it is soothing to the soul!  Plus, I love working through blocks and seeing them come together.

I spent a pleasant few hours this weekend sewing up my blocks for the Stained QAL. I am woefully behind with this, despite my best intentions but am determined to catch up this week. These blocks were deliciously complex to put together - not difficult - just requiring concentration to make sure you got all the pieces put together right. Exactly what I needed. There was  a little bit of unpicking from time to time, but nothing too traumatic!

Yesterday I did the 3 massive Block 1s - loved these!


And today I did the 9 blocks 3 and 4.


Having already done the Block 2s, I now have all my blocks pieced. I am ready to cut my sashing strips and piece the quilt top together tomorrow. Yippee! I can't wait to see how this looks. I was doubting the yellow sashing in the blocks, even after all your lovely comments the last time, but the more I worked on these the more it grew on me. I might be a little bit in love. Although, when I was browsing in the Flickr group and saw this quilt top there, I did kind of wonder if I shouldn't have used the Coal. Hmm. Too late now and I am actually very happy with how bright and cheery this quilt is going to be.

Although it is mid April, we are still lighting the fire here some evenings, but after a lovely fresh spring day I think I can finally say that winter is over. You know that means one thing - it's time to do our final Winter Stitching linky list and see what you achieved over the last 5-6 months. I will be posting the linky this weekend so get preparing your posts!!


FairyFace Designs

Thursday, September 1, 2011

Layout Tips: Across The Sea QAL

I hope that by now you're well on the way to getting all your cross blocks pieced. You might have played around with your fabrics and colours before cutting, but now is the time to really have fun deciding on a layout for your blocks.

This is one of the parts of quilting that I love and enjoy. Different layouts can give a quilt a totally different look and can be the deciding factor in giving your quilt a "wow" quality. Everyone has their own way of doing it and you need to find what works for you. However, I'm going to share some of the things I like to do in the hope that it might help, particularly if this is your first quilt. I've had to think quite a bit about some of this post as mostly I'm pretty intuitive about how I do this - so it was kind of surprising when I broke down what I was doing to realise there is actually some order to it!! I'll show you some different versions of my layout to illustrate the points. I need to apologise that my pictures are a little dark in this but indoor photography is always difficult.

1. Find a space to lay out your quilt blocks. (If you have a design wall then I am totally jealous of you!!) For new quilters, a design wall is a great idea if you have a blank wall somewhere with reasonably good light you can use. Jennifer has more information on design walls in her post today, so check it out if you want to find out more. Me, I live in a small house and have no wall that is suitably blank at the moment, so I use either the playroom floor or my bed to layout my quilts. If you're using the floor, make sure it is clean! Bending up and down moving around blocks can be hard on the back, so I tend to use the floor for small quilts, and the bed for bigger ones. This is one reason which design walls are a great idea ;-)

2. For this quilt, I wanted a random colour/pattern arrangement rather than a graduation of colour, or a particular theme. I do a lot of my quilts like this. (Obviously if you are going for a particular look you will have to work within that, but some of these pointers may still be helpful.) I usually lay down my blocks pretty randomly the first time, basically trying to separate out colours from each other. If you can manage to do this without little helpers moving your just placed blocks its always helpful :-))

3. Then I look at the prints and try to make sure that my print patterns are well balanced. I try to make sure I don't have duplicates of the same print in different colours too close together, or beside each other, as in the bottom right 2 blocks in this picture.

I also like to balance small vs. large prints. In the next picture, you can see that in the first and second rows, the left and middle blocks are all prints of a similar size, and likewise, further down, larger scale prints are too close together.


Finally I look at the density of colour and print, and how the blocks interact together. Some prints almost look like a solid colour, or have very strong colours and more lightly patterned fabrics may recede beside them. Have a look below - the middle blocks in the top 2 rows are both strong, dense colours causing the blocks to the right to recede a bit too much. Likewise, the bottom row has two strong coloured blocks side by side, causing a further imbalance.

4. I move and move and move my blocks until I am happy. I look at lots of different versions and I take a pic of every version of the layout I do with either my phone or the camera. Mostly, its intuitive for me, I just go with what feels right.

5. When I get to a layout I'm happy with, I leave it and shut the door and go do something else for a while. If I had a design wall, I would leave overnight and come back the next day to finish off. However, that's not possible so I usually have to finish a layout the night I start it.

6. After a little break from looking at it (always best if accompanied by a cup of tea and some chocolate!) I usually start flicking through the pictures I took. I find taking pictures to be the most important part of the layout process for me. It gives me so much perspective. I see things that I never see when looking at the layout myself. Colours jump out at me, areas which are receding too much, areas where the colour is too strong and imbalanced. I get an idea of what works and doesn't from looking at the pictures.

7. Then I go back and look at the layout I arrived at. Sometimes, I am happy with it. Sometimes I tweak it based on the pictures I've been looking at. Usually at this stage, I snap each change and look at it there and then and know instantly if it works. It's a little like a dance for me. I keep going till I'm happy. Then I take a good overall picture of my layout, and if its a detailed quilt (like my Kaleidoscope quilt) with a lot of prints and blocks, I take close up pictures of areas of the quilt - e.g. each quarter of it, so I have them to refer to for sewing. But you shouldn't need to do that here.


8. The last step is to organise and stack your blocks ready to sew together. This is REALLY important. Take your time and decide how you are going to do this. After making lots of mistakese with my first few quilts, I now have a system I use for every single quilt. I sew in rows rather than columns, so I start with the lefthand block on each row and I put it on top of the block to its right, and continue like that to the end of the row. I end up with a little column of block stacks.Then I ususally pin through the centre of each little pile to keep them separate, and I stack the piles, starting with the top one. At the end, all my blocks are stacked in piles of rows, from top to bottom. That way when I start to sew, I work from left to right on each row and I sew top row first, continuing to bottow row. I never vary from this, and I find being consistent on how I organise my blocks for assembling my quilt top has helped me a lot. Sometimes, particularly if you have fabric repeats, it is a good idea to put a little post-it with the row number on the top block of each little row stack. That way you can't get mixed up (or if your kids get at the sewing box, they can't ruin all your good work!)

The next step will be to sew your rows together and to add your borders. Jennifer will have more information on this next week! For now, here's where I'm up to:


Sunday, July 3, 2011

More scrappy blocks!

Glad so many of you liked my crazy scrappy blocks yesterday!! So, here are the other 3 scrappy blocks for my mini:

Blue:


Teal (ish)!:


Purple:


Which is your favourite? I love, love, love the purple one! These, together with the green block make up my cool colours:


and I love the red one and the pink one from yesterday. These blocks are so fun and filled with scraps of my favourite fabrics - I can tell you now this mini is staying in my house!


Now I need to put together this mini quilt top. Hoping this all works, it could all go horribly wrong this morning! I'm linking this up to {Sew} Modern Monday - go have a look at some of the other lovely projects :-)

{Sew} Modern Monday at Canoe Ridge Creations

Saturday, July 2, 2011

I'm really back now....sewing fun with some crazy blocks!


Well, I'm sure its been more obvious than I hoped that my quilting and sewing mojo has been struggling a little lately, what with work stress, general life stuff and all. When I look back over my posting the last month or 6 weeks its been a bit thin on the ground. But a break is maybe the best thing for you in situations like that and when I got back on Thursday morning I was all refreshed and ready for action! After cutting all my Kaleidoscope triangles on Thursday afternoon (in betweeen catching up on the mountain of holiday laundry - how does that happen, when you are washing when you are away too?? It's a mystery to me!) I was chomping at the bit yesterday to get sewing again. But I wanted something fresh, not a big project, something fun, something I didn't have to think about too much that would inspire me! I rumaged around in my UFO box and found this crazy scrappy block that I did back in April:


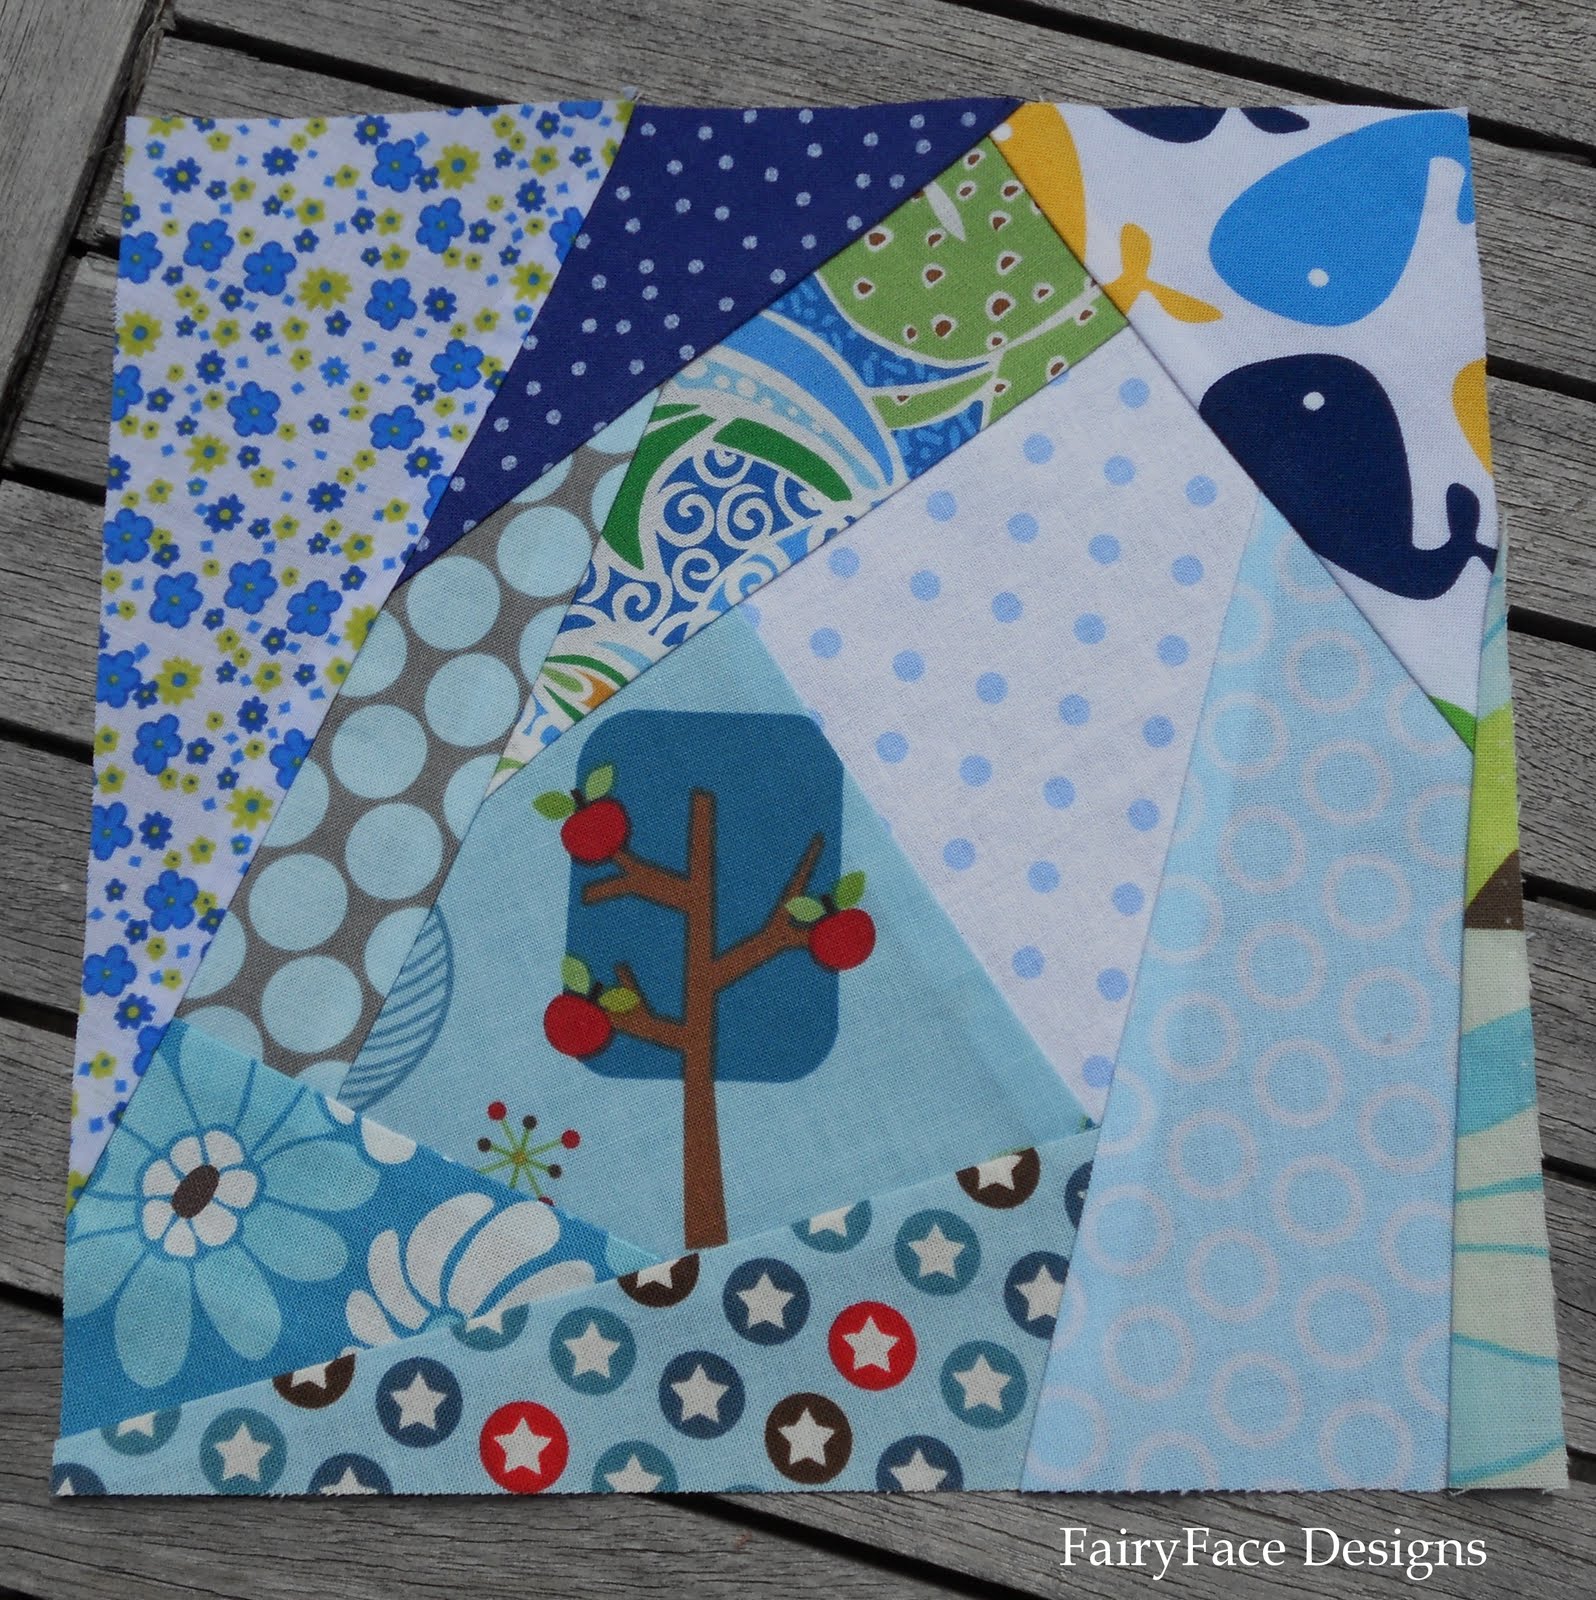
Officially I'm supposed to be doing this as a QAL but I kind of fell off the wagon. Not least because I really struggled to bring this block up to 11". And I just couldn't see myself doing a whole quilt of them, for whatever reason. But it was in the back of my head, and when I saw Hadley's GORGEOUS crazy scrappy quilt and realised she had done her blocks smaller, it made me think a bit more about it. Then, the other day, it jumped into my head and I got an idea for a mini quilt I could make with the scrappy blocks. So last night I took out my scrap basket and had the best fun running up these 4 blocks in my warm colours:

Link


I did them to 8" square and it worked so much better, they flew together and it felt completely different to the last time I did this block. I then trimmed back my green block to 8" to match.


Now I'm off this morning to take out my 2nd scrap basket with the cool colours and get going with the rest. The kids are fully occupied watching Jake and his pirates and the coast is clear for some serious Saturday morning sewing. Bliss!!

Wednesday, March 23, 2011

WIP Wednesday # 6


Can you believe its almost April? I can't quite understand where the days are going. Its been super busy in my life this week, mostly in life outside this blog, with work being particularly demanding! It sort of feels like I haven't gotten a lot achieved, but actually I have.


In Progress:


Friday Night Sew In was a success here and I have made good progress on the Cosmo bag. I have the exterior pretty much totally completed and just need to do the lining and the button at this stage. I really like the colour combo too now that its made up (I wasn't sure I would when I cut them).


I also got started with picking my fabrics and cutting in the Lily's Quilts Quiltalong. I'm very happy now with the fabrics I chose, and the blue background came about purely by chance but I think it will work. That brown bundle of fabric in the middle is to see if an extra internal circle would work in the middle and I think it will. I need to start piecing it next.


After spending all last night working out measurements, I finally started a new quilt tonight with my It's a Hoot layer cake. This quilt is for my goddaughter; she will be making her First Communion in May and I thought that a keepsake throw quilt would be a nice gift and something she could take with her through her life. The Its a Hoot fabric is perfect for what I want. I'm doing a simple design, alternating 2 different blocks. One is a 5" square with 2 layers of borders; the other is a 4 patch square with borders. The finished blocks will be 9" each. I'll add white sashing of about 3" betweeen each of the squares to make them stand out.

Tonight I cut all my squares and border strips:


Then I made up a trial block of each. This is the first:


And this is the second:


I love how these turned out, and I love how the fabrics interact with each other. Tomorrow will be my favourite part, laying out the fabrics and figuring out how it will all go together!

That's my little report - I think its going to be a very quiet week this week as I'm visiting my parents at the weekend and away at a work conference early next week. So my apologies in advance! But hopefully after that I'll be picking it all up again!

I'll be linking up as always to WIP Wednesday over at Freshly Pieced.