

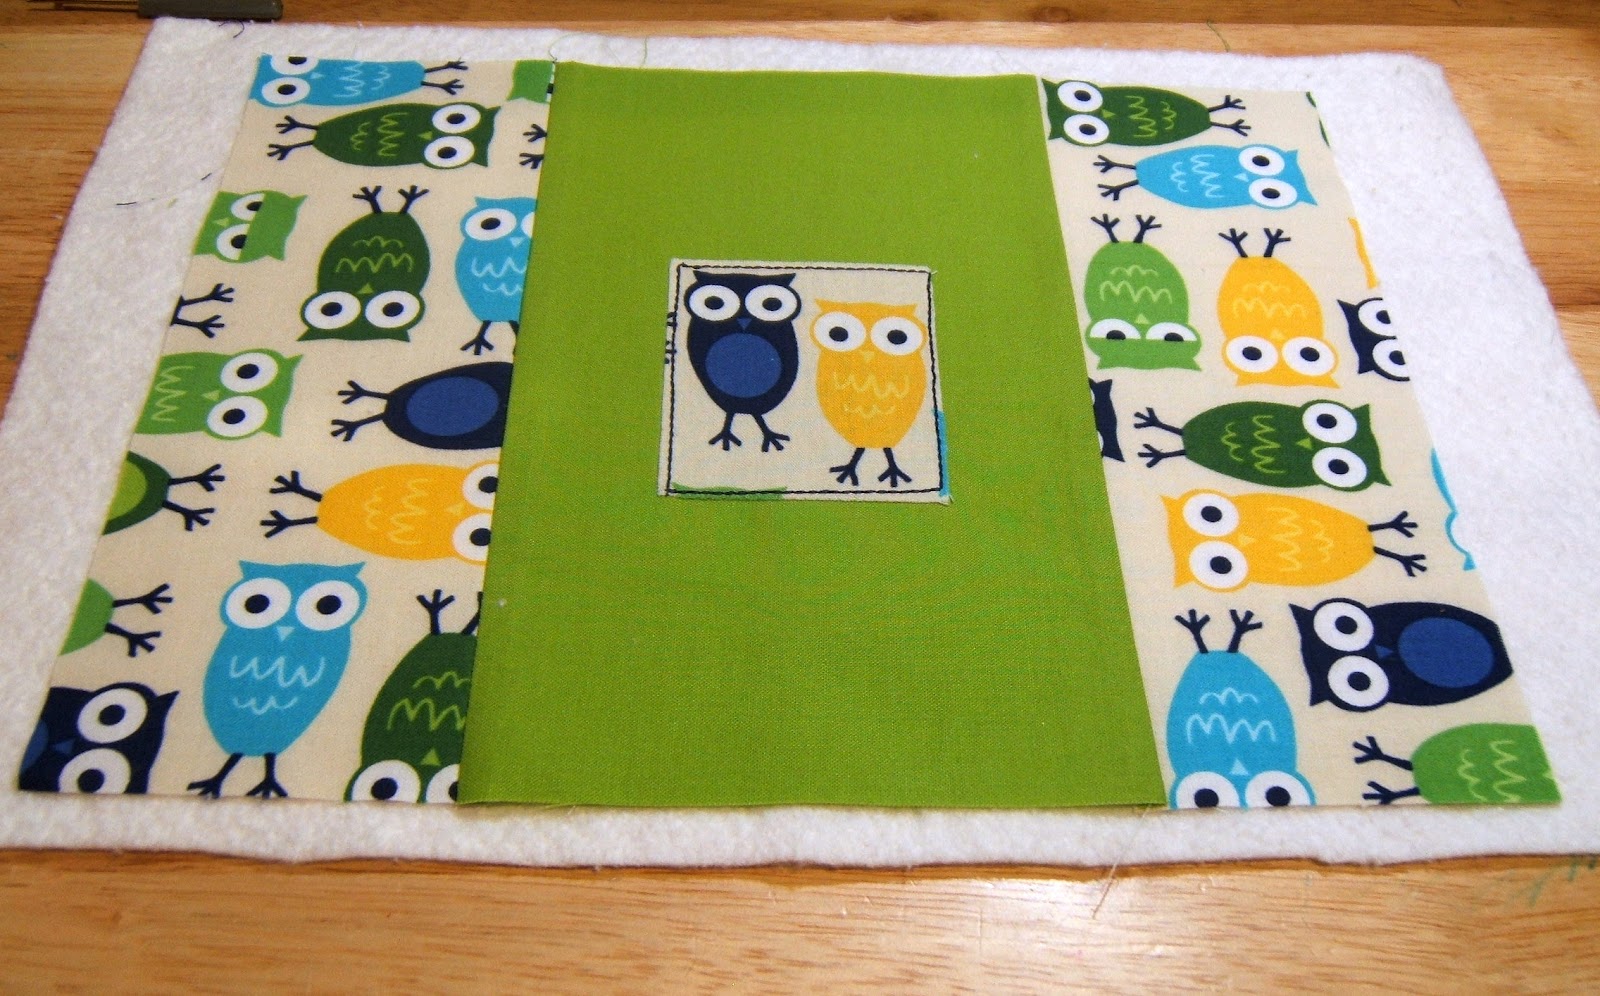
I made this quirky crochet hook roll this week from my very favourite fabric - Ann Kelle's Urban Zoologie Owls. I thought that a straightforward tutorial might be of interest to some of you so here goes, my very first tutorial!

Materials Needed:
Large scraps of the following fabrics - 1 feature fabric, one complimentary solid, 1 contrast solid for binding.I used Ann Kelle's Urban Zoologie Owls and Kona Solids - a lime green and a navy.
Large scrap cotton batting
24" of matching ribbon
Small square Bondaweb or similar
Matching threads
Seam allowances are 0.25" unless otherwise stated.
Cutting List:
Front - from main solid - 5.25" x 8.5"; from feature fabric - 2 pieces measuring 3.25" x 8.5".
Front - fussy cut small detail piece from feature fabric - size dependent on pattern but approx 2.5" x 2.5".
Back (main panel)- from feature fabric, 11" x 8.5"
Back ( folded panel) - from feature fabric, 1.5" x 11"; from main solid, 1 piece measuring 2.5" x 11" and 1 piece measuring 7.5" x 11".
Assemble front:
1. Using Bondaweb or similar, seal fussy cut small panel to main solid front panel, centering carefully.

2. Using thread to matching contrast binding colour, stitch around edges of applique leaving raw edges. I used a triple straight stitch (topstitch) setting on my machine to emphasise the stitching. Stitches do not need to be perfectly square, slightly wonky lines add to the charm!

3. Pin feature fabric front pieces to main solid & stitch carefully.


4. Iron seams to darker fabric side.
Assemble back:
1. Pin feature fabric between solid pieces and sew, iron seams to darker side.

2. Fold in middle to give piece measuring 5" x 11" and iron.
3. Line up folded piece with main back piece and pin in place

4. Decide how far apart you want your lines for your hooks and mark in place.

I marked the edge seams 0.5" in from raw edge, and marked a number of wide lines at 1" each, then smaller spaces for narrower hooks at 0.5" each. I use a Clover Hera marking tool which marks a sharp crease on the fabric. I love this tool, it's one of my best buys ever! You could also use tailor's chalk or a water soluble pen.

5. Stitch lines as marked. Work from middle of fabric down to bottom.

Quilt front:
1. Place front piece on batting scrap leaving excess batting on all sides and pin in place.


3. Trim excess batting using rotary cutter.

Binding:
For this roll I used double fold binding. If you need detailed instructions on binding check out great tutorials on Jaybird Quilts or Oh, Fransson!
Using contrast solid, cut strips for binding. I cut on the straight grain to a width of 2". Cut 2 strips of approx 24" and join using 45 degree seams.

Fold in half, wrong sides together, and iron.

Assemble Roll:
1. Line up back piece on top of front piece, matching raw edges, and trim any excess fabrics.

2. Pin binding in place, matching raw edge of binding to raw edges of roll.
3. Fold ribbon in half and pin on one side of roll, between binding and fabric. The folded edge should line up with the raw edges of the binding and fabric.

4. Stitch binding in place all the way around, making provision for mitred corners.
5. Fold binding over to back of roll and pin, ensuring mitred corners are lined up correctly and machine stitch close to the edge of the bindgin. Ensure that your stitching is picking up binding on the opposite side. (Or handstitch if you prefer)
6. Apply Fray Stop or similar to the ends of your ribbon to seal. Alternatively, turn the edges of your ribbons under and stitch to seal the end and prevent fraying.
You're done!
Fill with your crochet hooks, roll up and admire!! Alternatively, you could use this roll for makeup brushes, just adjust the width of the stitched lines.

14 comments:
Great job :-) Now I just need to learn to crochet! I may actually adapt this for my knitting needles...
Your tutorial is great Sarah, the instructions are very easy to follow and the photos are a very effective visual aid. I can't wait to get started and make my very own crochet needle holder! Any chance of a knitting needle holder tutorial so that I could have a matching pair?
Looks great! I've been wanting to make one but still haven't gotten around to it. I love the little owls.
This is a great tutorial Sarah!!! Love the fabric too. Fi
Wow this is awesome! Thanks so much for sharing on my linky party. LOVE the fabric!
wow now how cute is that! Great job!! Love the Cute owls!
This is just TOO cute! I love it. I love the fabric you chose! I made one similar to this, but the fabric isn't NEARLY as cute! Great job!!
Cami @ youseriouslymadethat.blogspot.com
Thanks everyone, glad you like my little tutorial!
I love this as well how do you find time for it all
Hurray - thank you so much - not only did you link to something really wonderful, you even showed us how to make it!
What a great tutorial...but I would make it for my sock needles. Thanks so much for all of your efforts in putting the tutorial together for us.
What a perfect tutorial...I can see adapting this for knitting needles, but crocheting is on my list to learn ;-) It is funny to see all the little owls looking at you as you work =D
I used this tutorial to make a roll for me and one for my grandmother who taught me to crochet. Thanks for sharing this tutorial!
http://sarahdudik.wordpress.com/2012/05/21/crochet-hook-roll/
Your tutorials are great! You've added a few things to my "to do" list! And the fabric you used to make this is SO adorable. I just want to squeeze it!
Post a Comment