

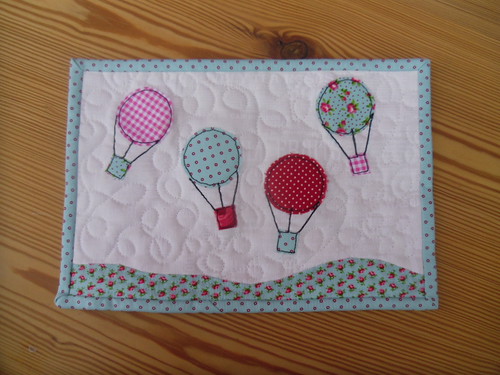
It's Thursday again, and time for another tutorial in the {Sew} Get Started series! Today I am delighted to welcome another fellow Irish quilter to guest post with a great tutorial for an applique cushion/pillow cover. Karen is super talented and has been featured on Moda Bake Shop, Riley Blake's Cutting Corners College and lots more. If you haven't visited her before, you should definitely go say hi over on her blog and check out some of her gorgeous projects like this fab mug rug:
This tutorial is part of the {Sew} Get Started: Beginner Sewing Tutorials series. For a full list of the tutorials and links to past ones, click on the link to go to the master page!
Hi, my name is Karen, I usually blog at Lisnaweary Quilts,but today I am delighted to be part of Sarah's 'Sew get Started' series.I live in Northern Ireland, and am totally obsessed with sewing, patchwork and quilting! Normally I work with cotton fabrics, but I do like to mess around with other fabrics too!
Here's a tutorial for a cushion cover you can make from scraps of curtain fabrics.
The back has an envelope opening, so no zips to worry about!

Materials:
You will need approx 1 metre/yard of fabric for the cover, various scraps of fabric for the applique, coordinating thread and a 20" cushion filler.
Instructions
You will need approx 1 metre/yard of fabric for the cover, various scraps of fabric for the applique, coordinating thread and a 20" cushion filler.
Instructions
1. Cut out a piece of fabric for the front of the cushion 20 1/2" x 20 1/2".

2. Pick out some co-ordinating scraps of fabrics - I got my hands on some end of line fabric sample books, which give a great variety of colours and textures!

3. Cut out fabrics according to the measurements outlined below.
4. Start arranging your fabrics on the cushion front, I followed the layout detailed above. But you may want to move your fabrics about in a different arrangement. When you're happy pin them in place.

5. Next find some coordinating threads. I like to use Invisafil by Wonderfil threads. It nearly disappears into the fabric and is not noticeable at all. It's great when you don't want an outline of thread on applique work.

6. Using the coordinating thread and a zig zag stitch, sew the pieces of fabric to the cushion front. Start by sewing on the pieces which lie underneath others.

7. Sew carefully along the edge, keeping the zig zag stitch on top of the applique piece.

8. Pin on the final pieces and sew in place.

9. Cut out two pieces of fabric for the back of the cushion 20 1/2" x 14 1/2".

10. Turn over one of the long edges twice. Pin and stitch in place. Repeat for other back piece.

11. Place the cushion front right side up.

12. Place one of the back pieces on top, right sides together, with the turned in edge to the middle of the cushion.
 13. Place the second back piece on top, again with the right side towards the right side of the cushion.
 14. Pin and sew in place.
 15. Turn the cushion right side out.
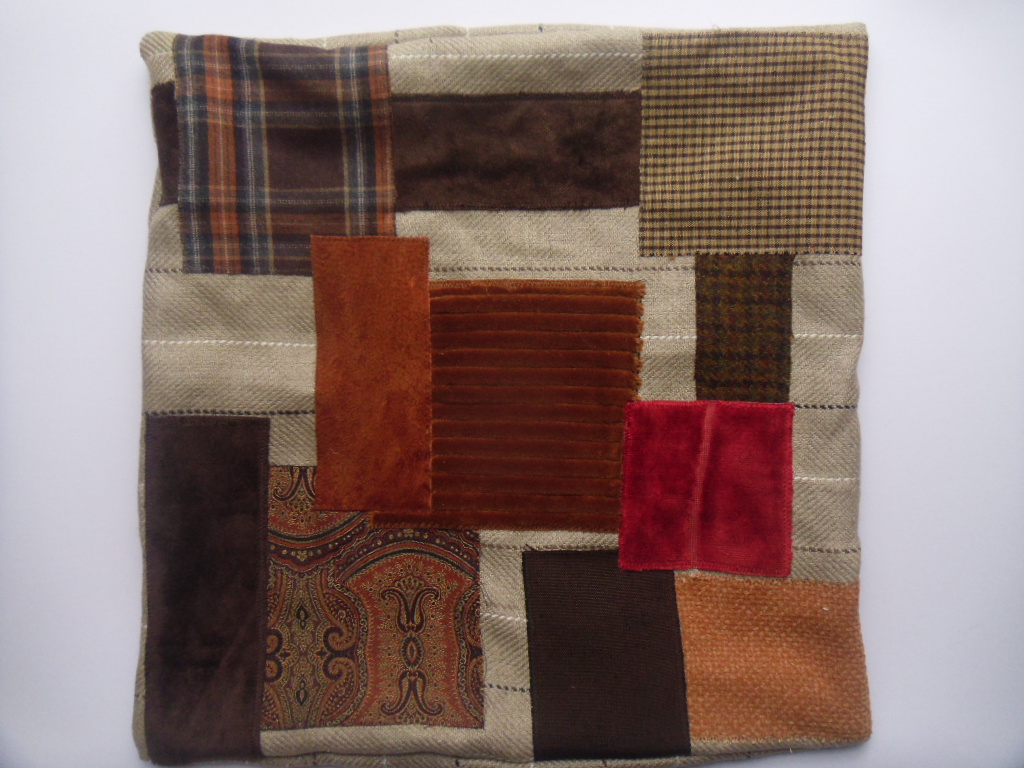
16. Insert a 20" cushion filler.

There you have a comfy cushion, made using scraps and remnants!

I hope you have enjoyed this tutorial and get a chance to make a patchy cushion of your own!
Thanks so much Karen for the great tutorial and if you make one please add to the Flickr group! Don't forget to pop back next week for Cindy's notebook cover.
7 comments:
Would look really great using favourite scraps - great tute Karen x
lovely cushion and tutorial Karen,well done.xx
Great way to recycle those scraps!
That's an idea I didn't think of thanks for the tutorial will definitely be trying it out
Also I'm holding a swap on my blog. If you're interested feel free to check it out =D
http://ibescheraldine.blogspot.com/p/swap-time.html"
Karen, I love the pillow (cushion) tutorial. It is so creative, but easy. Especially great ideas when you have pieces that are too small to make a pillow, but you love the color or pattern of the fabric.
Beckie in Brentwood, TN
Great tute. A great way of using up those special scraps. Di xo
Well the tutorial was really amazing. I enjoyed all the pictures for the same.
Post a Comment